


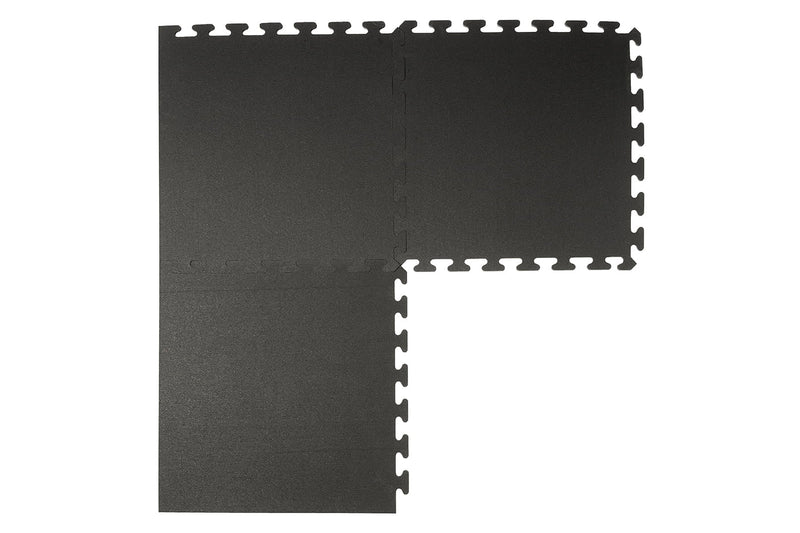

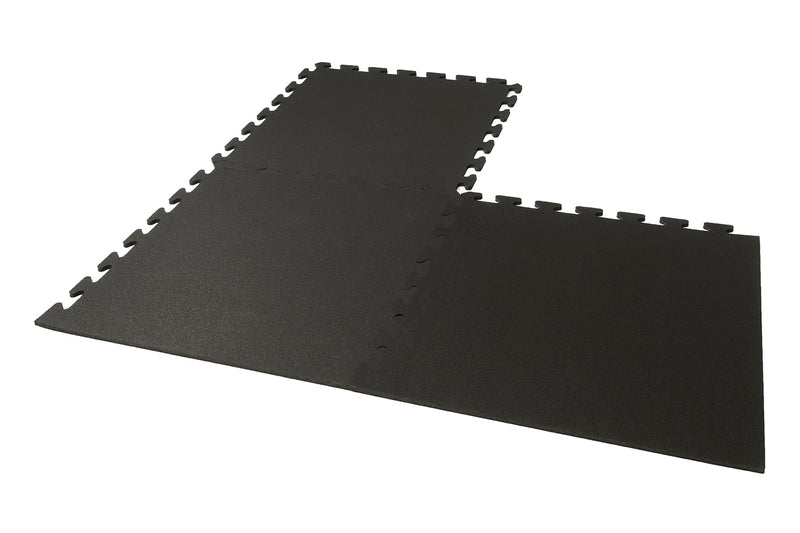
About These Tiles
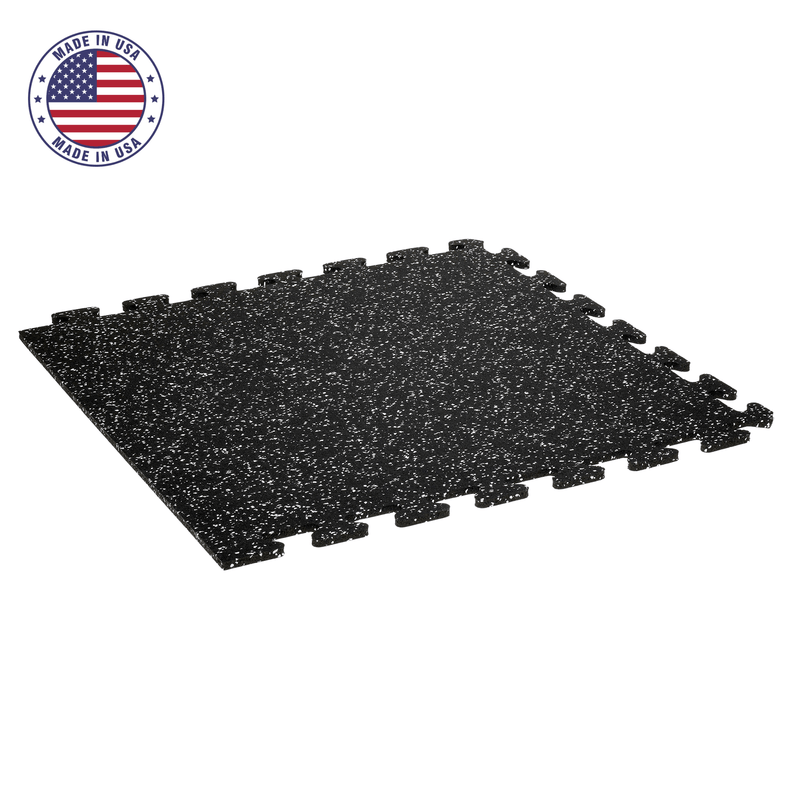
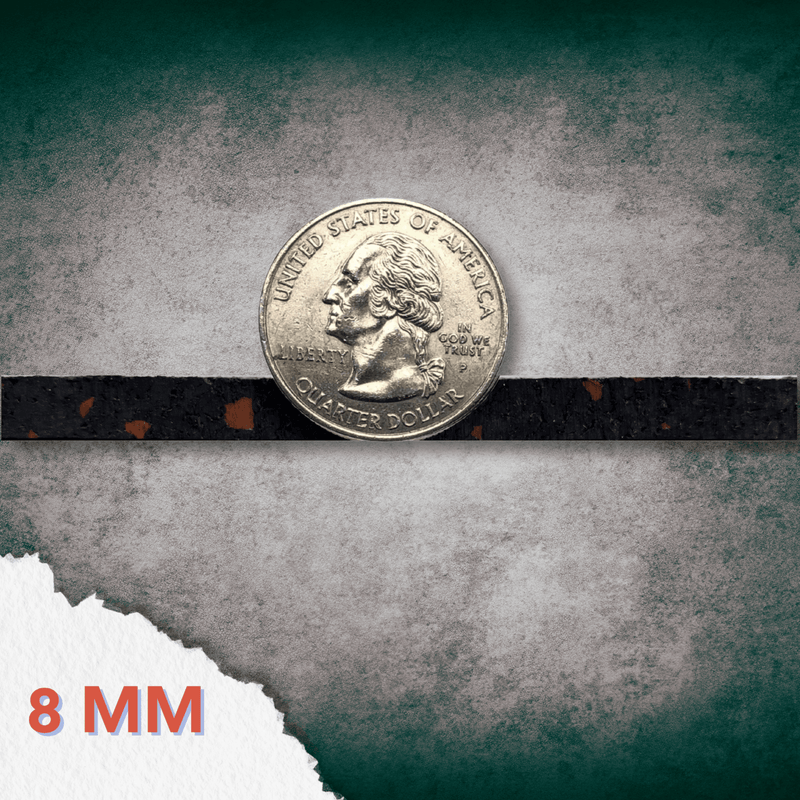
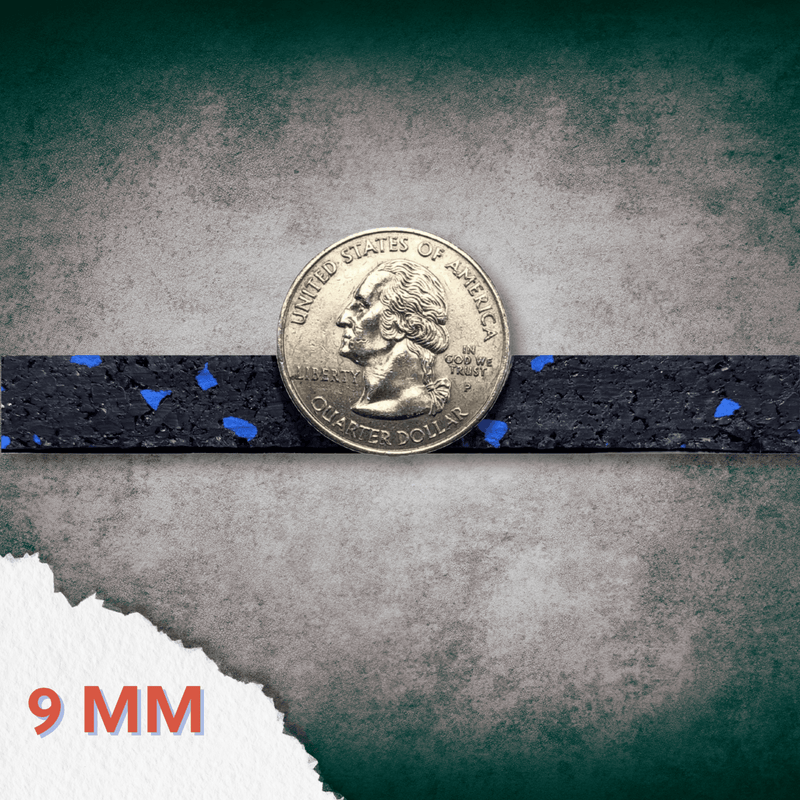
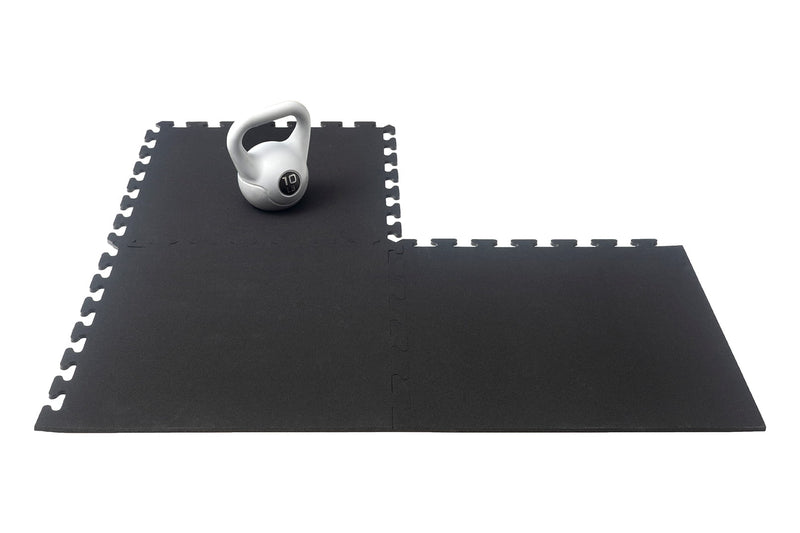
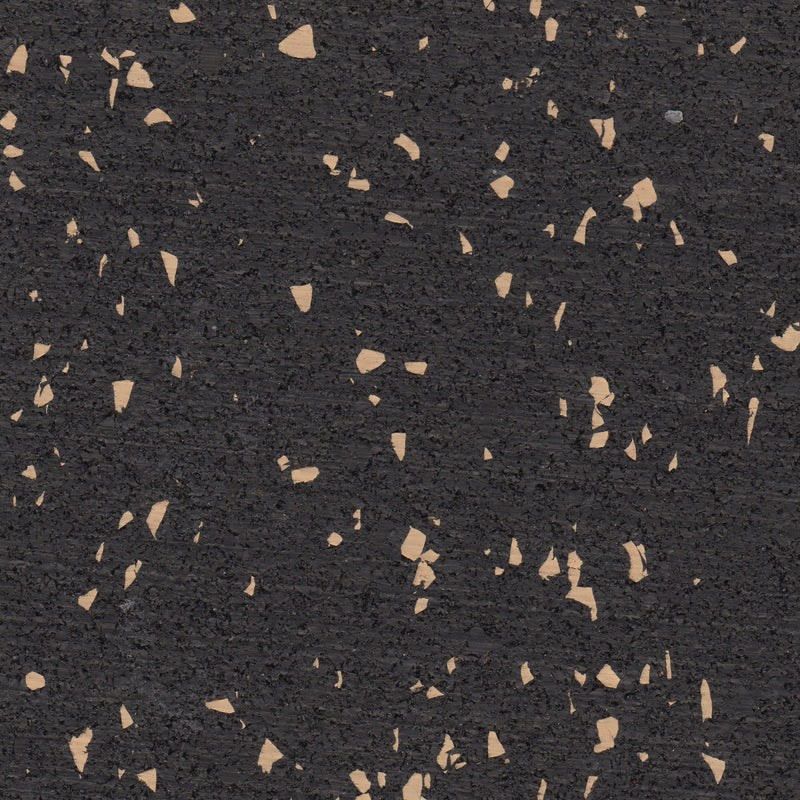
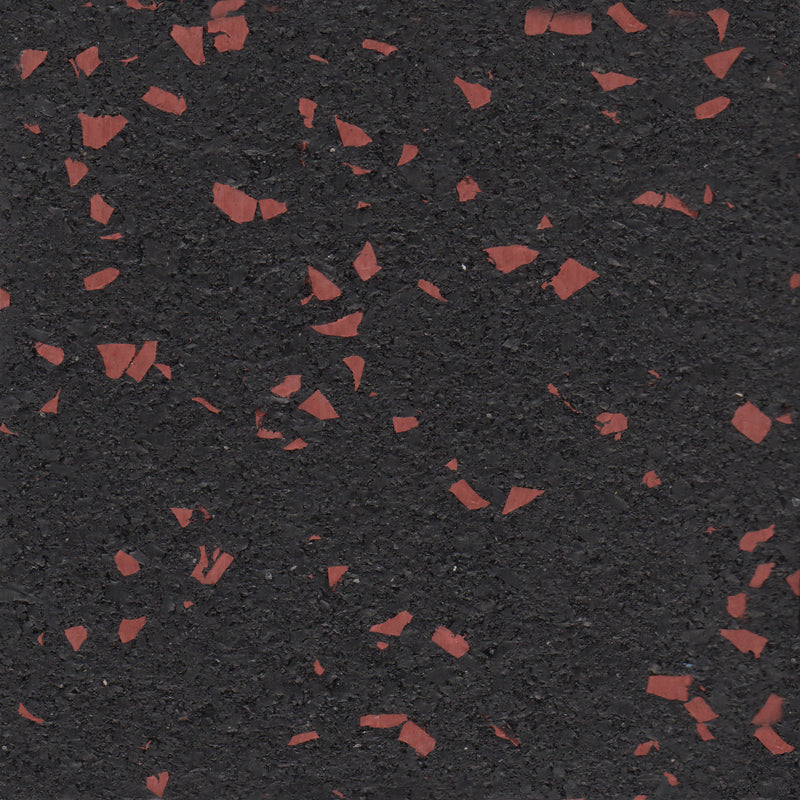
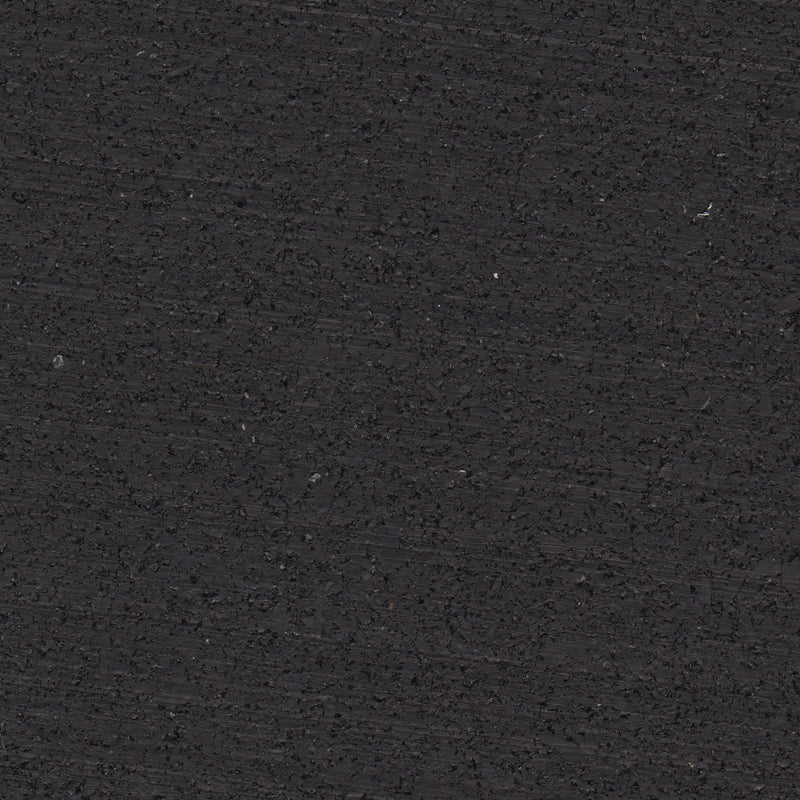
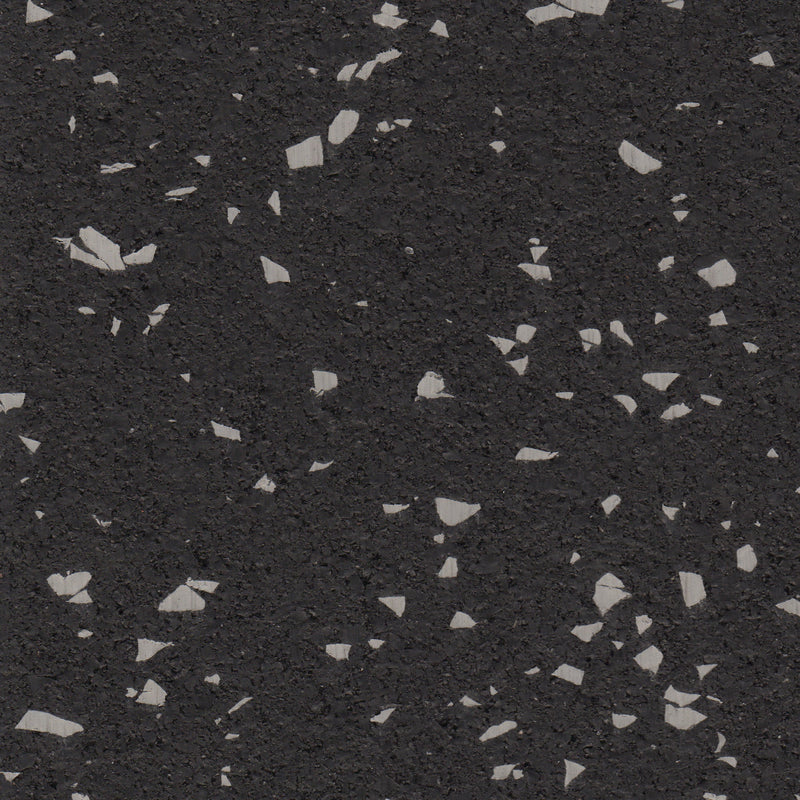
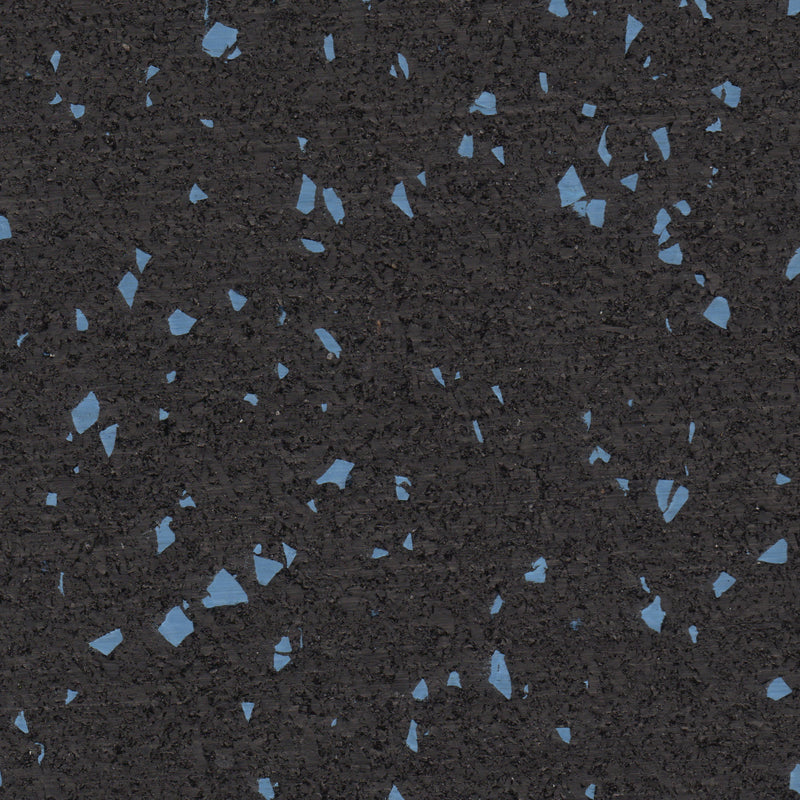
These 24" x 24" interlocking rubber tiles offer unmatched durability and simple installation for high-impact environments. Comes with edge and corner tiles which include straight edges as part of the tile. Corners and straight edges are not add ons, tiles are cut specifically as corners, straight edges or center pieces. Choose from black 8mm tiles or 9 mm tiles in multiple color options.
How To Use This Page
- Enter room dimensions in the calculator.
- Required center, edge, and corner tiles are automatically added.
- Cart quantity reflects total square footage and layout pieces needed.
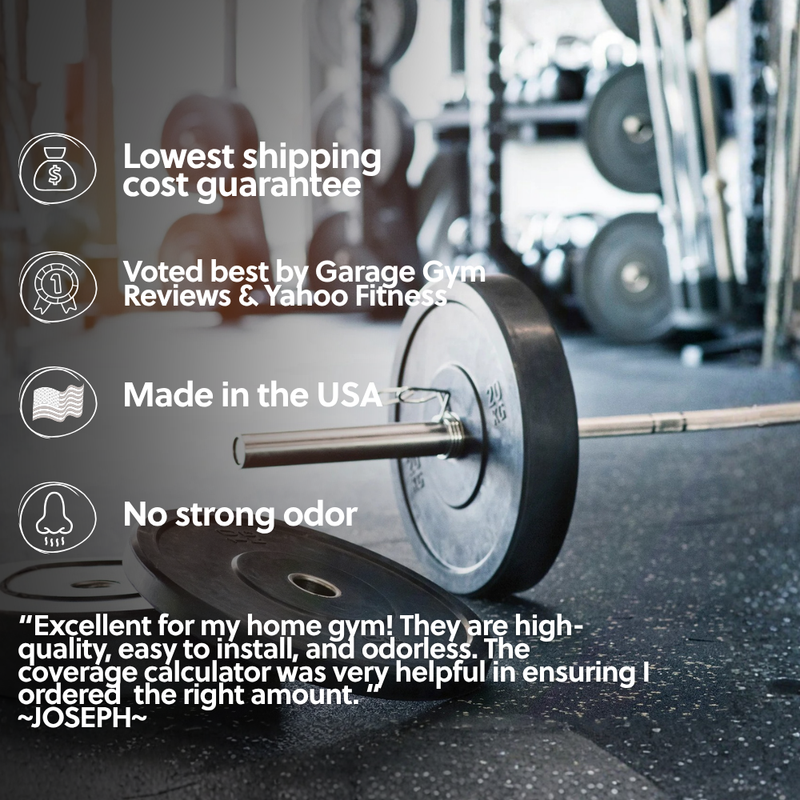
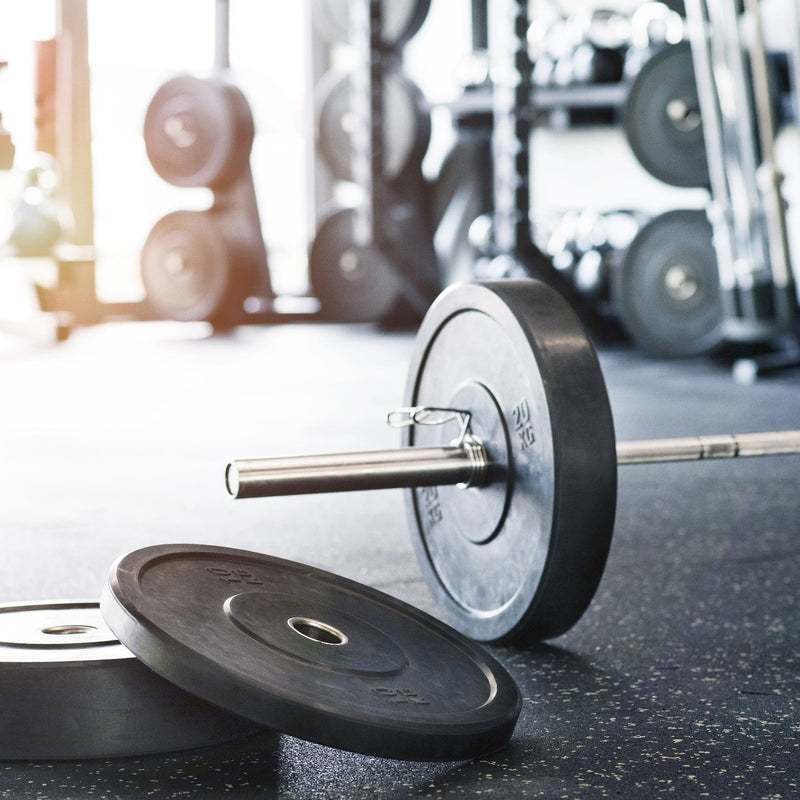
Designed for Real Gym Use
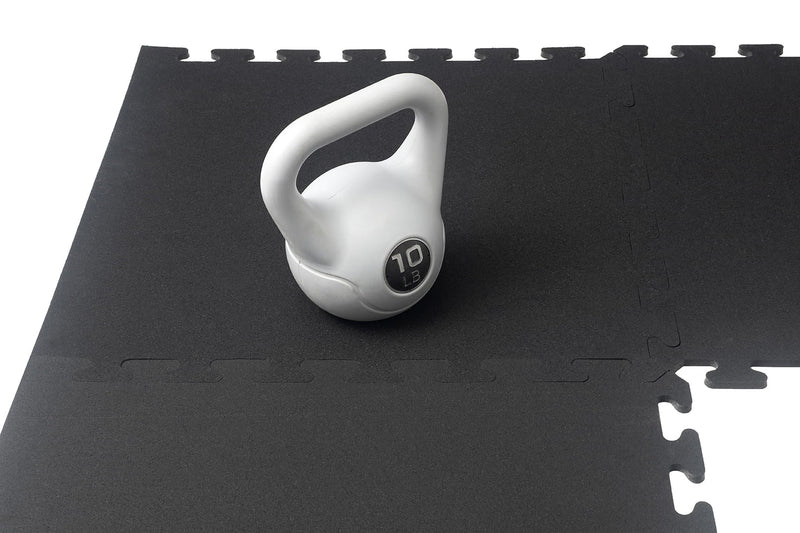
Designed to handle heavy lifting, cardio machines, and foot traffic, these tiles provide professional-grade protection for both commercial and home gyms.
More Rubber Flooring Options
- Tiles with more thickness and color available here. Straight edge tiles are a unique product line and do not connect with other Living.Fit product tiles.
- Mats and rolls also available here.
- Read more about selecting flooring in the Gym Flooring Blog.
- More colors available upon request via info@living.fit.
Features & Benefits
- Precision Fit: Each tile measures 24" x 24" from straight edge to the center of tab, creating a flush fit once installed.
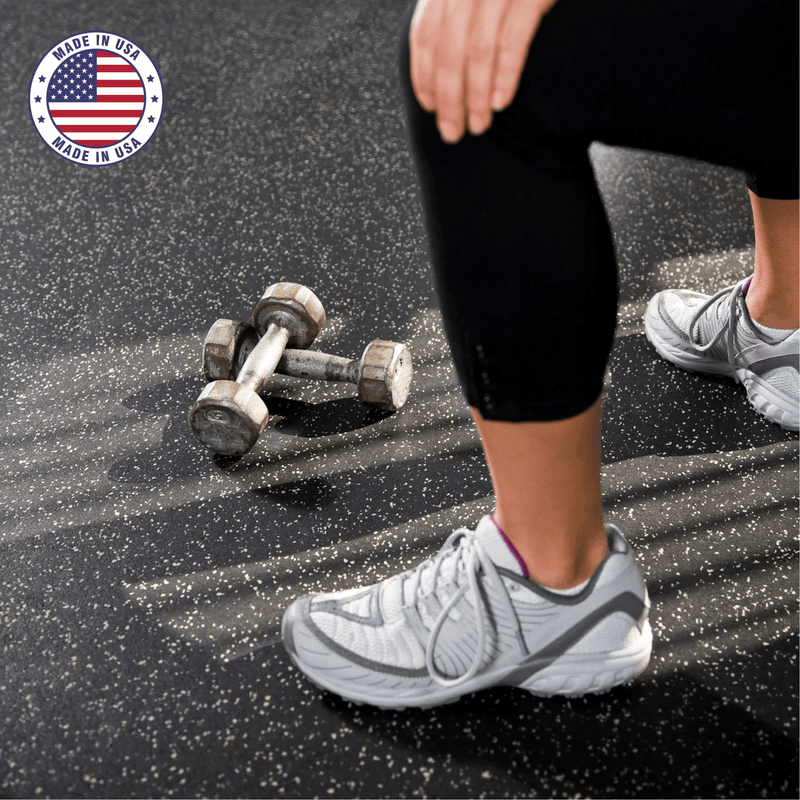
- Made in the USA: Proudly produced with American manufacturing standards using quality recycled materials.
- Easy Installation: Interlocks like puzzle pieces with no adhesives or special tools required.
- Modular and Reusable: Move or reconfigure your layout at any time, perfect for evolving spaces.
- Slip Resistant: Provides grip even in wet or high-sweat areas for safer workouts.
- Low Odor: Made from cleaned, shredded rubber with reduced smell compared to traditional rubber mats.
- Durable and Impact-Resistant: Withstands heavy weights, machines, and high foot traffic.
- Seamless Appearance: Tightly interlocked edges create a clean, finished look with virtually invisible seams.
- Eco-Friendly: Manufactured from recycled SBR tire rubber and EPDM flecks.
- VOC Compliant: ASTM D5116/CA 1350.
How It Compares
Compared to rolled rubber flooring, these interlocking tiles offer easier installation and repositioning with no tools or adhesives. While rolls are great for covering large areas quickly, tiles provide flexibility for future layout changes and replacements. For thicker protection, consider our gym flooring collection with 1/2" or thicker options.
Read more about selecting the right flooring in our Gym Flooring Blog.
Rolled Rubber Flooring Installation Guide
Tape or glue is not required for simpler home gym set ups. For high-traffic areas or spaces without climate control, glue is ideal to ensure a long-lasting, secure installation with tightly sealed seams that withstand temperature changes. For DIY projects or temporary setups—especially in leased spaces—double-sided tape offers a reliable, non-permanent solution that keeps tiles in place without the need for adhesive.
A. Double-Sided Tape Installation
- Make sure the subfloor is clean, dry, and free of debris.
- Lay the rubber rolls loosely in the room to create your layout. Allow them to relax for 24–48 hours.
- Rubber rolls may be directional. Make sure the color matches across all rolls. If not, try flipping or rotating the rolls 180 degrees.
- Cut the rolls to fit using a straight edge and a sharp utility knife. Leave a small gap around the edges (roughly the thickness of the roll) to allow for expansion.
- Roll back one end of each roll and apply double-sided tape along the perimeter of the subfloor.
- Apply the tape directly to the subfloor—typically one line of tape on each seam and at the perimeter—to hold the flooring securely in place.
- Once the tape is applied, carefully press the rubber flooring onto it, smoothing out any bubbles and ensuring the edges align tightly. This method is ideal for DIY projects, leased spaces, or areas where permanent adhesives aren't suitable.
- Press the rubber back into place on top of the tape.
- VIEW TAPE HERE
B: Full Adhesive (Glue-Down) Method
- Confirm that the subfloor is clean, dry, and free from any residue or moisture.
- Place the rubber rolls loosely on the floor to determine layout and allow them to relax for 24–48 hours before permanent installation.
- Tip: As with the tape method, check that all rolls align in both color and pattern. Rotate or flip rolls if there are noticeable differences.
- Use a straight edge and a sharp utility knife to cut the rolls to the required dimensions, leaving a perimeter gap for expansion.
- Roll up one end of a section and spread a thin layer of polyurethane-based adhesive over a 10-foot stretch of subfloor.
- Gradually unroll the flooring onto the adhesive in 10-foot sections, continuing until the entire length is in place.
- Once the rolls are fully adhered, go over the surface with a 100-pound roller to ensure strong bonding. If a roller isn’t available, walking over the surface using short, firm steps can also help.
- View glue here or as an add on item. on this page
Initial Cleaning Procedure
- Remove all surface soil, debris, sand, and grit by sweeping, dust
mopping or vacuuming. - Scrub floor with recommended Rubber Floor
Cleaner with a rectangular microfiber mop. A soft nylon brush may be
used in more heavily soiled areas. - DO NOT flood the floor with water as the Interlocking design will allow
water to pass through
Regular Cleaning Procedure
- Sweep, dust mop, or vacuum floor to remove surface soil, debris,
sand, and grit. - Damp mop with a microfiber mop using Rubber Floor Cleaner
Restorative Cleaning Procedure
- Sweep or vacuum to remove loose soil.
- Heavy scrub using a rotary scrubber or automatic scrubber with Brown or Black Stripper pad and solution of Rubber Floor Cleaner.
- Pick up solution with wet vac
- Rinse with clean water. Do not flood the floor.
- Allow the floor to thoroughly dry.
Ordering & Customization
Q: How thick should my flooring be?
A: It depends on your training style and equipment. 6mm — light weights, stretching, bodyweight work. 8mm — home gyms, functional trainers, squat racks, treadmills. 9mm — CrossFit/commercial, heavier drops. 12mm — Olympic lifting, frequent barbell drops. 18mm — powerlifting, extreme drops, industrial use.
Q: When will my order ship, and how long until it arrives?
A: You'll find your specific expected arrival date just below the Add to Cart button on this page — it's calculated for this exact product.
Q: What's the difference between Confetti, Regrind, and Standard rubber?
A: It comes down to material source and consistency. Confetti uses mixed-color recycled scraps (speckled look, slight variation roll to roll). Regrind uses more neutral/black recycled scraps (muted gray-black look). Standard uses controlled materials for the most uniform color and density.
Q: Can I order a custom color/thickness combo?
A: Yes, for larger orders. 5,000+ sq ft: email info@living.fit. Custom thickness/color under 1,100 sq ft: same email, we'll quote it.
Q: Can I get a free sample before ordering?
A: Yes — click "Order a Free Sample" under the Add to Cart button on this page for a physical swatch before you commit.
Q: How much flooring do I need?
A: Multiply the room's length by width for total square footage, then order a little extra for trimming. Rolls are 4 ft wide, so larger rooms need multiple rolls side by side. Use the calculator on this page for an exact quote.
Installation
Q: Do rolls need to be glued down?
A: No — tape is enough for most home gyms. The rubber's weight keeps it in place day to day; double-sided tape along seams and perimeter prevents shifting under heavy equipment. Full glue-down is only needed for commercial or high-traffic spaces.
Q: Does the roll come with tape included?
A: No — tape is available as a separate accessory add-on, not included with the flooring roll itself.
Q: How much adhesive do I need, and does it bond to concrete?
A: Yes, it bonds well to concrete, including smooth-finished surfaces (clean and dry the surface first). Two methods: perimeter-bond (adhesive around edges only — roughly half the material, best for home gyms) or full glue-down (adhesive across the whole surface — for high-traffic or heavy-equipment spaces).
Q: Can this be installed over concrete or existing floors?
A: Yes — concrete, wood, and other hard surfaces all work well and give the most stable base.
Q: Rolls or tiles — which is better for my space?
A: For open, rectangular rooms, rolls give a more seamless look with fewer joints. For smaller or irregularly shaped spaces, tiles are easier to fit and install piece by piece.
Q: How do you cut rolls during installation?
A: Score with a utility knife along a straight edge, then make multiple passes to cut through cleanly. Measure carefully and leave a little extra material for a precise fit.
Q: Does rubber flooring damage concrete or garage floor sealers?
A: No — it protects concrete rather than damaging it. One caution: rubber can occasionally react with certain sealers or freshly coated concrete. Use a vapor barrier or let sealed floors fully cure before installing.
Q: Do I need underlayment?
A: No — the dense rubber itself provides cushioning and impact absorption in most cases.
Performance & Durability
Q: Will it protect my subfloor and reduce noise from dropped weights?
A: Yes — it absorbs impact and reduces vibration and noise from heavy equipment and dropped weights.
Q: Is it waterproof, and can I use it in a basement?
A: Yes to both. Rubber is naturally water-resistant, making it suitable for garages, basements, and other moisture-prone spaces.
Q: Can I put heavy gym equipment directly on it?
A: Yes — it's built to support squat racks, treadmills, benches, and functional trainers.
Q: How long does it last?
A: Many years with normal use — lifespan depends on thickness and intensity of use, but it's built to handle heavy equipment and repeated impact.
Q: Can it be used outdoors?
A: It's designed primarily for indoor use. It can handle some outdoor exposure, but prolonged sun and weather will wear it faster over time.
Q: How does it compare to foam mats?
A: It's significantly more durable and handles heavy weights and equipment, where foam mats are better suited to light exercise only.
Care & Other
Q: How do I clean and maintain it?
A: Sweep or vacuum regularly, and mop occasionally with mild soap and water. Avoid harsh chemicals or abrasive cleaners.
Q: Will it smell like rubber?
A: A mild odor is normal at first, especially with recycled rubber, and fades after airing out and cleaning. Higher-grade rubber has less odor to begin with.
Q: Why do rolls sometimes arrive slightly longer than ordered?
A: This is intentional — the extra length gives installers enough material to square the flooring for a clean final fit.
Q: Is Living.Fit flooring made in the USA?
A: Many of our rubber flooring products are manufactured in the USA using high-quality recycled rubber, to residential and commercial durability standards.
How Much Double-Sided Tape You Need for Rubber Flooring
Use double-sided tape to help keep rubber flooring in place, especially on smooth surfaces or in high-traffic areas where slippage or movement is a concern.
-
Perimeter Only (light use):
- Tape the outer edges only.
- Use ~1 foot of tape per foot of room perimeter.
- Example: 10'x10' room = 40 ft of tape.
-
Perimeter + Cross Strips (medium use):
- Add tape strips across the floor every 3–4 ft.
- Example: 10'x10' room = ~70 ft of tape.
-
Grid Style (heavy use, gym equipment):
- Create a full grid every 2–3 ft in both directions.
- Example: 10'x10' room = 140+ ft of tape.
Quick Estimate by Room Size
- 100 sq ft: Light: 40 ft · Medium: 70 ft · Heavy: 140 ft
- 200 sq ft: Light: 60 ft · Medium: 100 ft · Heavy: 200 ft
- 400 sq ft: Light: 80 ft · Medium: 140 ft · Heavy: 280 ft
Pro Tips
- Tape comes in 25 ft, 50 ft, or 100 ft rolls — round up.
- Use tape made for rubber flooring and your subfloor type.
- Let flooring sit in the room for 24 hours before taping.
How Much Flooring Adhesive You Need for Rubber Flooring
If you're using flooring adhesive instead of tape, it's important to apply the correct amount based on the surface area and type of installation—full glue-down or perimeter-bond.
-
Perimeter-Bond Installation (light to medium use):
- Apply adhesive only around the edges of each tile or roll.
- Best for home gyms or spaces without heavy equipment.
- Requires less adhesive overall—roughly half the amount of a full glue-down.
-
Full Glue-Down Installation (heavy use or commercial):
- Adhesive is applied across the entire surface area.
- Ideal for high-traffic zones or rooms with heavy equipment.
- Provides the most secure bond but requires more product and prep time.
-
Adhesive Types:
- Use pressure-sensitive adhesive for easier repositioning.
- Use urethane adhesive for permanent, high-performance bonds.
- Follow manufacturer guidelines for trowel size and spread rate.
Quick Estimate by Coverage
- 1 gallon (128 oz): Covers ~150–200 sq ft (full coverage)
- Perimeter-bond: Covers ~250–300 sq ft per gallon
- Rolls & sheets: May require more adhesive depending on thickness
Pro Tips
- Always clean and dry the subfloor before applying adhesive.
- Use the correct trowel notch size for your adhesive type.
- Let adhesive cure fully before moving equipment onto the floor.