
Living.Fit - Interlocking Rubber Tiles with Straight Edges & Corners – USA-Made



About These Tiles
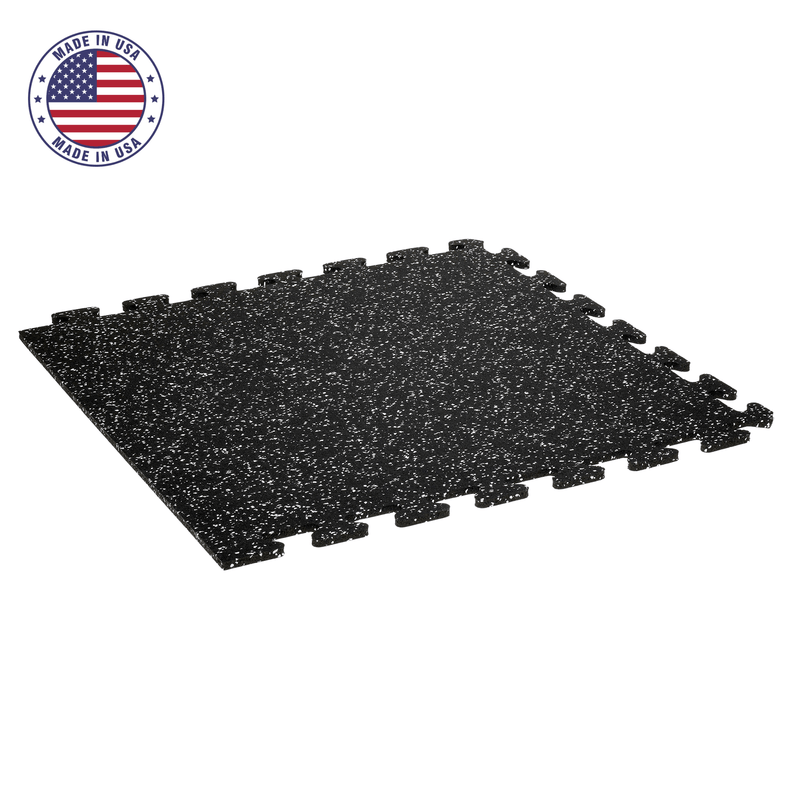
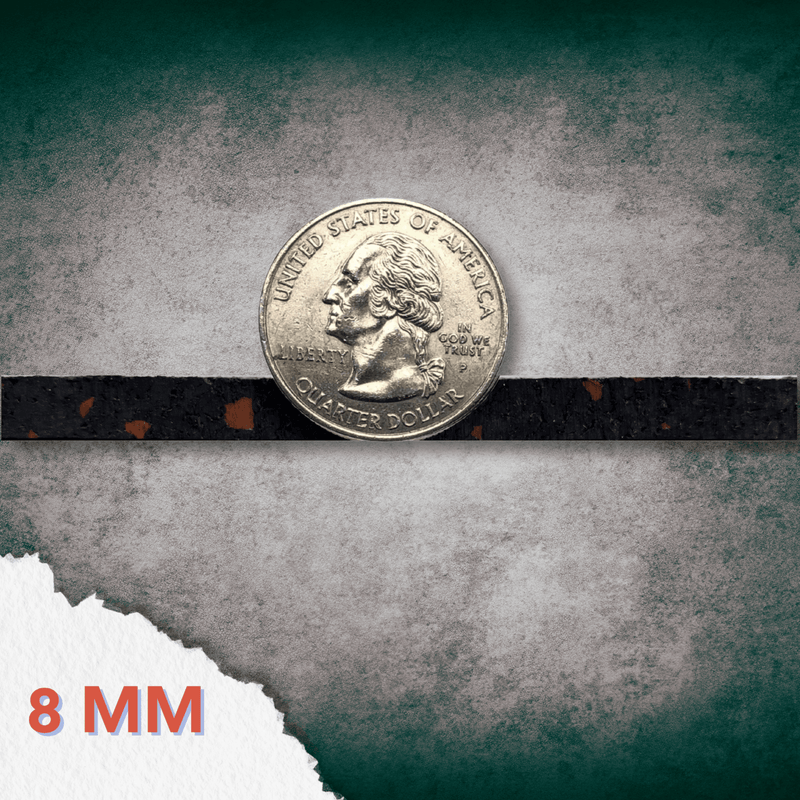
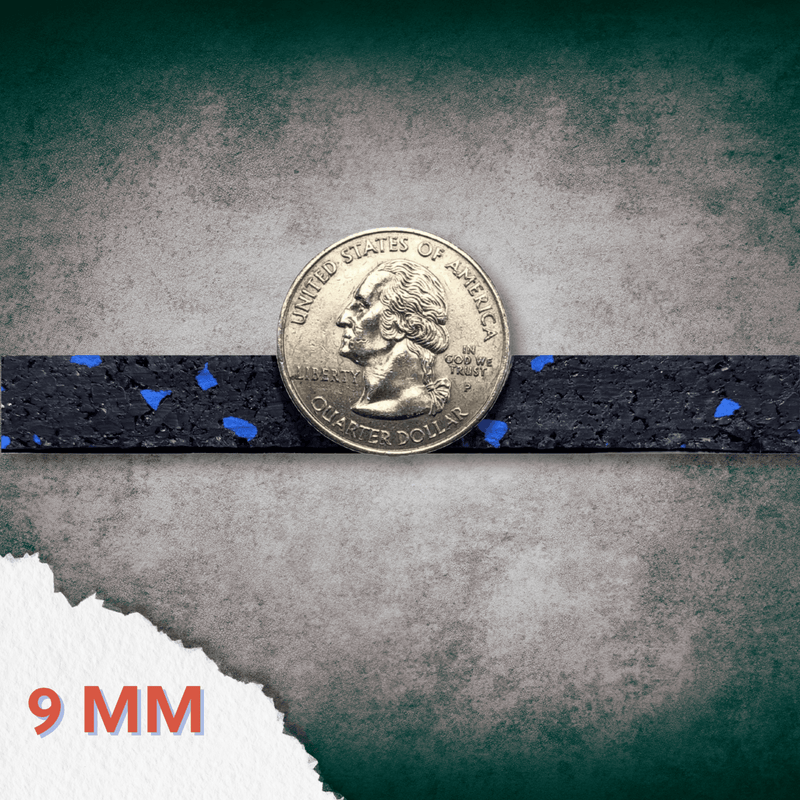
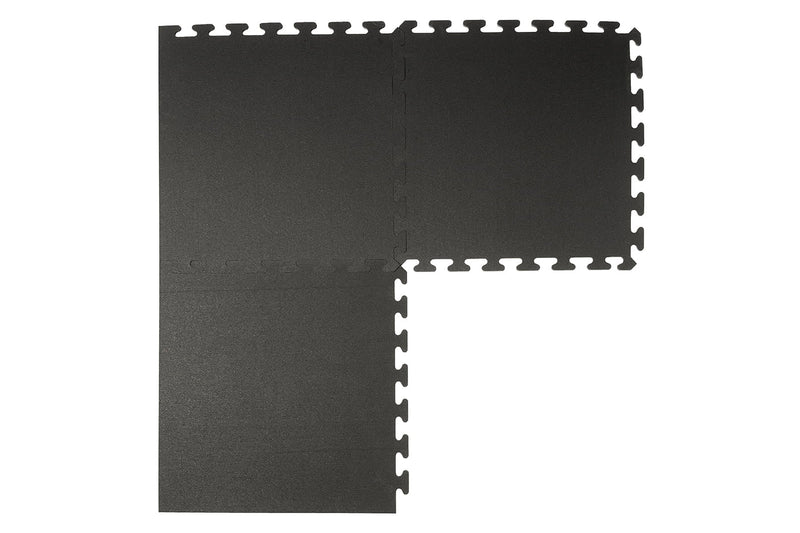
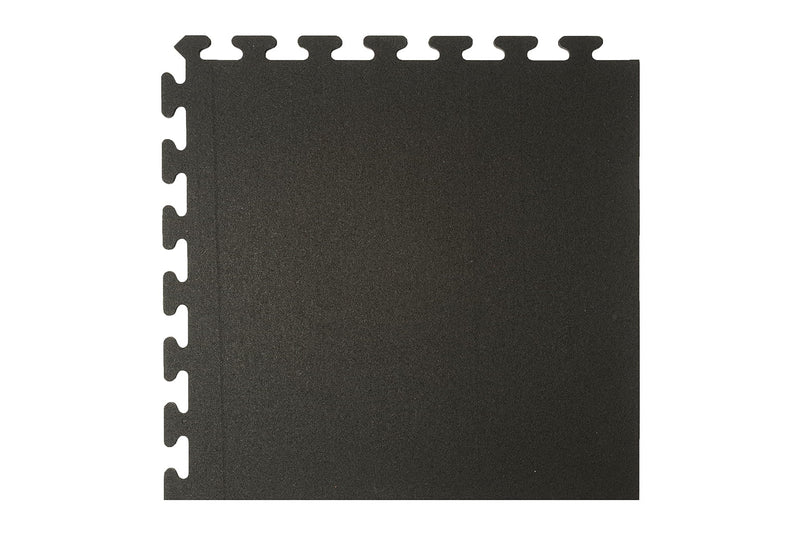
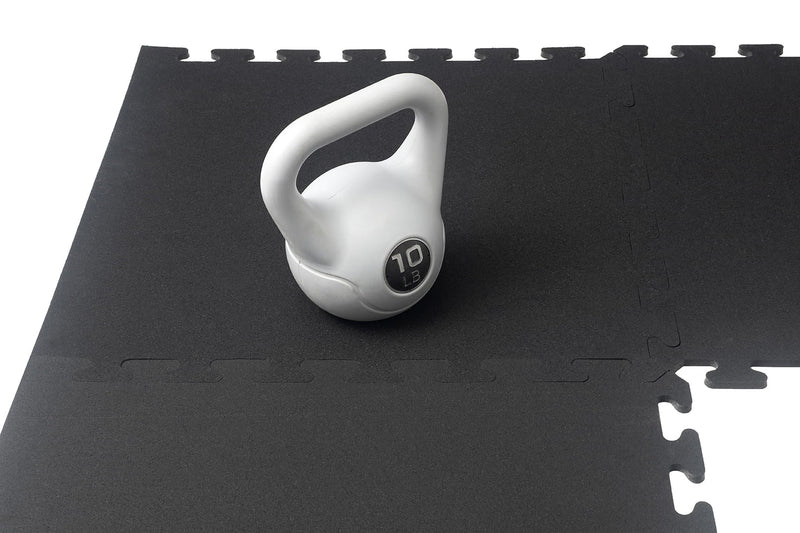
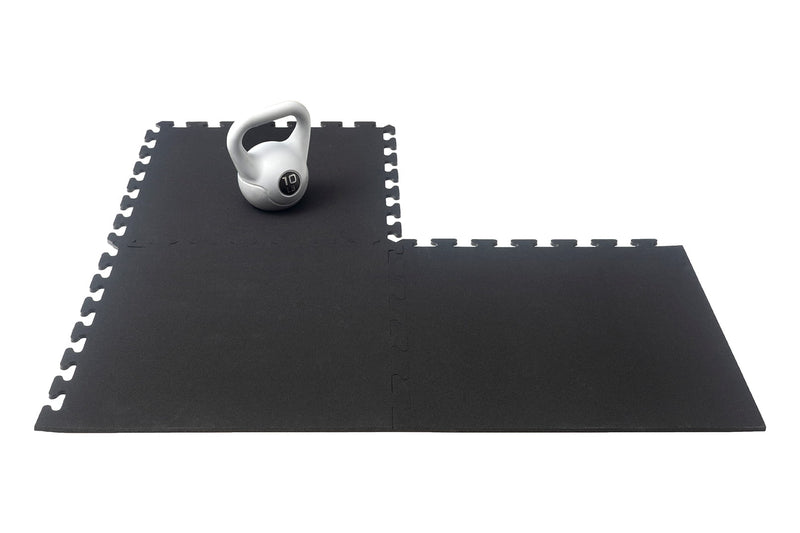
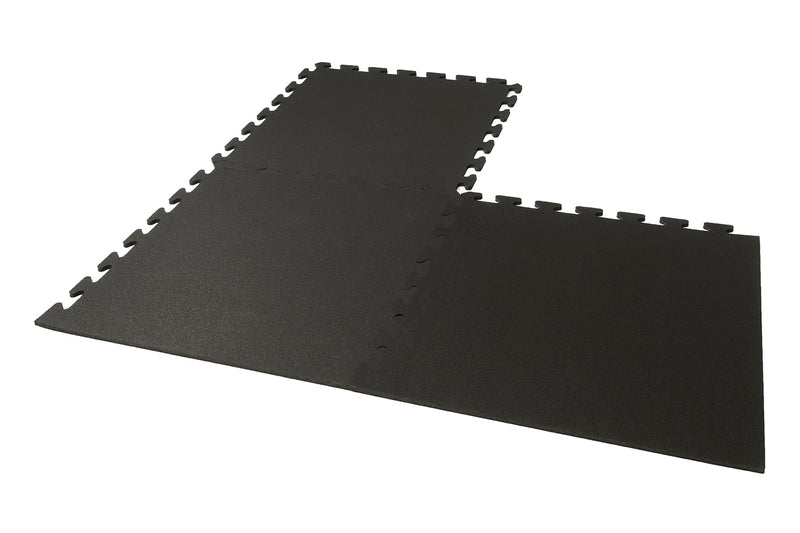
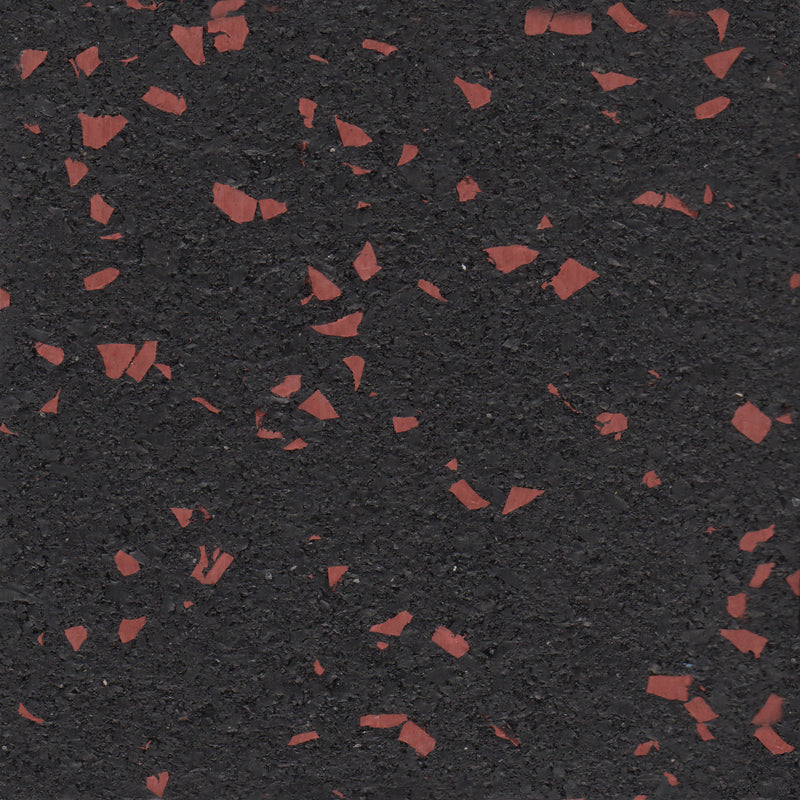
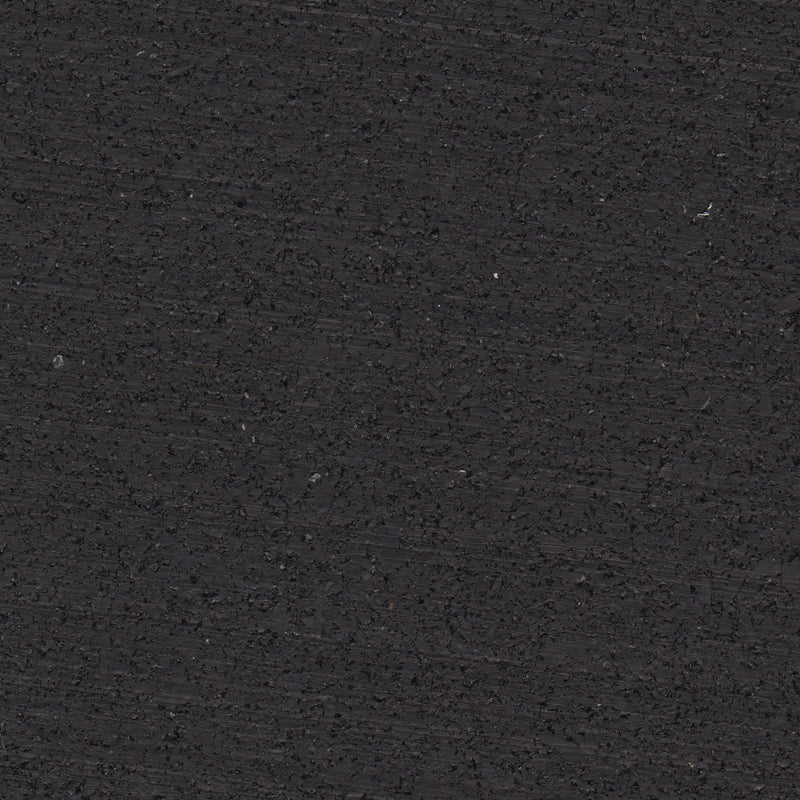
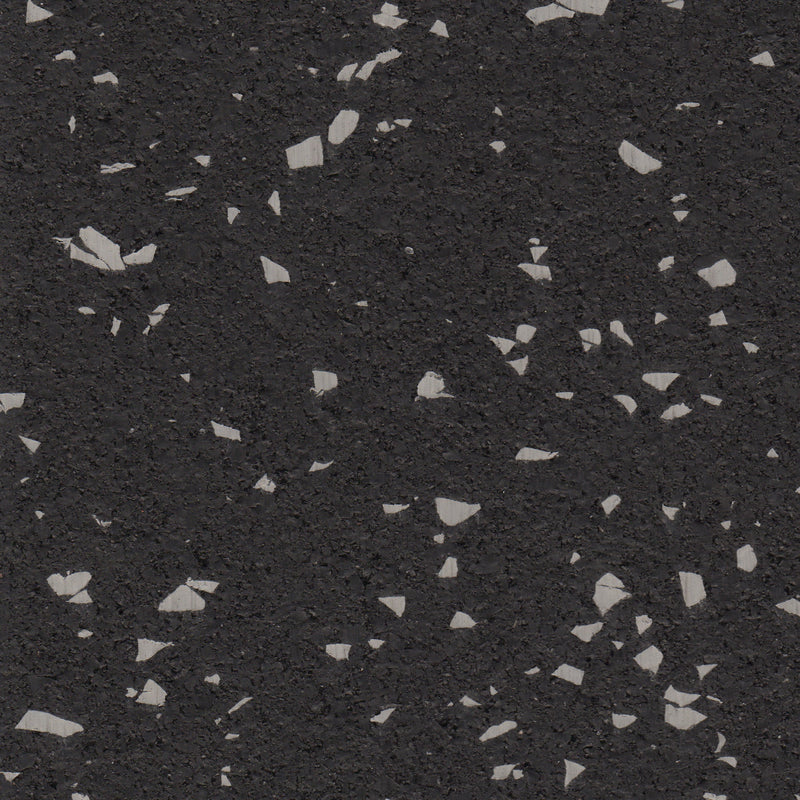
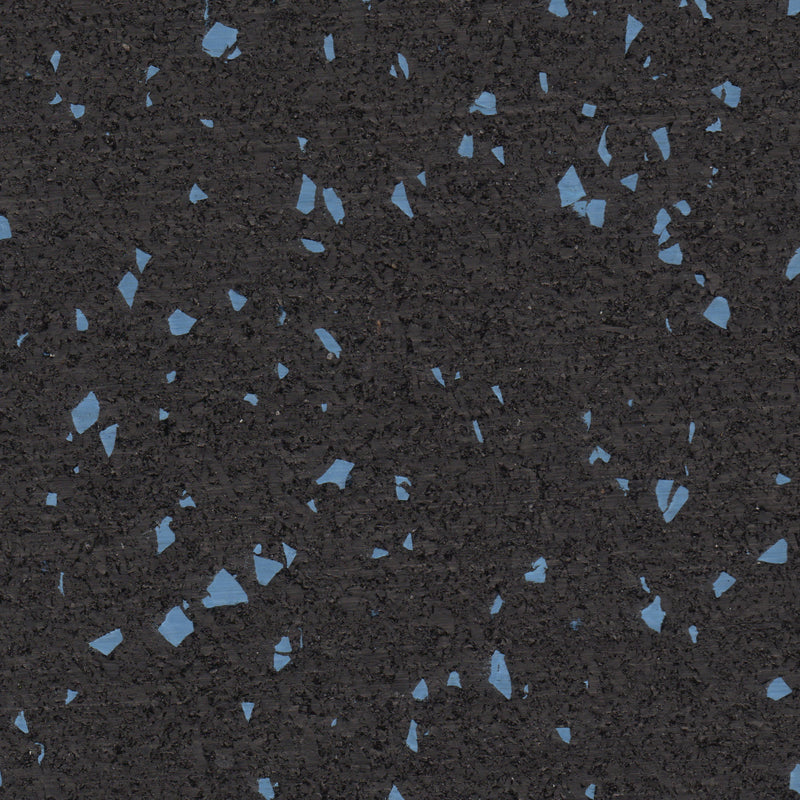
These 24" x 24" interlocking rubber tiles offer unmatched durability and simple installation for high-impact environments. Comes with edge and corner tiles which include straight edges as part of the tile. Corners and straight edges are not add ons, tiles are cut specifically as corners, straight edges or center pieces. Choose from black 8mm tiles or 9 mm tiles in multiple color options.
How To Use This Page
- Enter room dimensions in the calculator.
- Required center, edge, and corner tiles are automatically added.
- Cart quantity reflects total square footage and layout pieces needed.
Designed for Real Gym Use
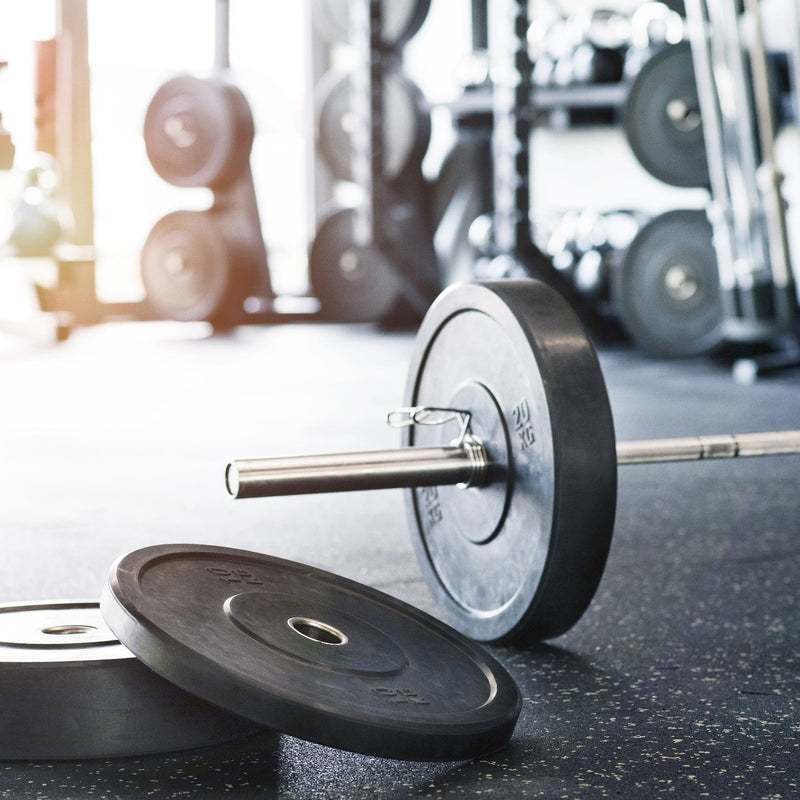
Designed to handle heavy lifting, cardio machines, and foot traffic, these tiles provide professional-grade protection for both commercial and home gyms.
Quantity Based Pricing
- 9mm black tiles - Quantities of 0-99 are $9.89 per tile. 100+ units are $9.69 per tile.
- 9mm colored tiles - Quantities of 0-99, are $10.90 per tile. 100+ units are $10.74 per tile.
Discounts are automatically added to your cart.
More Rubber Flooring Options
- View Rubber Flooring Tiles with more thickness and color available.
- Straight edge tiles are a unique product line and do not connect with other Living.Fit product tiles.
- View 8mm rubber tiles with detachable edges and borders are found h
- Mats and rubber rolls
- Read more about selecting flooring in the Gym Flooring Blog.
- More colors available upon request via info@living.fit.
Features & Benefits
- Precision Fit: Each tile measures 24" x 24" from straight edge to the center of tab, creating a flush fit once installed.
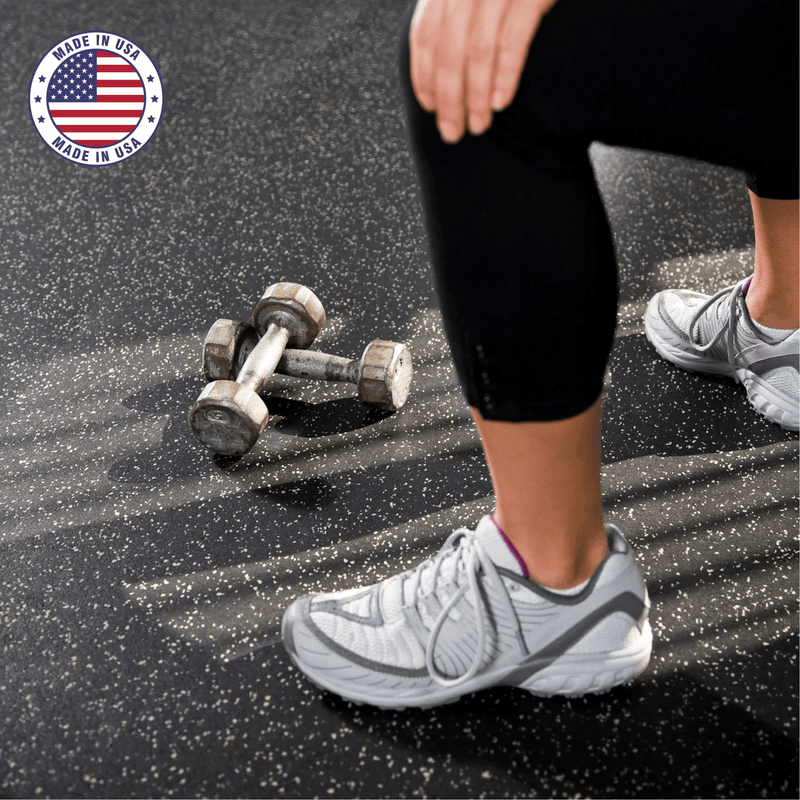
- Made in the USA: Proudly produced with American manufacturing standards using quality recycled materials.
- Easy Installation: Interlocks like puzzle pieces with no adhesives or special tools required.
- Modular and Reusable: Move or reconfigure your layout at any time, perfect for evolving spaces.
- Slip Resistant: Provides grip even in wet or high-sweat areas for safer workouts.
- Low Odor: Made from cleaned, shredded rubber with reduced smell compared to traditional rubber mats.
- Durable and Impact-Resistant: Withstands heavy weights, machines, and high foot traffic.
- Seamless Appearance: Tightly interlocked edges create a clean, finished look with virtually invisible seams.
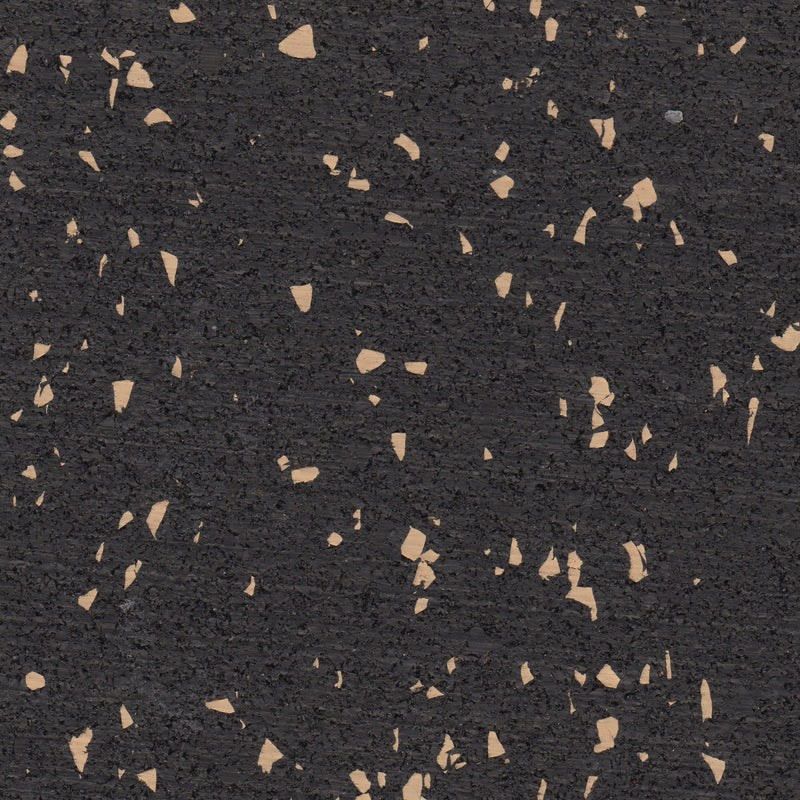
- Eco-Friendly: Manufactured from recycled SBR tire rubber and EPDM flecks.
- VOC Compliant: ASTM D5116/CA 1350.
How It Compares
Compared to rolled rubber flooring, these interlocking tiles offer easier installation and repositioning with no tools or adhesives. While rolls are great for covering large areas quickly, tiles provide flexibility for future layout changes and replacements. For thicker protection, consider our gym flooring collection with 1/2" or thicker options.
Read more about selecting the right flooring in our Gym Flooring Blog.
Ordering & Customization
Should I choose 8mm or 9mm?
When will my order ship, and how long until it arrives?
What's the difference between Confetti, Regrind, and Standard rubber?
Can I order a custom color/thickness combo?
Can I get a free sample before ordering?
How much flooring do I need?
Do all thicknesses come with matching edge and corner pieces?
Can I get tiles that sit flush against the wall?
Do you sell rectangular tiles?
Installation
Do these need to be glued down?
Does the roll come with tape included?
How much adhesive do I need, and does it bond to concrete?
Can this be installed over concrete or existing floors?
Are these waterproof?
Rolls or tiles — which is better for my space?
How do you cut rolls during installation?
Does rubber flooring damage concrete or garage floor sealers?
Do I need underlayment?
Performance & Durability
Will it protect my subfloor and reduce noise from dropped weights?
Is it waterproof, and can I use it in a basement?
Can I put heavy gym equipment directly on it?
How long does it last?
Can it be used outdoors?
How does it compare to foam mats?
Care & Other
How do I clean and maintain it?
Will it smell like rubber?
Why do rolls sometimes arrive slightly longer than ordered?
Is Living.Fit flooring made in the USA?
How do I clean rubber flooring?
No FAQs match your search.
Tape or glue is not required for simpler home gym set ups. For high-traffic areas or spaces without climate control, glue is ideal to ensure a long-lasting, secure installation with tightly sealed seams that withstand temperature changes. For DIY projects or temporary setups—especially in leased spaces—double-sided tape offers a reliable, non-permanent solution that keeps tiles in place without the need for adhesive.
A. Double-Sided Tape Installation
- Make sure the subfloor is clean, dry, and free of debris.
- Lay the tiles loosely in the room to create your layout. Allow them to relax for 24–48 hours.
- Tiles may be directional. Make sure the color matches across all tile. If not, try flipping or rotating the tiles 180 degrees.
- If needed, cut the tiles to fit using a straight edge and a sharp utility knife. Leave a small gap around the edges (roughly the thickness of the roll) to allow for expansion.
- Roll back one end of each tile and apply double-sided tape along the perimeter of the subfloor.
- Apply the tape directly to the subfloor—typically one line of tape on each seam and at the perimeter—to hold the flooring securely in place.
- Once the tape is applied, carefully press the rubber flooring onto it, smoothing out any bubbles and ensuring the edges align tightly. This method is ideal for DIY projects, leased spaces, or areas where permanent adhesives aren't suitable.
- Press the rubber back into place on top of the tape.
- VIEW TAPE HERE
B: Full Adhesive (Glue-Down) Method
- Confirm that the subfloor is clean, dry, and free from any residue or moisture.
- Place the rubber tiles loosely on the floor to determine layout and allow them to relax for 24–48 hours before permanent installation.
- Tip: As with the tape method, check that all tiles align in both color and pattern. Rotate or flip tiles if there are noticeable differences.
- Use a straight edge and a sharp utility knife to cut the tiles to the required dimensions, leaving a perimeter gap for expansion.
- Roll up one end of a section and spread a thin layer of polyurethane-based adhesive over a 10-foot stretch of subfloor.
- Gradually unroll the tiles onto the adhesive in 10-foot sections, continuing until the entire length is in place.
- Once the tiles are fully adhered, go over the surface with a 100-pound roller to ensure strong bonding. If a roller isn’t available, walking over the surface using short, firm steps can also help.
- View glue here or as an add on item. on this page
Initial Cleaning Procedure
- Remove all surface soil, debris, sand, and grit by sweeping, dust
mopping or vacuuming. - Scrub floor with recommended Rubber Floor
Cleaner with a rectangular microfiber mop. A soft nylon brush may be
used in more heavily soiled areas. - DO NOT flood the floor with water as the Interlocking design will allow
water to pass through
Regular Cleaning Procedure
- Sweep, dust mop, or vacuum floor to remove surface soil, debris,
sand, and grit. - Damp mop with a microfiber mop using Rubber Floor Cleaner
Restorative Cleaning Procedure
- Sweep or vacuum to remove loose soil.
- Heavy scrub using a rotary scrubber or automatic scrubber with Brown or Black Stripper pad and solution of Rubber Floor Cleaner.
- Pick up solution with wet vac
- Rinse with clean water. Do not flood the floor.
- Allow the floor to thoroughly dry.
Unbox & Set Up
Tiles arrive ready to connect and set up. Most orders ship in boxes like this, though larger orders might arrive on pallets.
- Tile size: 24″ × 24″ — each tile covers 4 sq ft
- Thickness: 5/16″ (8mm, Black) or 3/8″ (9mm, all colors)
- Weight per tile: approx. 6 lbs (8mm) / 8 lbs (9mm) — light enough for one-person install
- Edges & corners: included and pre-cut with straight edges to sit flush against walls — no cutting or trimming needed. Corner and border pieces are cut as straight-edge tiles, not detachable add-ons.
How Much Double-Sided Tape You Need for Rubber Flooring
Use double-sided tape to help keep rubber flooring in place, especially on smooth surfaces or in high-traffic areas where slippage or movement is a concern.
-
Perimeter Only (light use):
- Tape the outer edges only.
- Use ~1 foot of tape per foot of room perimeter.
- Example: 10'x10' room = 40 ft of tape.
-
Perimeter + Cross Strips (medium use):
- Add tape strips across the floor every 3–4 ft.
- Example: 10'x10' room = ~70 ft of tape.
-
Grid Style (heavy use, gym equipment):
- Create a full grid every 2–3 ft in both directions.
- Example: 10'x10' room = 140+ ft of tape.
Quick Estimate by Room Size
- 100 sq ft: Light: 40 ft · Medium: 70 ft · Heavy: 140 ft
- 200 sq ft: Light: 60 ft · Medium: 100 ft · Heavy: 200 ft
- 400 sq ft: Light: 80 ft · Medium: 140 ft · Heavy: 280 ft
Pro Tips
- Tape comes in 25 ft, 50 ft, or 100 ft rolls — round up.
- Use tape made for rubber flooring and your subfloor type.
- Let flooring sit in the room for 24 hours before taping.
How Much Flooring Adhesive You Need for Rubber Flooring
If you're using flooring adhesive instead of tape, it's important to apply the correct amount based on the surface area and type of installation—full glue-down or perimeter-bond.
-
Perimeter-Bond Installation (light to medium use):
- Apply adhesive only around the edges of each tile or roll.
- Best for home gyms or spaces without heavy equipment.
- Requires less adhesive overall—roughly half the amount of a full glue-down.
-
Full Glue-Down Installation (heavy use or commercial):
- Adhesive is applied across the entire surface area.
- Ideal for high-traffic zones or rooms with heavy equipment.
- Provides the most secure bond but requires more product and prep time.
-
Adhesive Types:
- Use pressure-sensitive adhesive for easier repositioning.
- Use urethane adhesive for permanent, high-performance bonds.
- Follow manufacturer guidelines for trowel size and spread rate.
Quick Estimate by Coverage
- 1 gallon (128 oz): Covers ~150–200 sq ft (full coverage)
- Perimeter-bond: Covers ~250–300 sq ft per gallon
- Rolls & sheets: May require more adhesive depending on thickness
Pro Tips
- Always clean and dry the subfloor before applying adhesive.
- Use the correct trowel notch size for your adhesive type.
- Let adhesive cure fully before moving equipment onto the floor.
- Blue fleck tiles fit together easily and seamlessly, and look great.
- Tiles absorb dumbbells and barbells and make my home gym feel elevated.
- They are easy to install, quality is amazing, and also easy to cut to get the perfect fit.
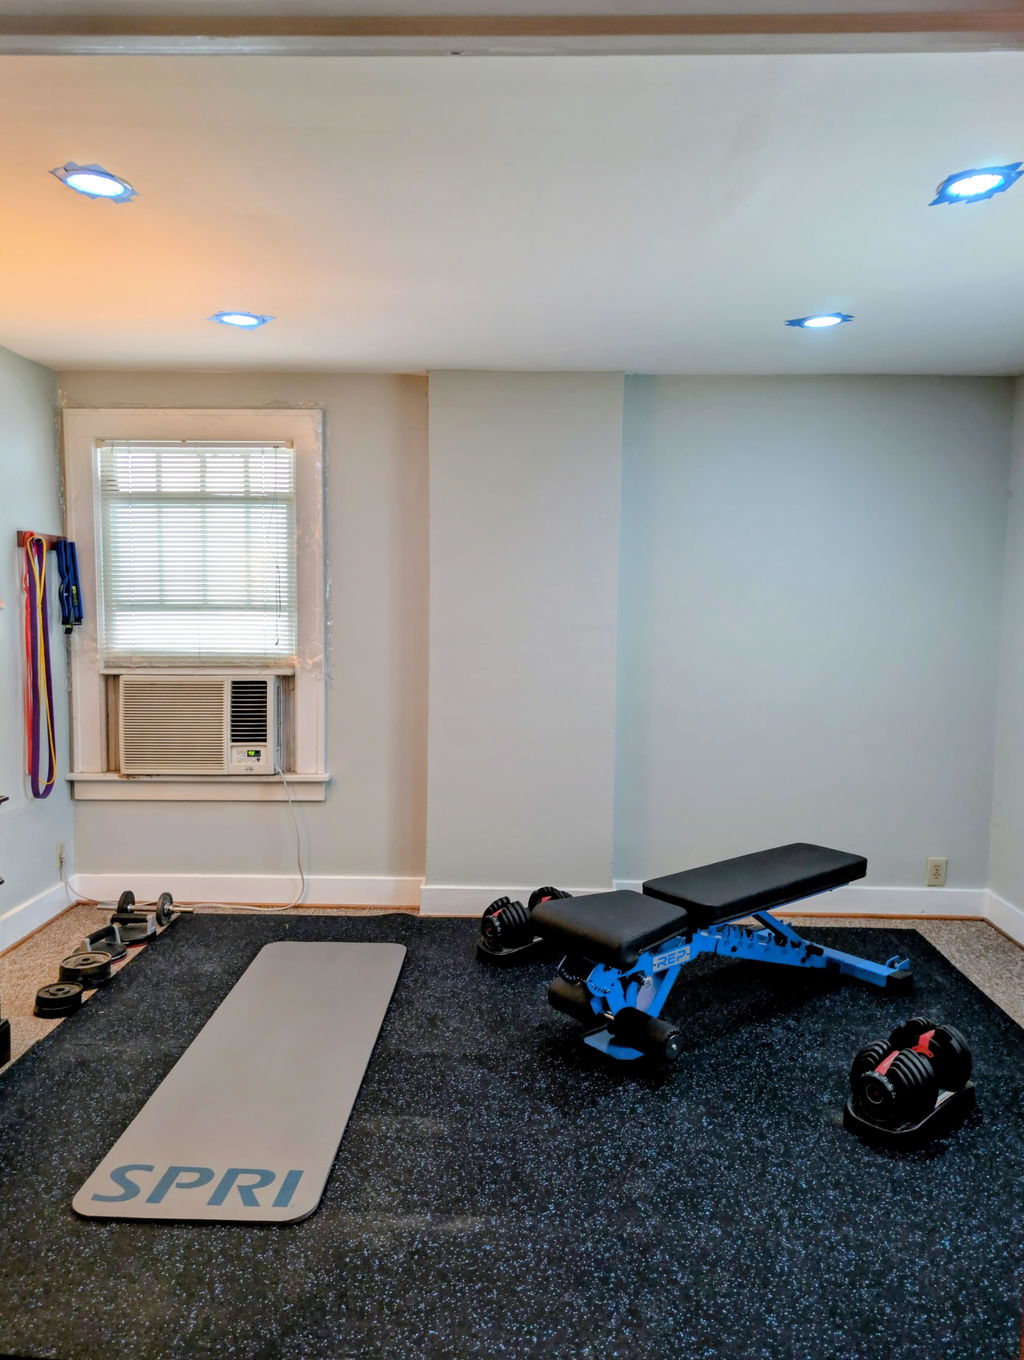
Hardly any smell, can barely see the seams, easy install, and the fleck looks awesome. Well worth the extra cost over horse stall mats. My only issue was that some of the tiles would show a different grain texture when the light hit just right… this was mitigated by rotating the tile 90 degrees, so it really wasn’t a problem.
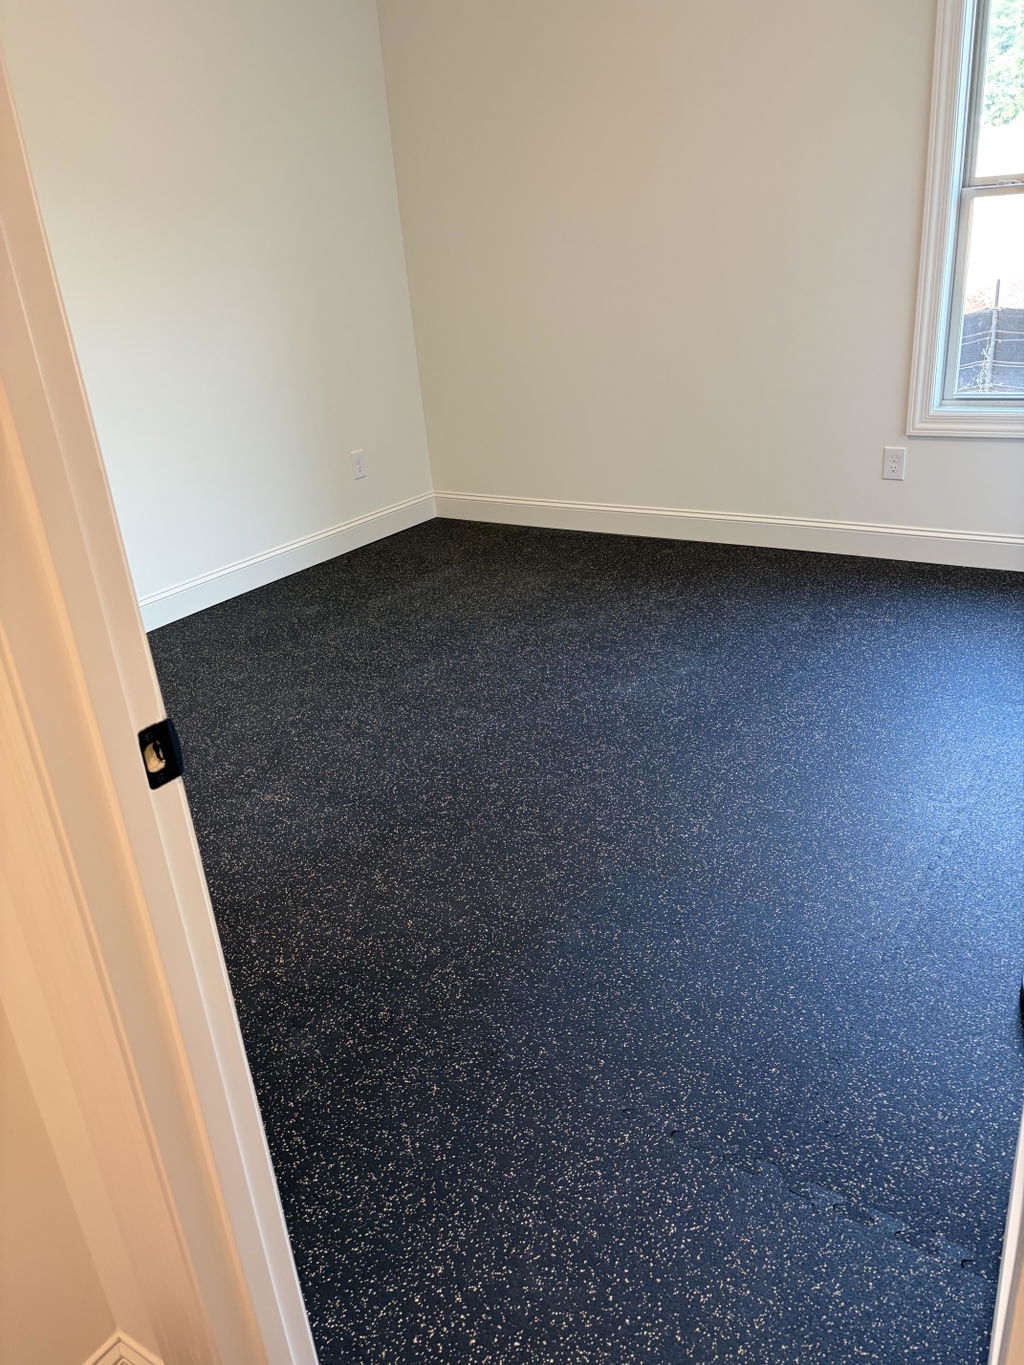
Hi James, thank you for sharing your experience! That is a great looking room! We're glad you love the quality and look of our tiles. Your tip about rotating the tiles is really helpful. Enjoy your upgraded space!
I got the 1/2 inch thick grey fleck interlocking tiles and they work great. However, I’m knocking off a few stars for a misleading email I received from the company post purchase.
After I purchased the product, I got the attached email saying “Leave your review below and receive up to 10% off your next order. Your discount is our way of saying thanks for taking the time to leave an honest review." I wrote a review for the product but unfortunately, I received no discount on my next purchase. When I reached out to customer service, the company responded with the following: “The ‘up to 10% off’ refers to the rewards points earned from leaving a review. Those points are added to your rewards account and can be accumulated and redeemed for discount codes, including rewards worth up to 10% off once enough points have been earned.”
Per the photo attached, the email does not mention anything about a rewards program or rewards points. I wanted to share so that other customers who received a similar email can set appropriate expectations. Going forward, I hope the company reexamines their marketing communication to provide more clarity to customers.

Thank you for the review, and we're glad the 1/2' grey fleck tiles are working great for you!
We'd like to clear up the discount for you and anyone reading. The 'up to 10% off' is delivered through our rewards program, you earn points both on your purchase and for leaving a review, and those points redeem for a discount code worth up to 10%. The value was there all along; the email pointed to the reward without naming the rewards program, which is where the mix-up came in.
To make it effortless, we've also sent you a direct 10% code to use whenever you'd like.
Taking care of our customers is what matters most to us, and we're grateful you gave us the chance to make this right. Thanks again for your business and enjoy the new setup!
I ordered these rubber gym mats expecting a good quality product for my home gym, but what arrived was nothing short of disappointing. The mats were already perished, with cracking and degradation visible straight out of the packaging, as if they’d been sitting in poor storage conditions for a long time. On top of that, the cuts were uneven and imprecise, despite the product being marketed as “precision cut.” To make matters worse, the mats arrived dirty, covered in what looked like boot marks and general grime, clearly not new or properly inspected before dispatch.
I contacted customer service expecting a straightforward resolution, but instead was met with delay after delay. They repeatedly fobbed me off, gave vague responses, and ultimately refused to acknowledge that the product was faulty or misrepresented. At no point did they take responsibility or offer a genuine solution.
Given the poor product quality and the complete lack of accountability from customer service, I would strongly advise against buying from this company. Save yourself the hassle and look elsewhere.
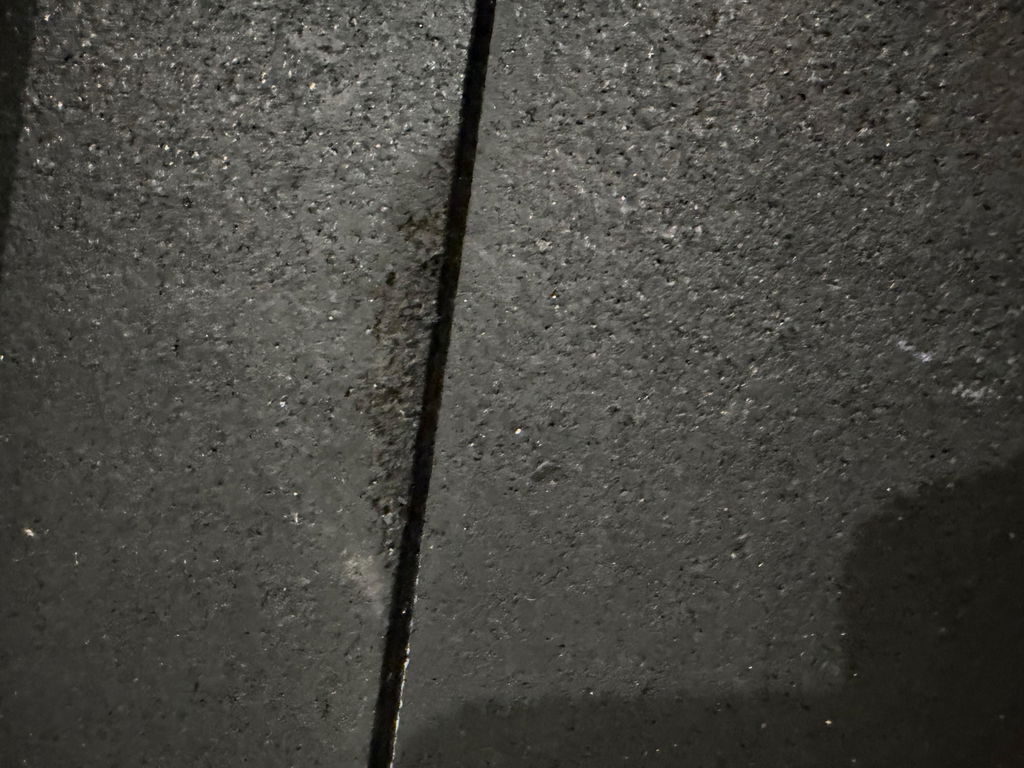
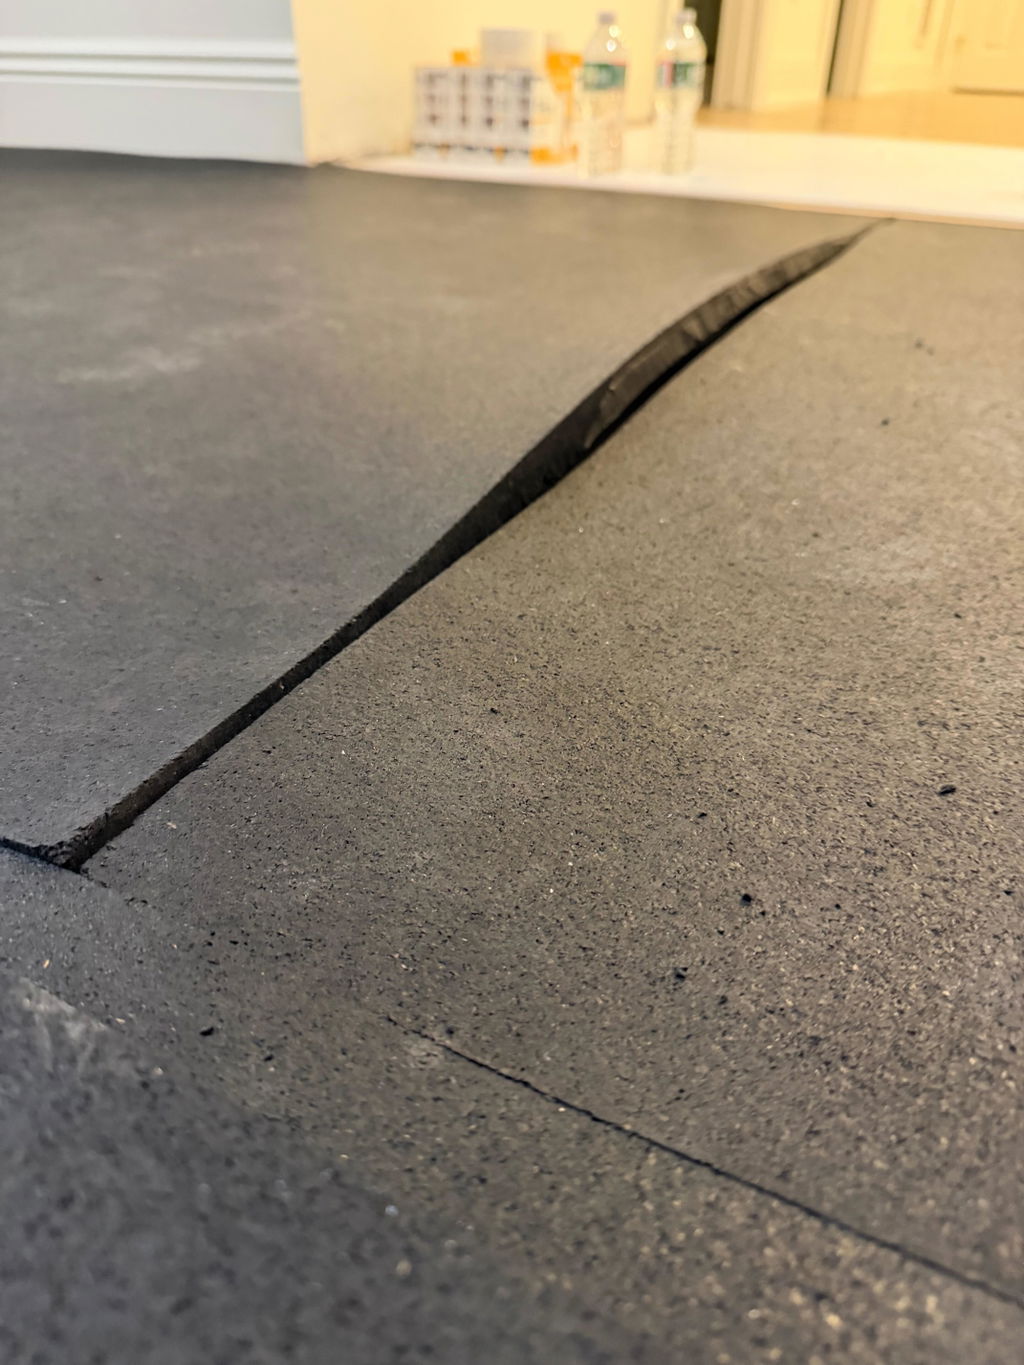
We responded to every message within about one business day, and we offered to replace the exact mats shown here at no cost. That offer still stands. We're sorry this order didn't meet expectations, and we'd like to add some context for anyone reading.
The first message reached us on July 16, and our team replied the next morning. Over the three weeks that followed, we responded to every message, typically within one business day and addressed each concern individually: the surface marks, the curling, the edges, and the mat with a missing chunk. We never stopped responding, and we never declined to help.
On the product: these are 18mm rubber mats that ship rolled. As noted on the product page, rubber has 'memory'. It curls in transit and relaxes flat over a short period, a process that's helped along by reverse-rolling, weighting the seams, and securing the edges.
Precision cut means these arrive sized to the exact lengths ordered, rather than the six-to-twelve inches of overage that standard-cut flooring ships with for trimming. As a natural rubber product, the edge still carries a small dimensional tolerance, it's flexible, not rigid like metal but the pieces come cut to spec, which is the precision the name refers to.
Where our production team did find genuine issues, the mat with the chunk missing and one piece that fell outside acceptable tolerance we identified them and offered to remanufacture and replace them at no cost, asking only for the dimensions so we could get them into production right away. The photos shown here are those same two mats. That offer to make it right was on the table throughout our exchange, and it still stands today.
We hold ourselves accountable when something is wrong, and we did here. We have an extremely low rate of issues with orders like this as exhibited by our reviews. We're sorry we couldn't reach an outcome you were happy with, and our door remains open to complete that replacement whenever you'd like for the mats in question.
Great. High quality product
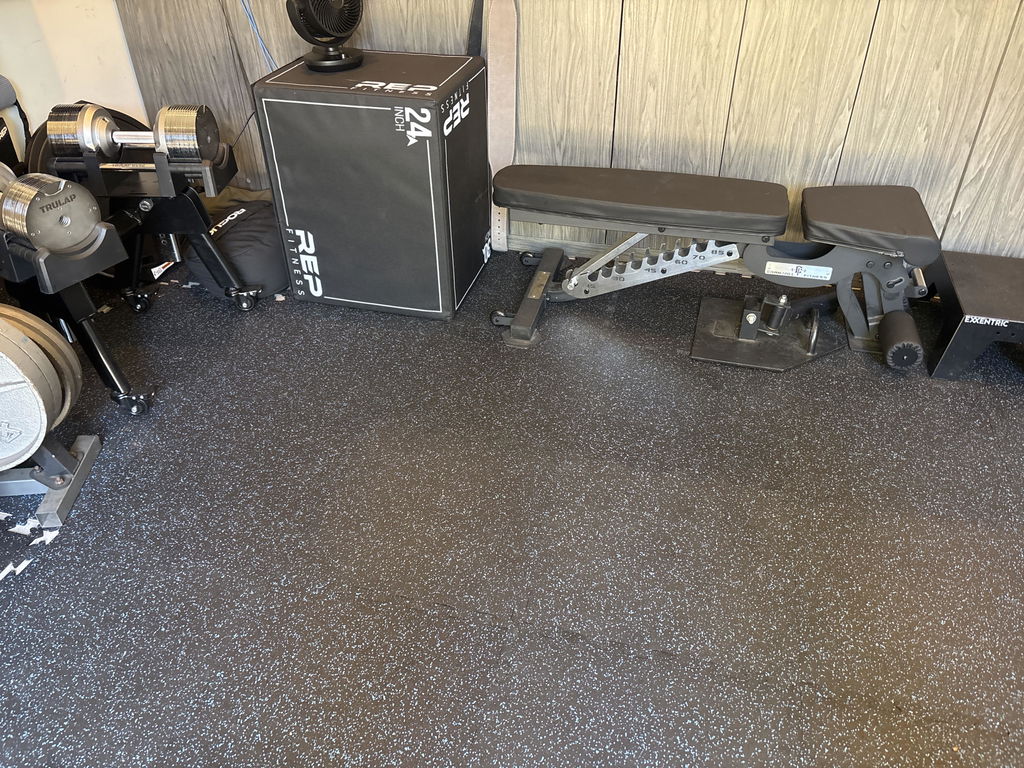
Thanks for the high praise Jeff! We appreciate it
I started my purchase by ordering a sample. Based on the sample, I ordered two mats 4 ft by 10 ft. They're thick and heavy and butt up against each other and you almost can't see a seam between them. Didn't use any tape or anything they stay in place..
Everyone agrees they look good..
Flooring was great!
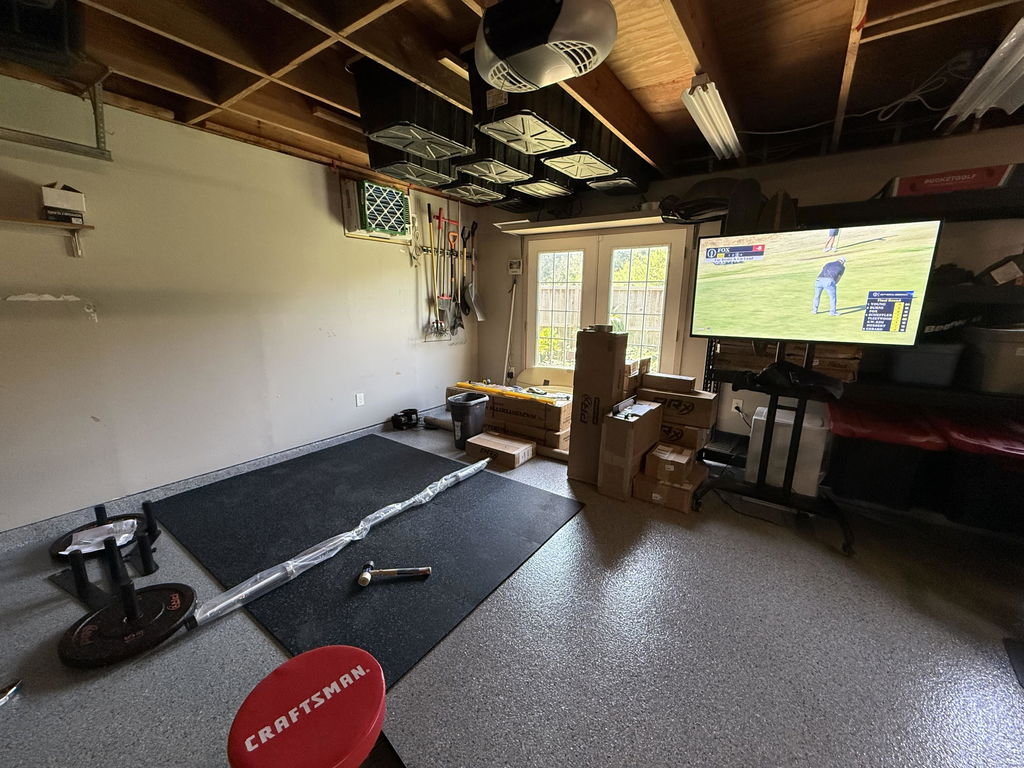
Love seeing the setup! Nothing beats the TV-Gym combo 💪
The mat itself was ok, but the cuts were very rough and nothing was squaring. There were also pins in the mat that had to be removed.
It felt like someone had returned it and it was shipped over without even checking.
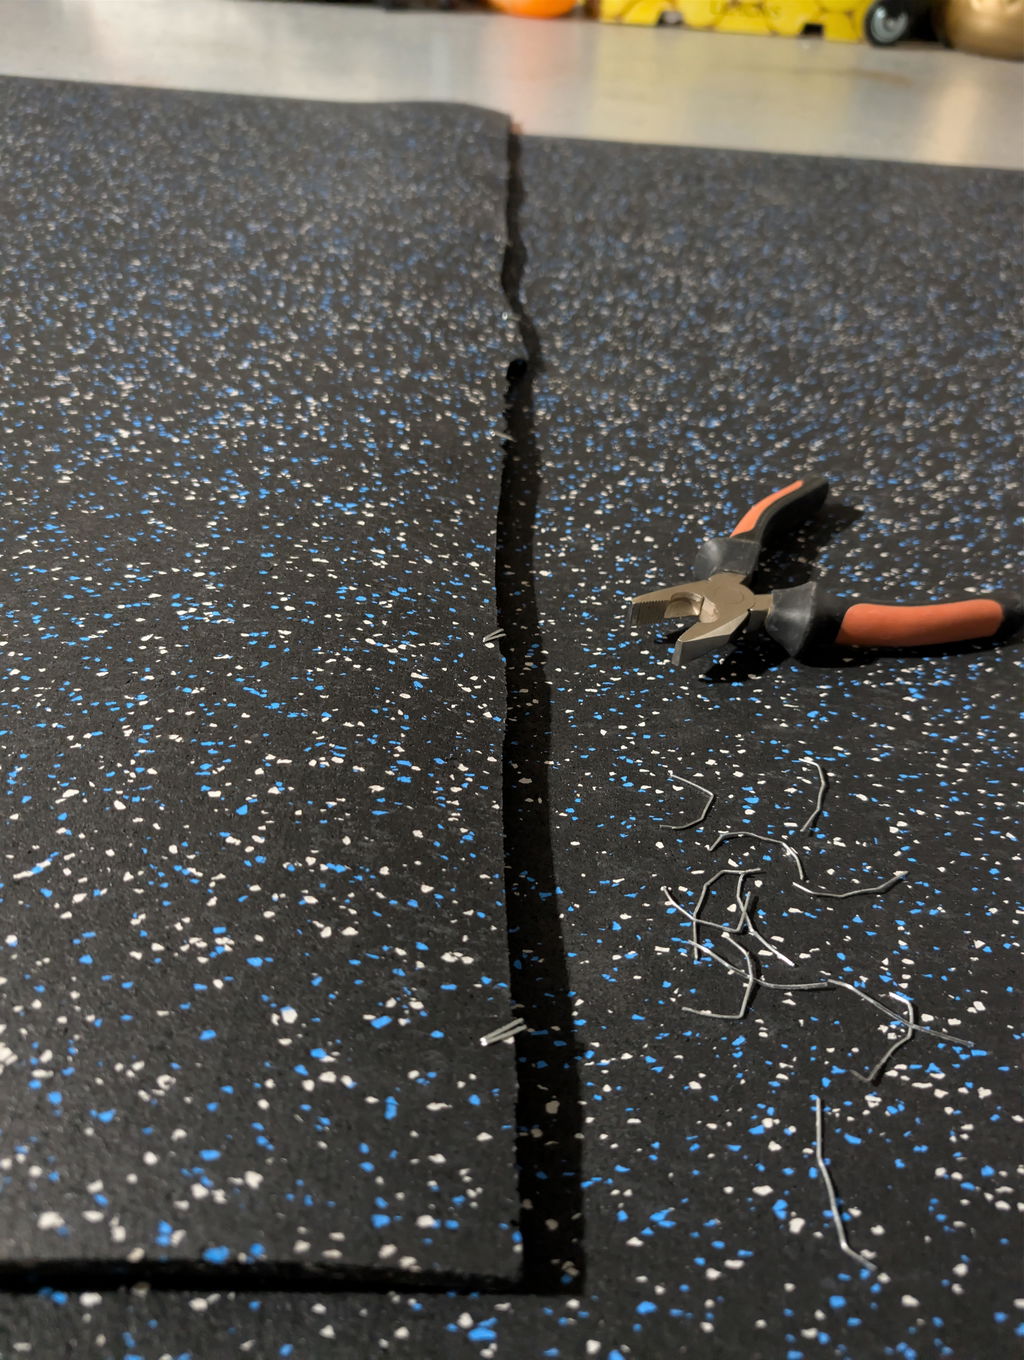
We're so sorry to hear your order didn't meet your expectations. The rough cuts and lack of square edges are absolutely not the standard we hold ourselves to on Precision Cut Mats, and we appreciate you bringing this to our attention so we can make it right.
We also wanted to clarify that the pins you found are part of the standard manufacturing and shipping process used throughout the rubber flooring industry. They are used to secure the rolled rubber to the cardboard core during production and shipping so the roll stays tightly wound, and they are not an indication that the mat was previously used or returned.
Please be on the lookout for an email from info@living.fit. We'd appreciate the opportunity to coordinate any needed replacements at no cost to you and ensure you receive the quality you expected.
Perfect for garage gym. Tiles absorb dumbbells and barbells and make my home gym feel elevated. The interlocking feature allows me to play around with size and orientation.
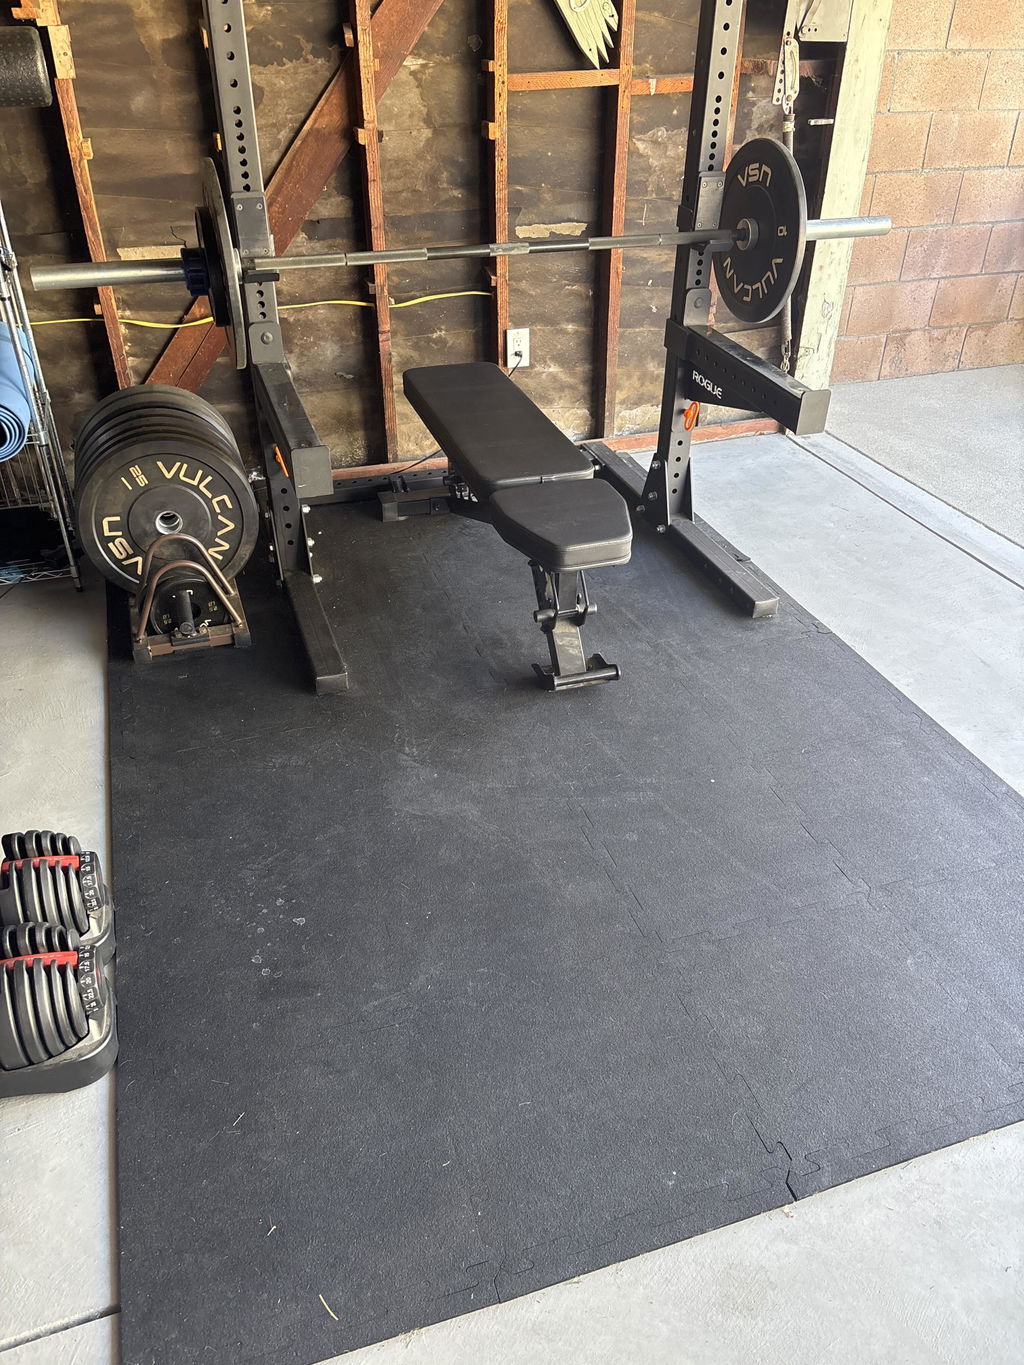
Love seeing the setup! Thanks for the review and trusting us with being the foundation of your home gym 💪
After watching home gym reviews I decided on purchasing the interlocking tiles. They are easy to install. Installed during/while I worked out for 2-days. I have been getting a lot of compliments from neighbors and family.
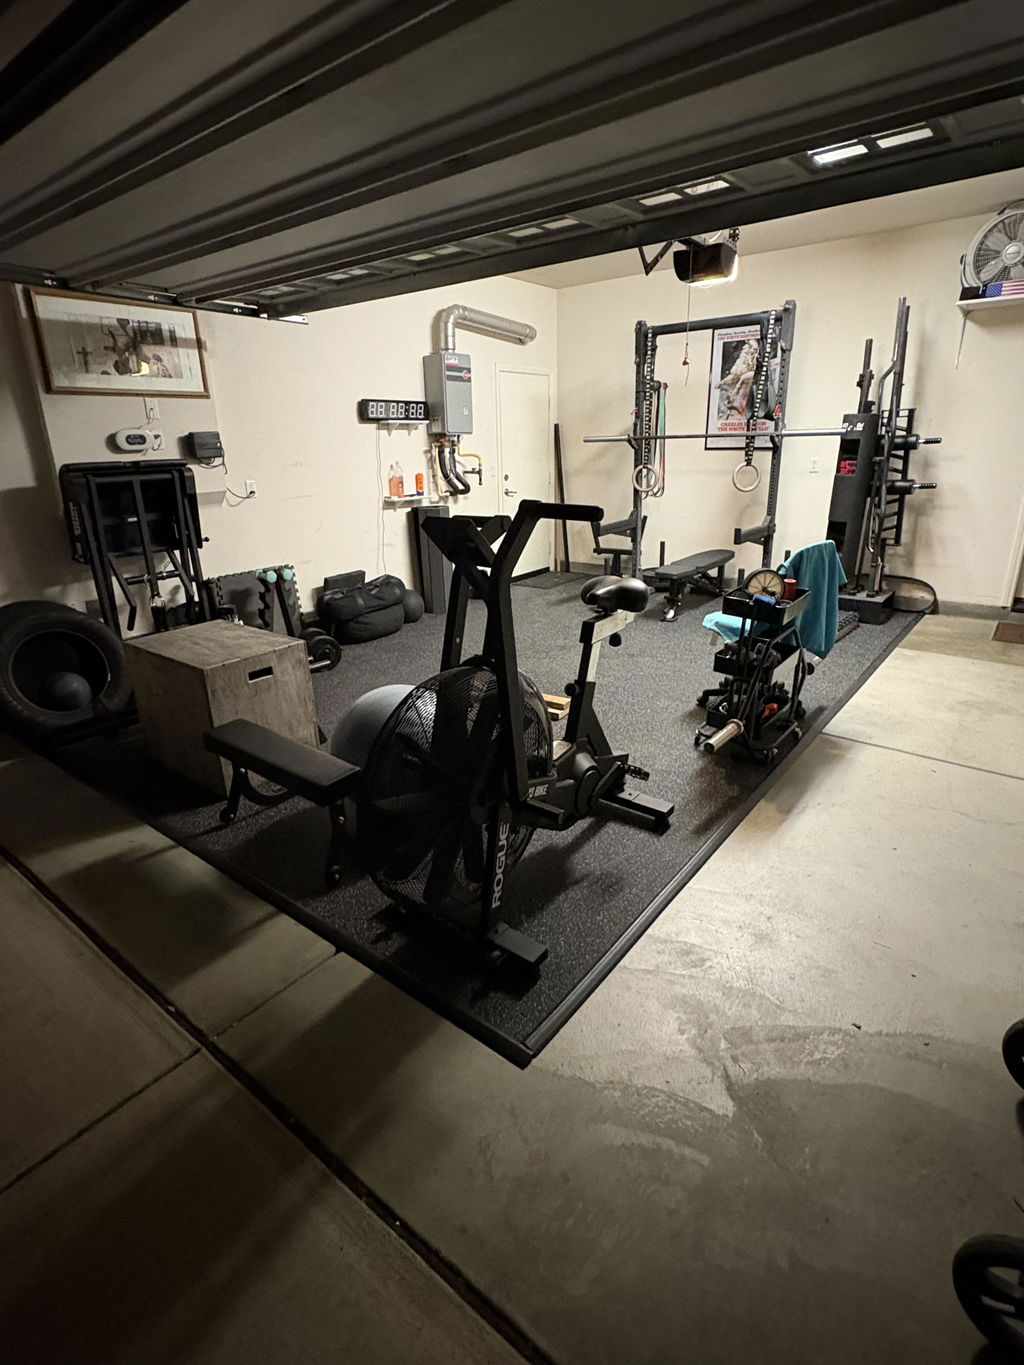
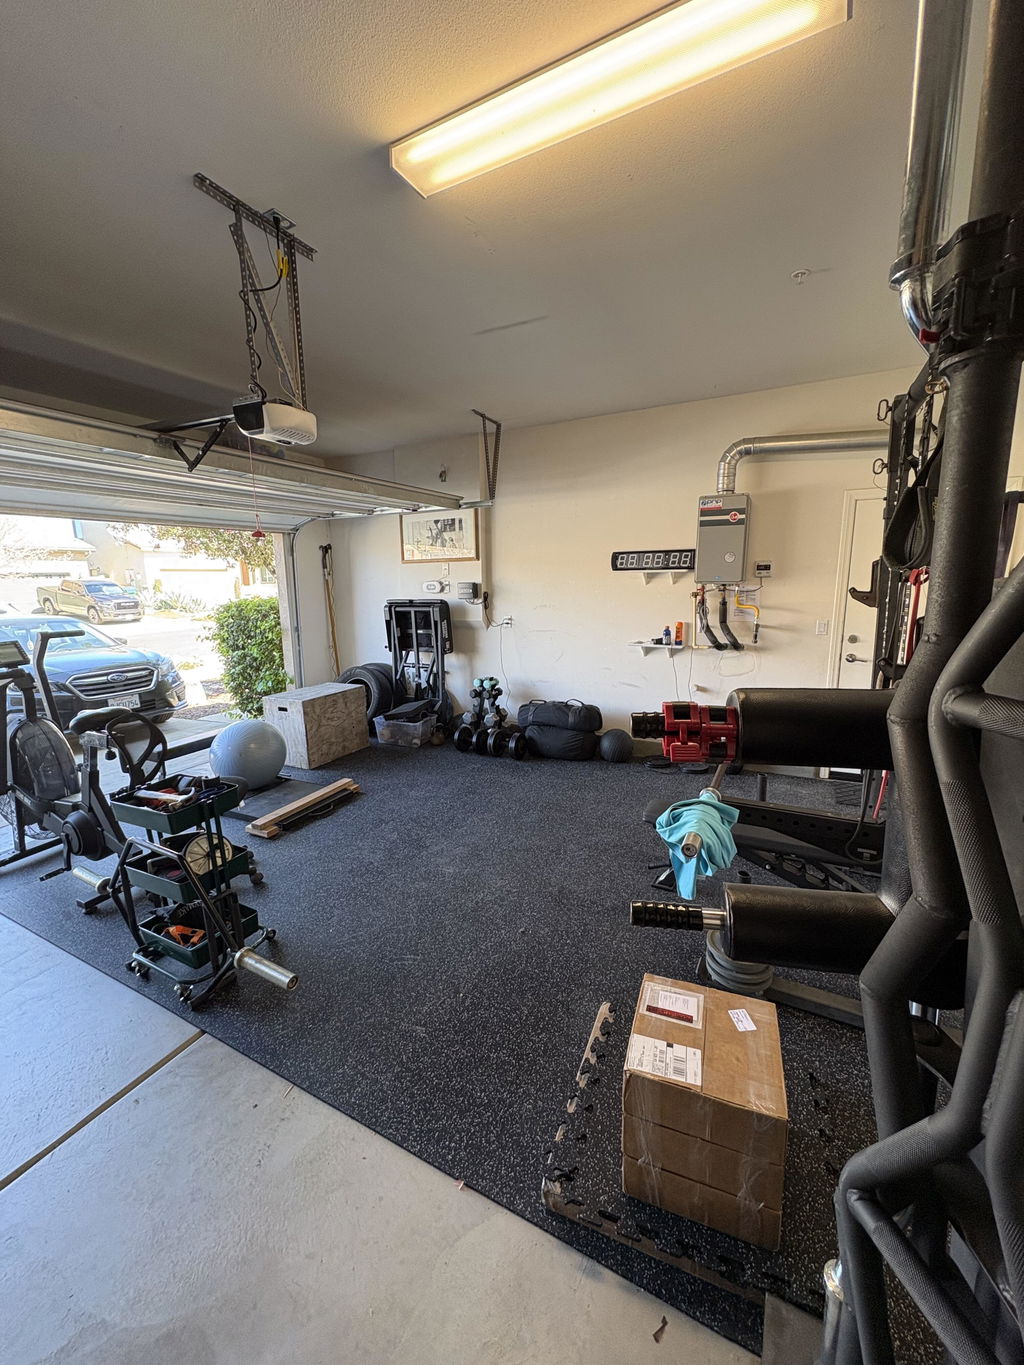
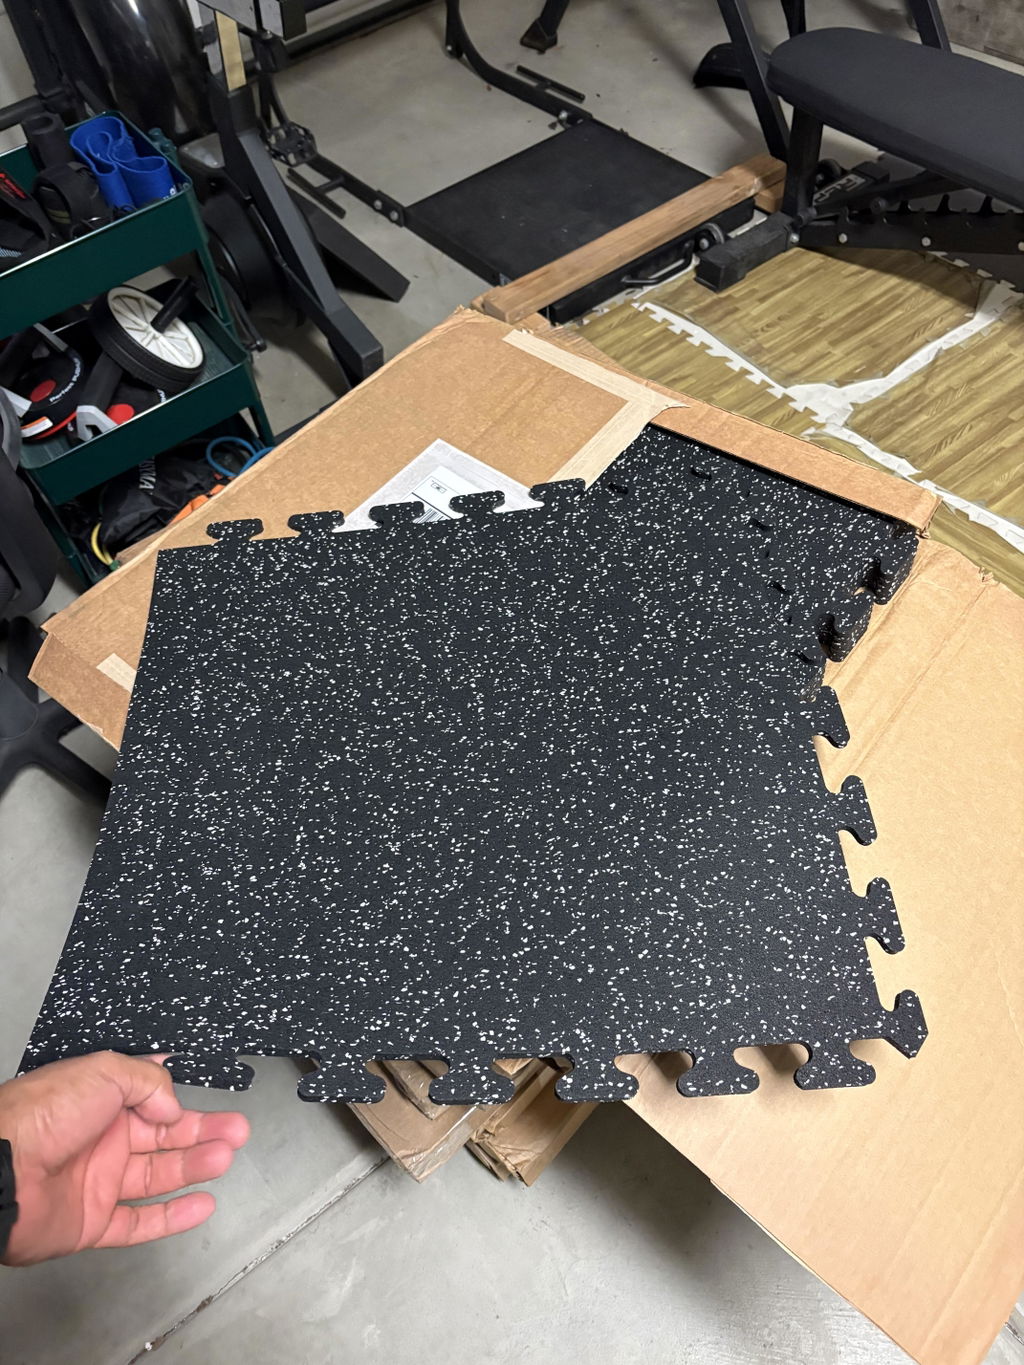
Glad to be the star of the family/neighborhood! Thanks for the kind words and review
I installed rubber rolls with grey flecks in my open rectangle room with a concrete floor.
I did use two sided tape from living.fit to keep the seams tight and the edges secure.
It turned out awesome and absolutely transformed and leveled up the room. Now it looks and feels like a gym.
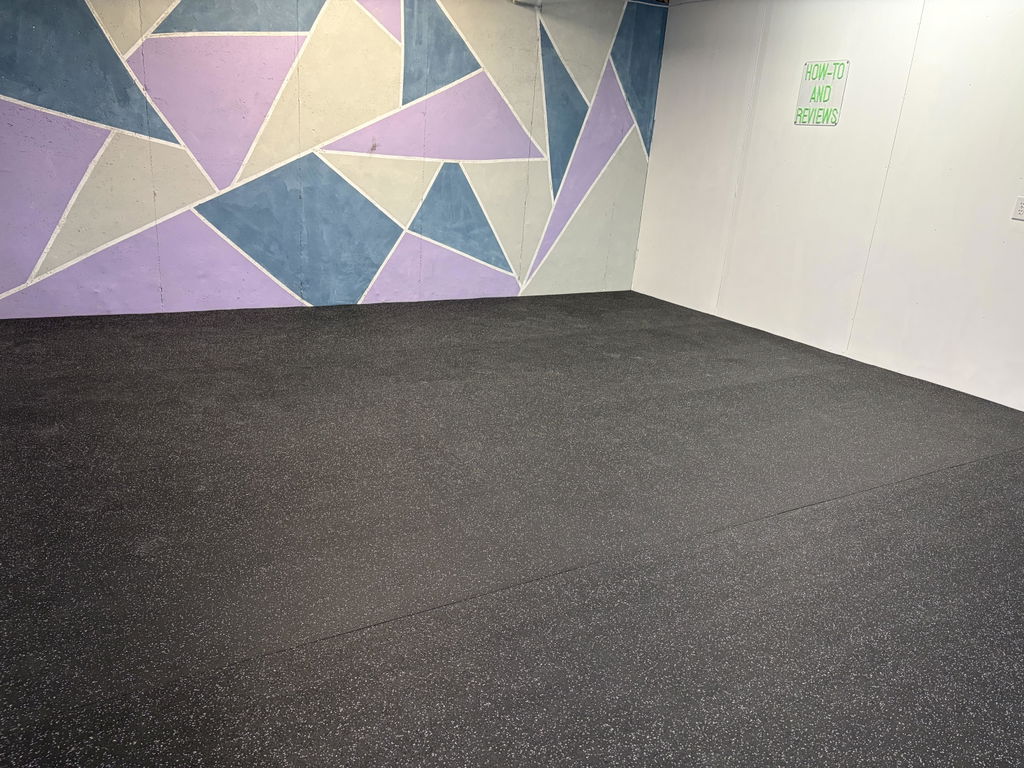
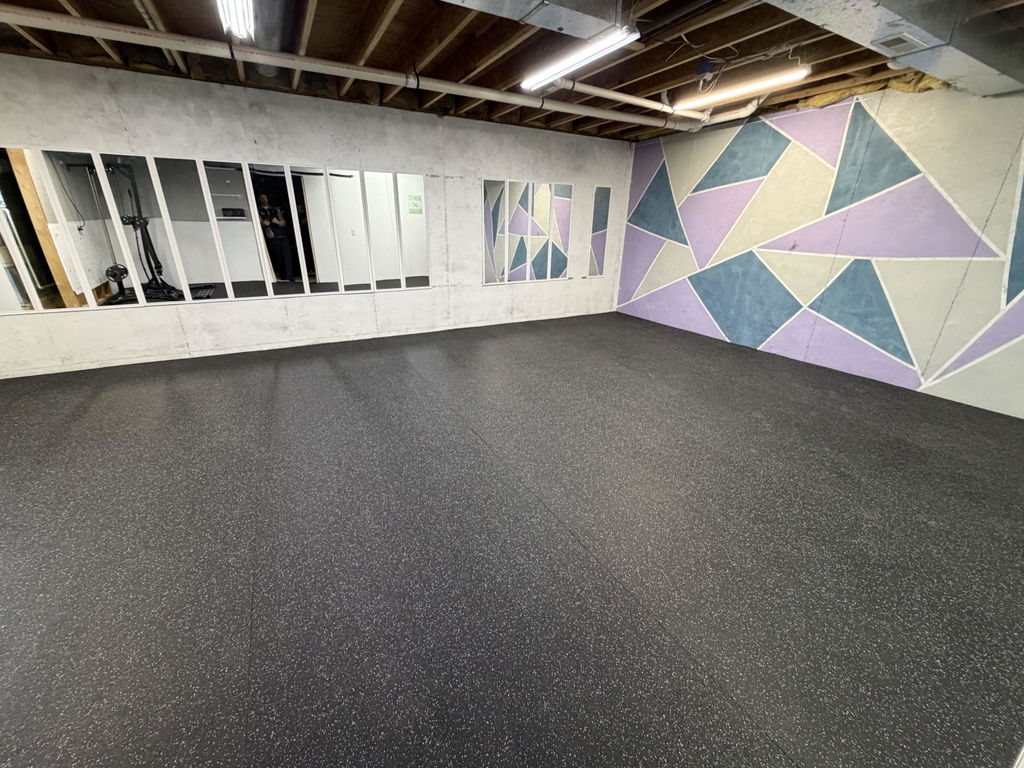
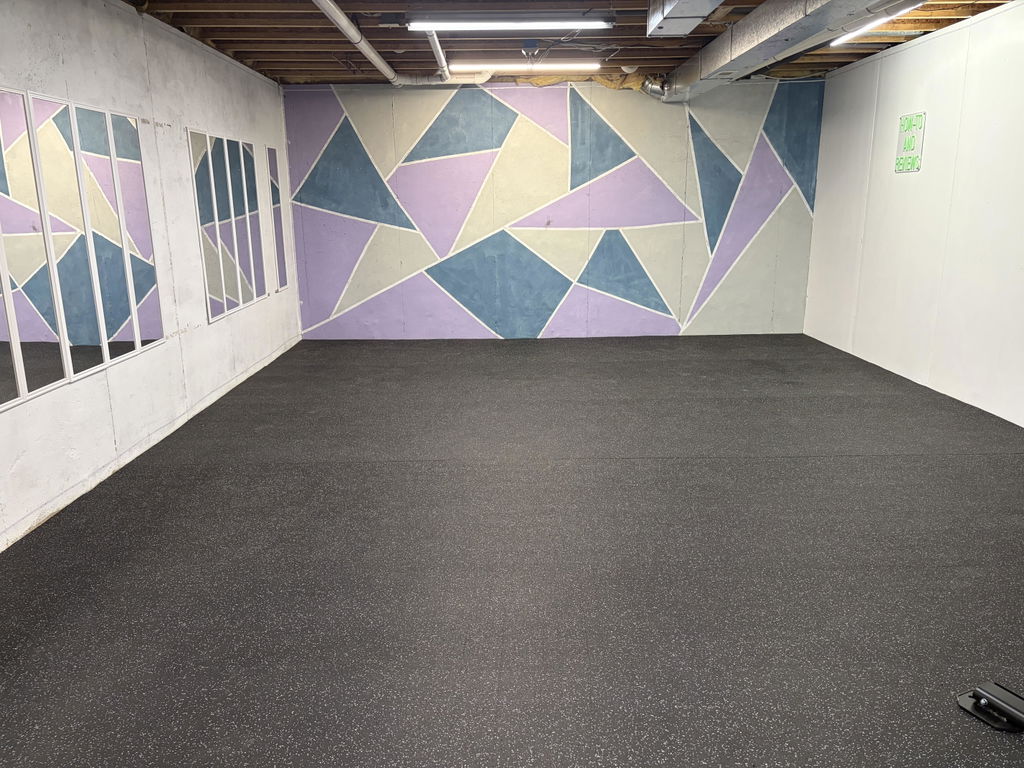
Thank you so much for taking the time to leave a review. We're thrilled to hear that our flooring have transformed your room and given it a gym-like feel. We're glad to have helped level up your space
Beyond happy with purchase. I purchased 3 other flooring tiles that I returned because quality was not good. I was so happy to find this brand. They are easy to install, quality is amazing, and also easy to cut to get the perfect fit in room
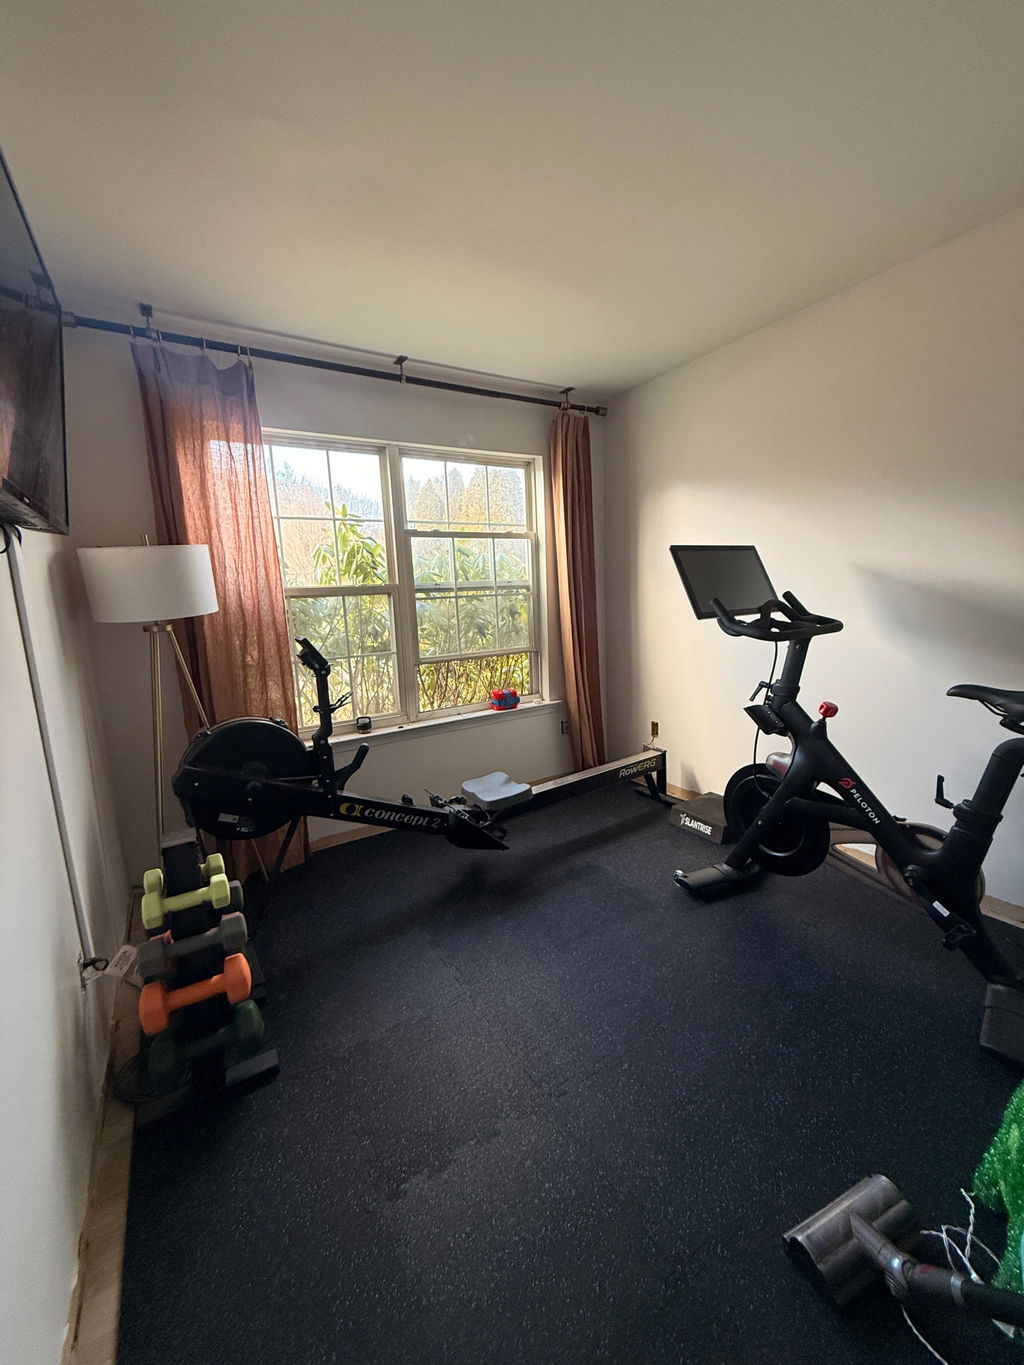
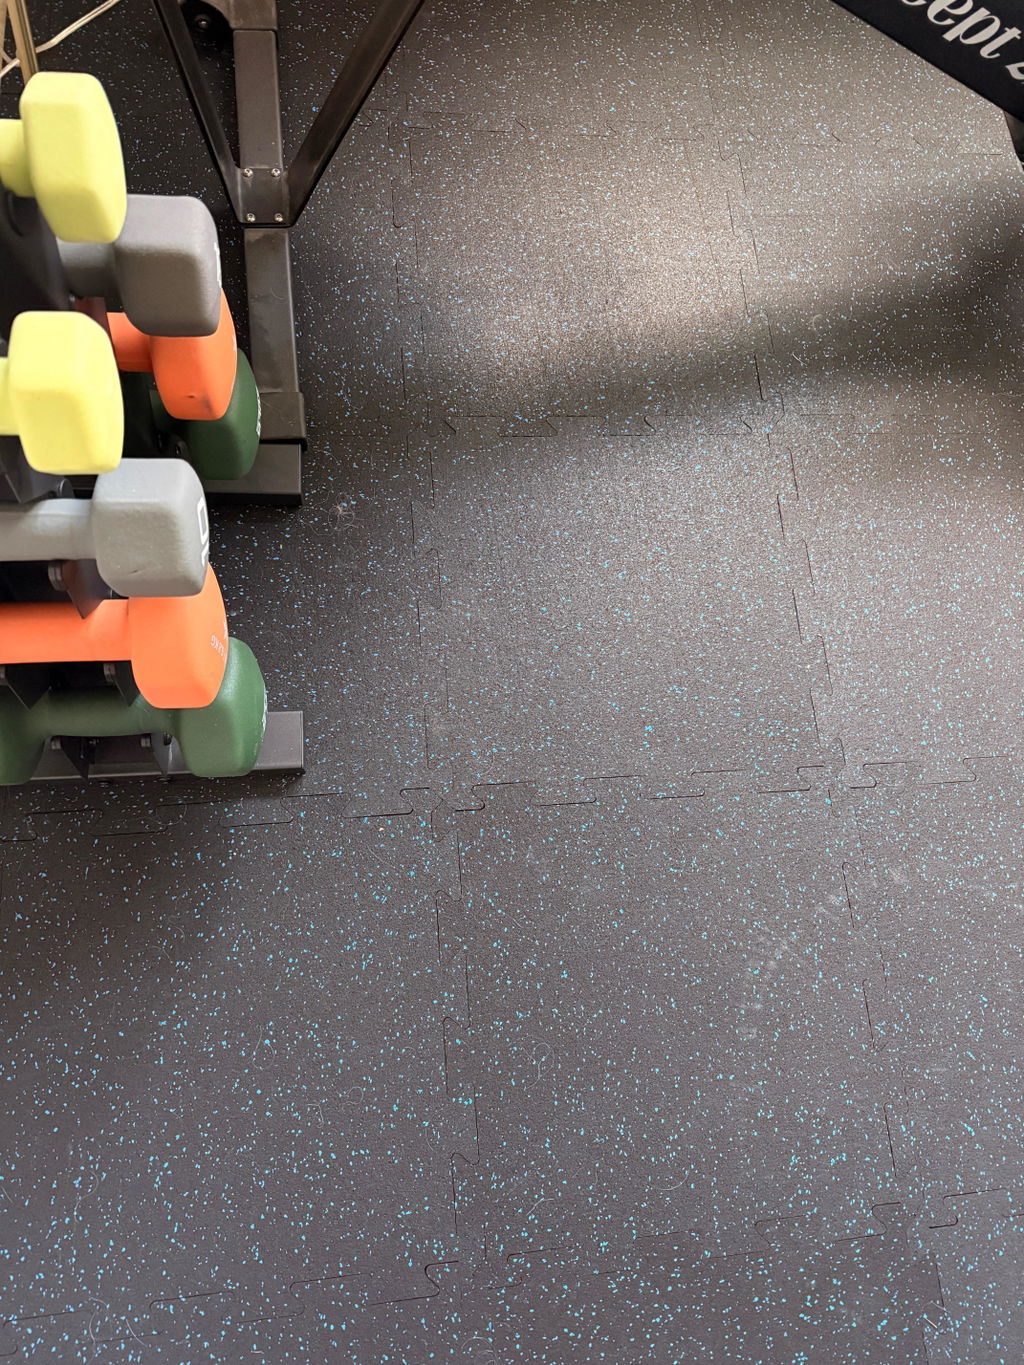
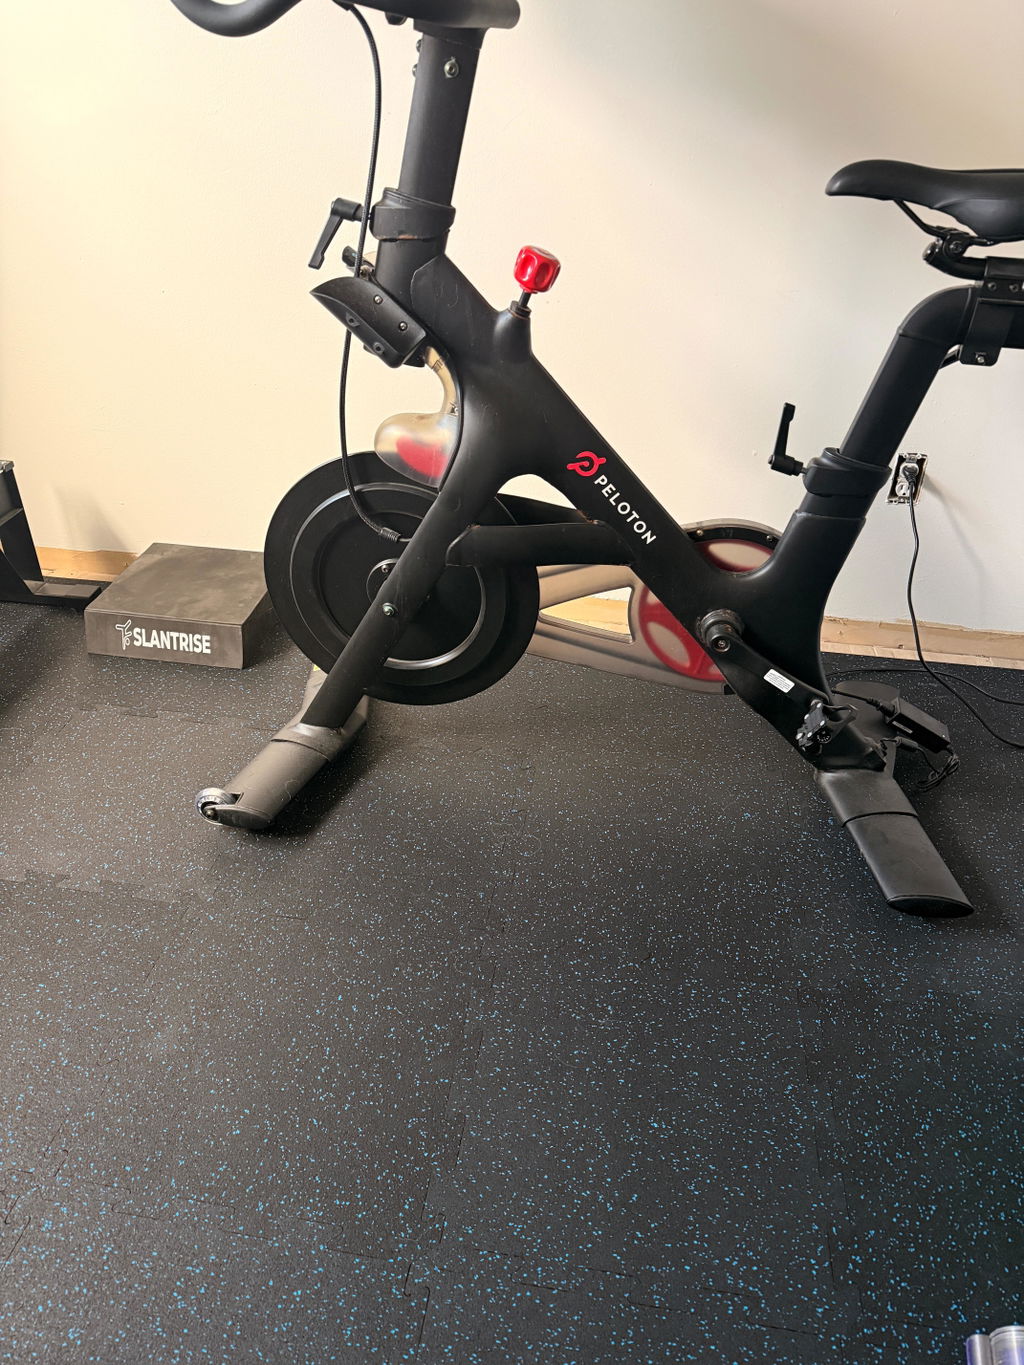
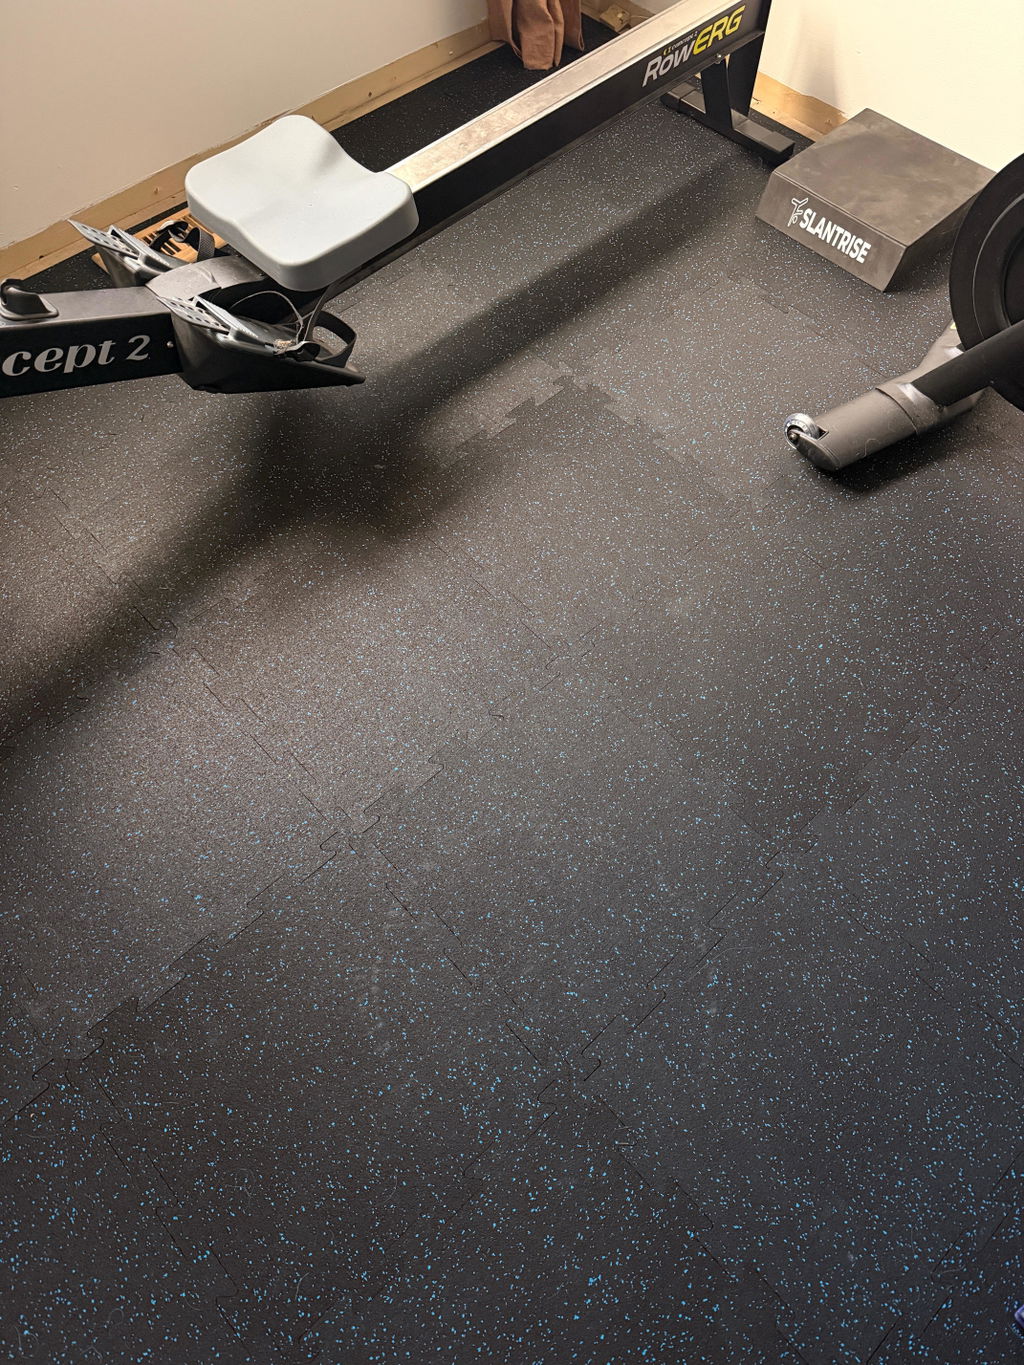
Thanks for your purchase and for sharing! Tag us on social media as @living.fit, we love to reshare!
We tried this flooring for under our rowing machine to keep it from moving up or back. It works great! Our row erg doesn't budge on this floor. We
decided to buy more to cover the rest of the floor because we love how it looks. And it is much more comfortable to work out on when using the floor. Customer service was great too!
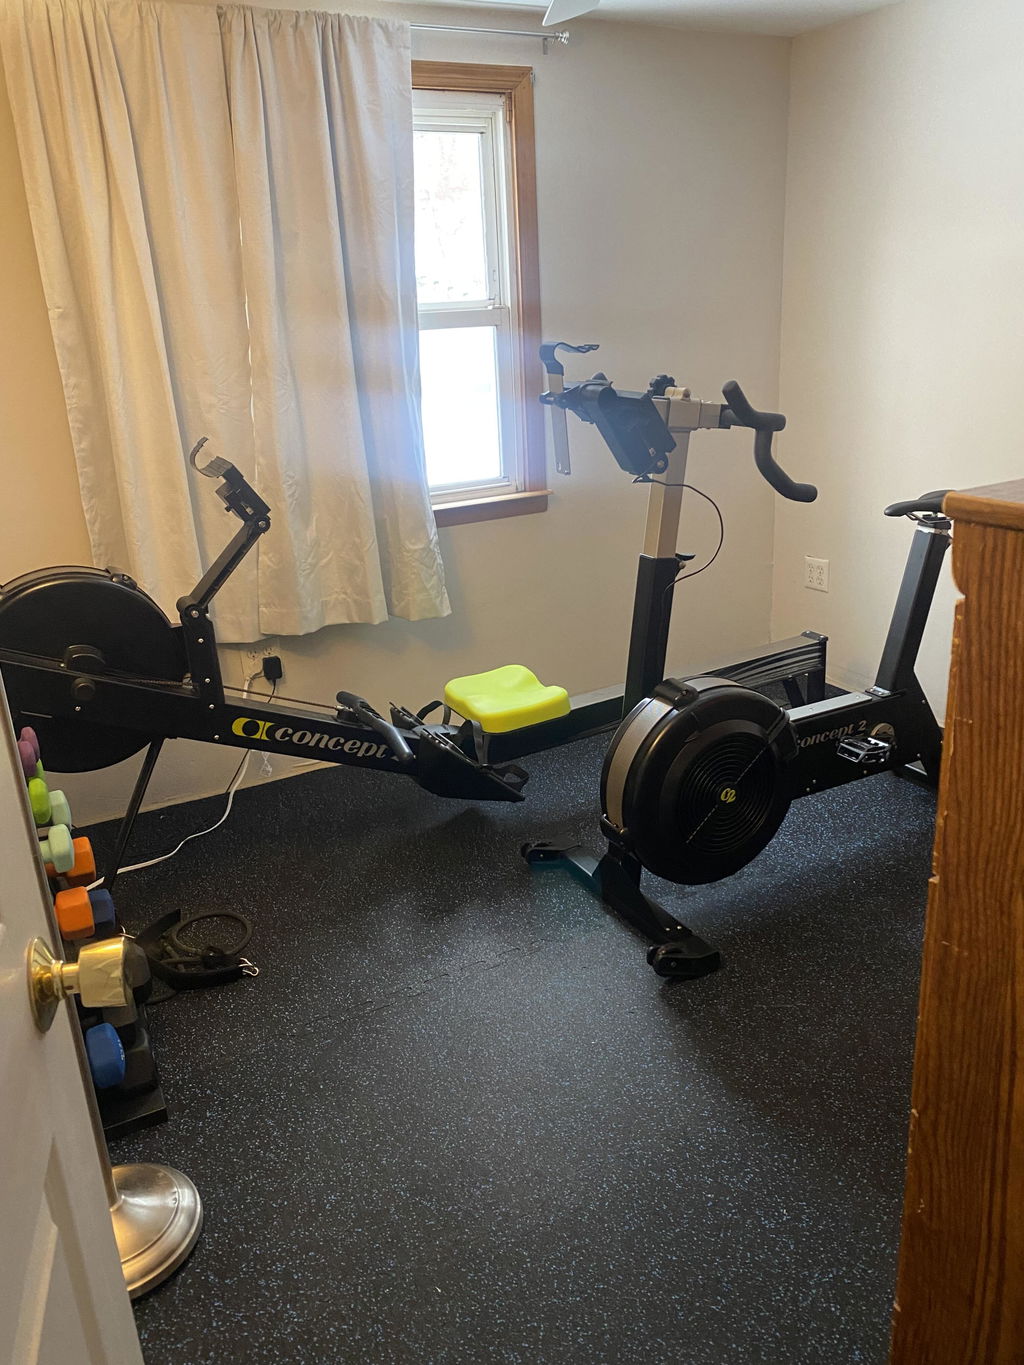
Thanks for your purchase and for sharing! Tag us on social media as @living.fit, we love to reshare!
Tiles are well made and fit together perfectly!
All the tiles fit perfectly with no gaps on a 9'x9' garage gym floor. I'll be adding another 27 sq. ft. shortly!
They smell but they're great! Seriously, though, easy to assemble, quick shipping, and I love them in my gym.
These are so much better than the previous flooring I had. Previous stuff was always coming apart so was hesitant to go with tiles again but these look great and stay together no matter what. So impressed that I already ordered more to expand.
The gym floor is great and has lived up to expectations. Easy installation, no smell, looks great, shipped on time.
Hi there! We're thrilled to hear you're happy with your gym floor. Thanks for sharing your positive experience!