


About These Rolls
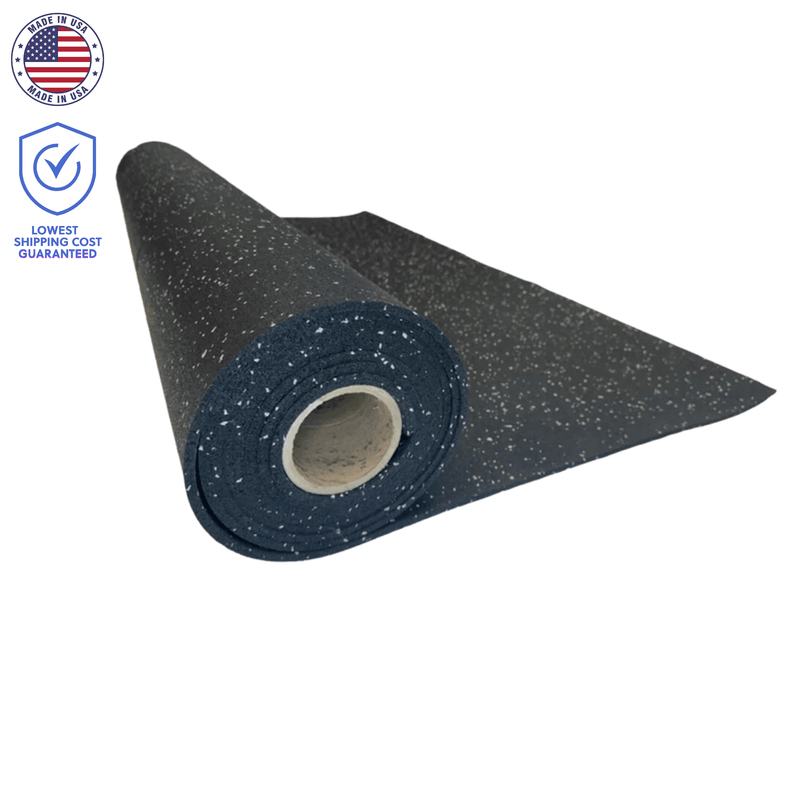
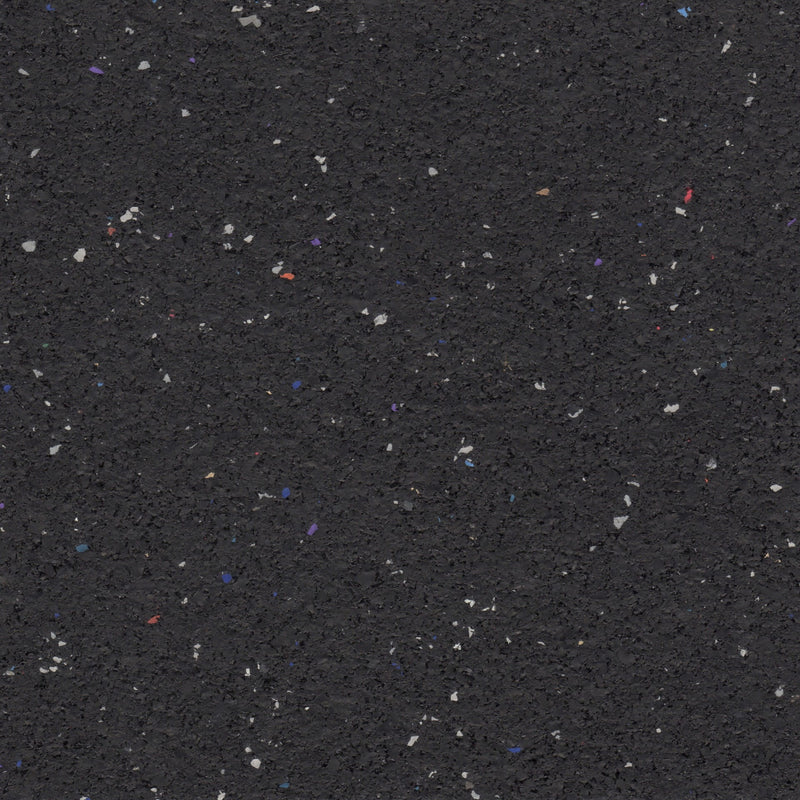
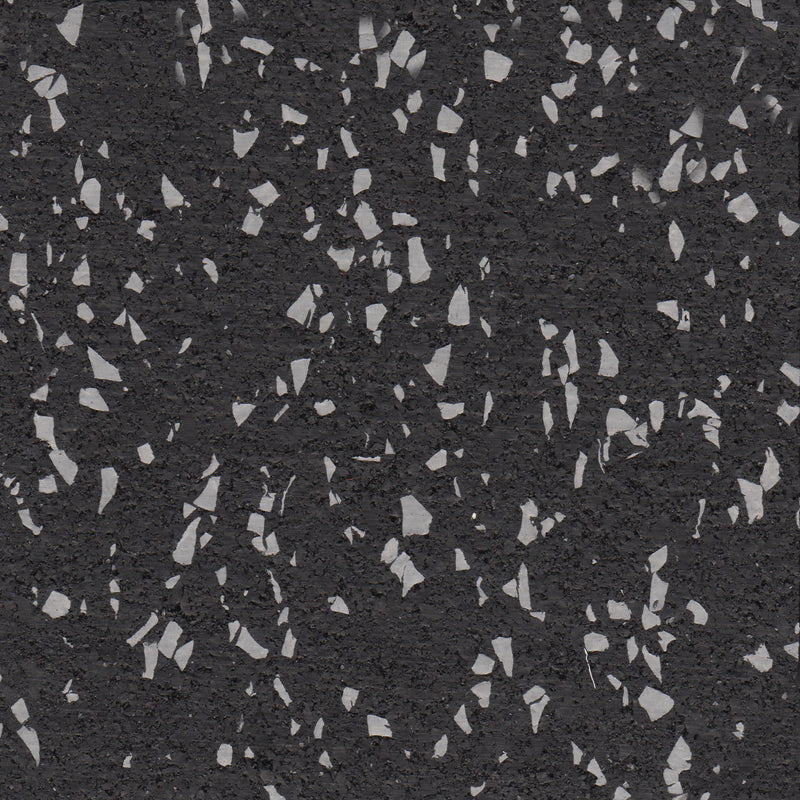
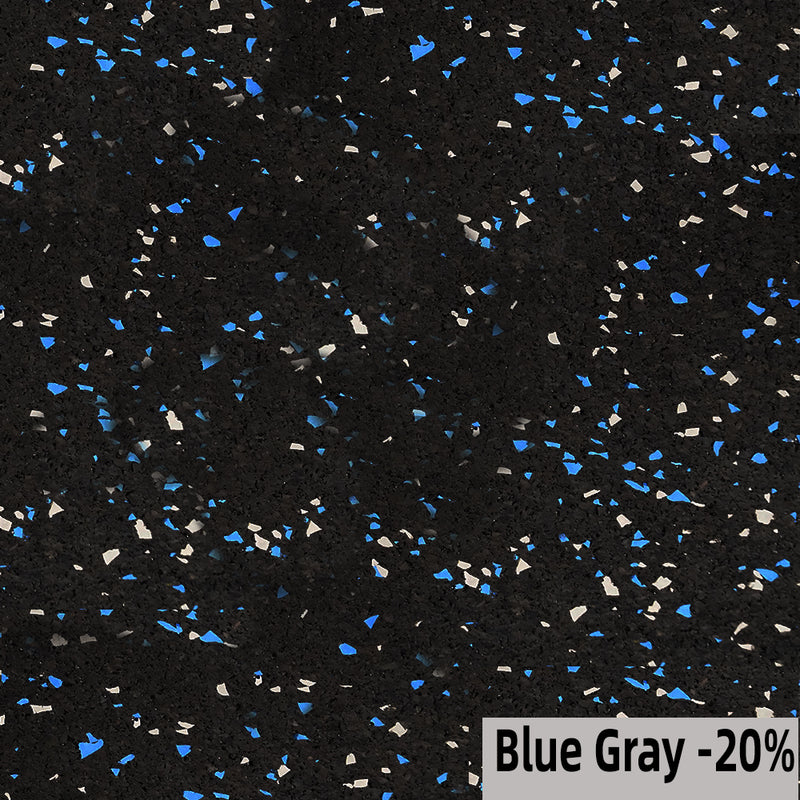
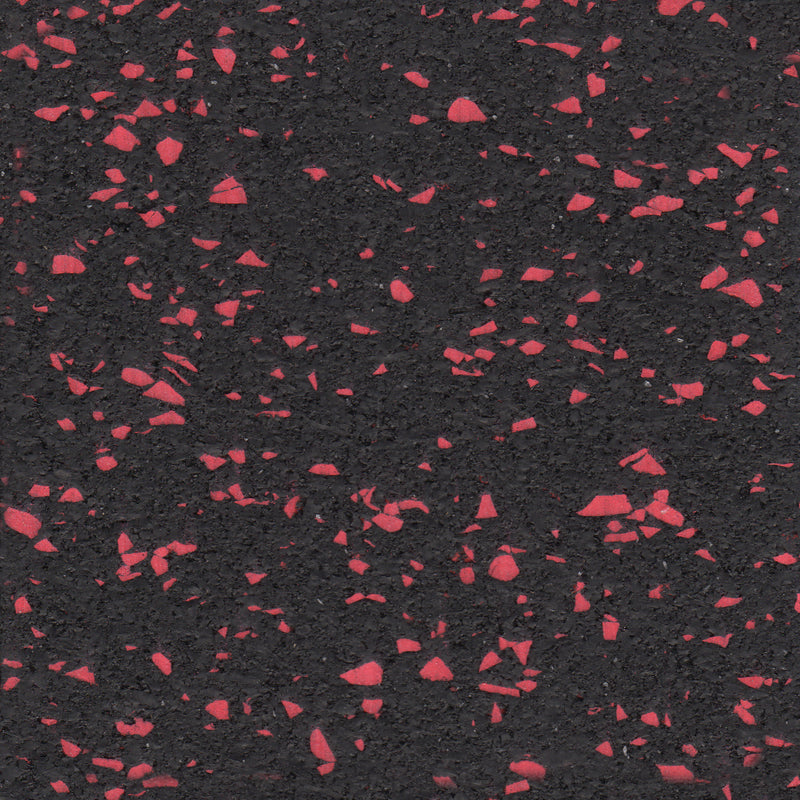
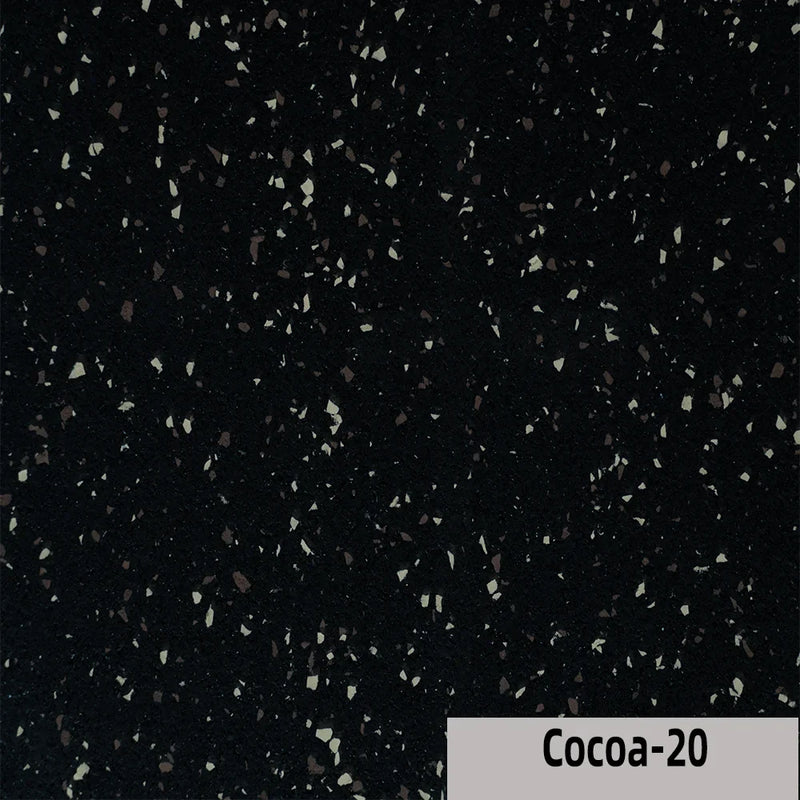
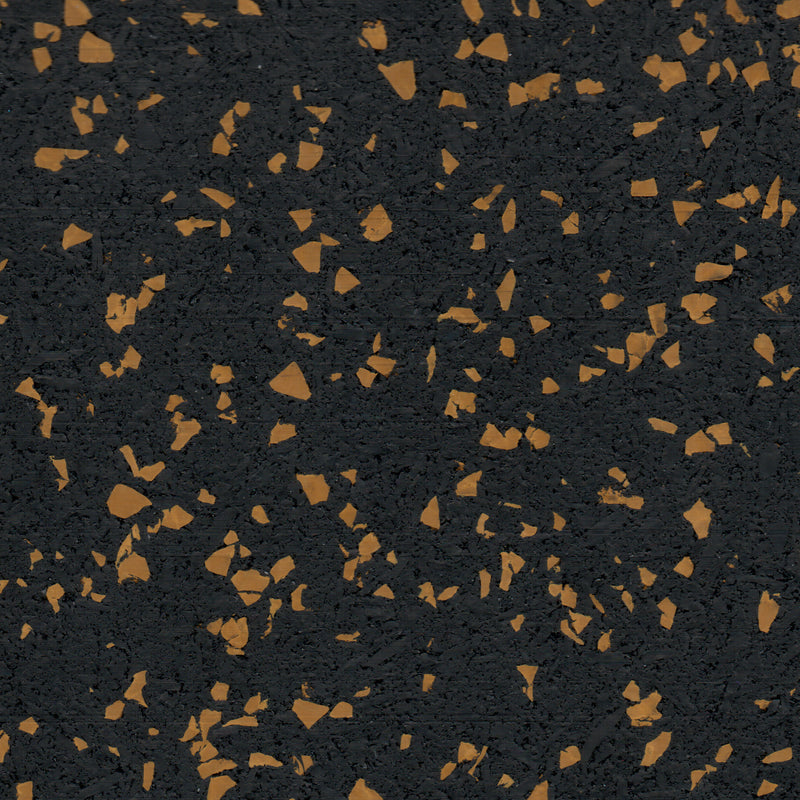
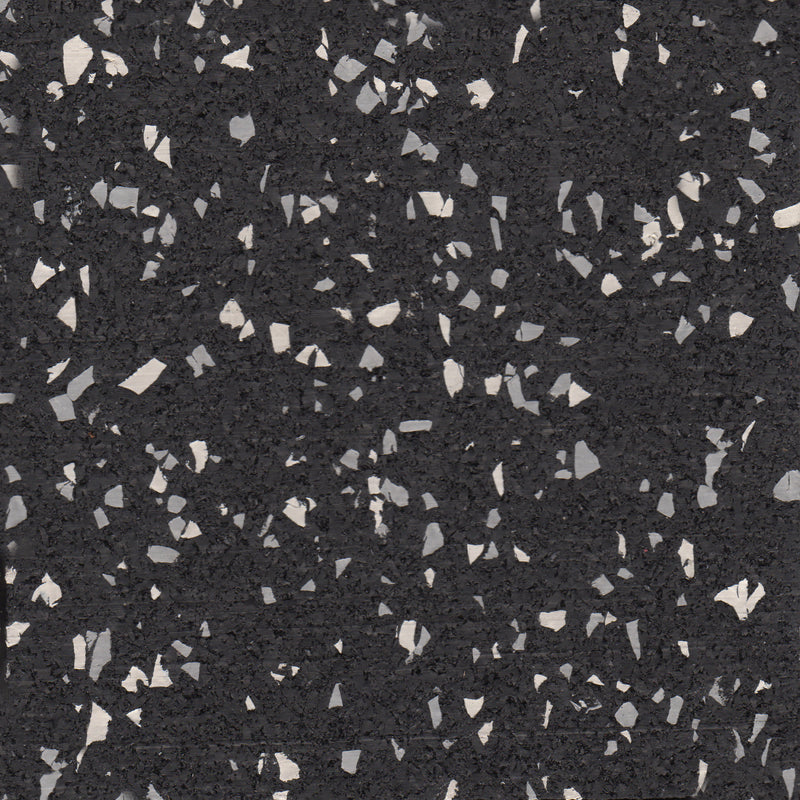
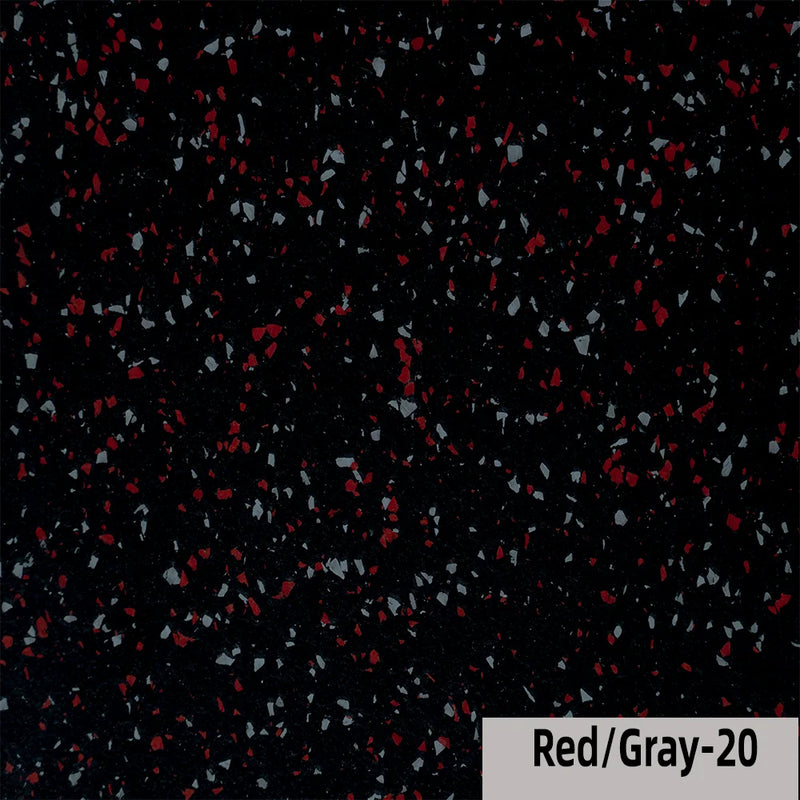
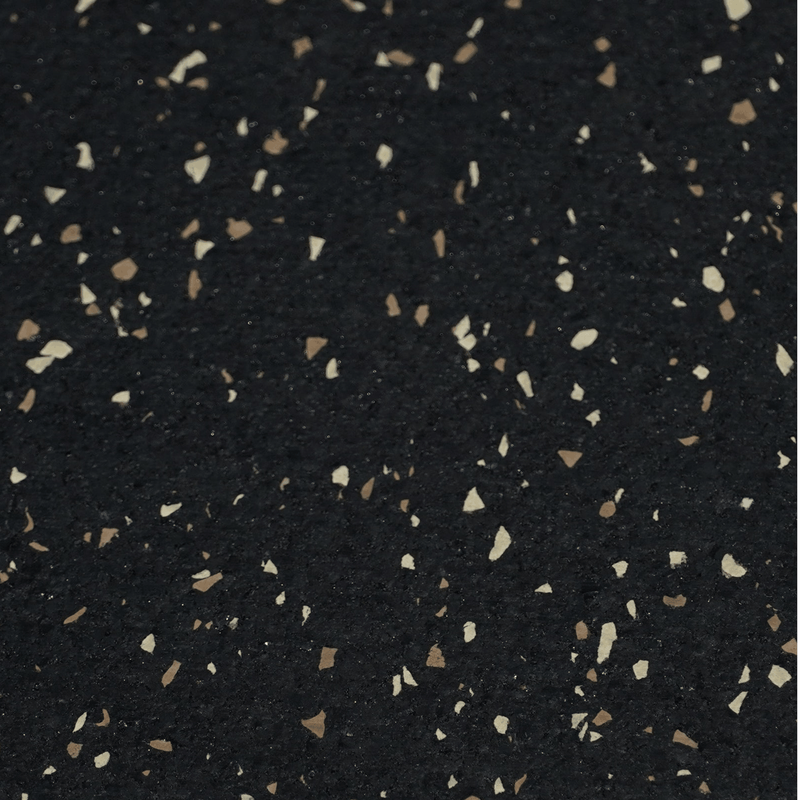
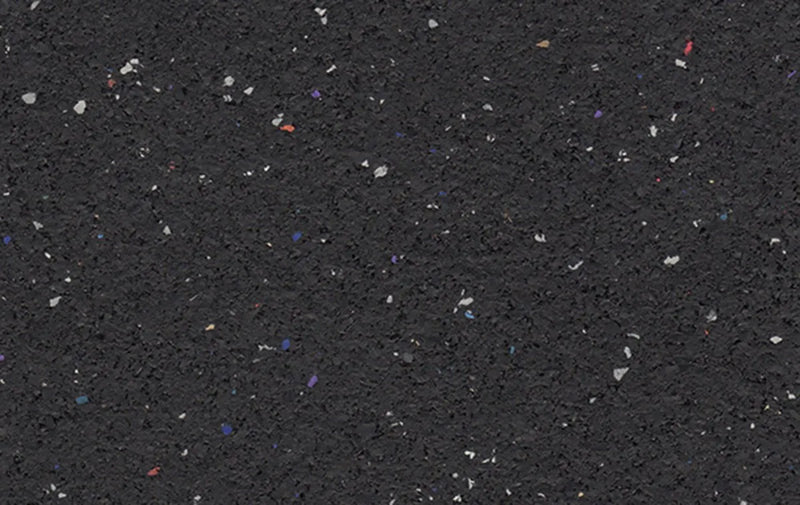
Commercial-grade rubber flooring rolls made in the USA. These 4-foot wide rolls are precision cut to your required length and built from premium recycled rubber buffings with EPDM flecks, not low-grade crumb rubber or EVA foam.
Designed for serious training environments, they provide the durability, shock absorption, and stability required for home gyms, commercial facilities, and heavy equipment spaces.
Named “Best Home Gym Flooring Overall” by Garage Gym Reviews, these rolls are trusted by lifters, facility owners, and installers who demand long-term performance.
Rolls may arrive slightly longer than ordered so installers have enough material to square the flooring during installation, which helps ensure a clean final cut. Walls are rarely true and square so an extra 10 to 12 extra inches are added to allow for perfect cutting against walls.
An alternative if you need absolutely precise length for spaces in your home, we recommend our Rubber Mats.
If you need a single roll, 10 feet or less or are looking for something easier to install, we recommend our Rubber Mats which come in lengths of 3, 6, 8, or 10 feet.
Built for Real Training
The dense rubber construction absorbs impact from heavy deadlifts and dropped weights while reducing noise and protecting the subfloor beneath. Unlike foam alternatives, these rolls stay stable under racks, machines, and caster wheels without compressing or shifting.
Key benefits:
- Shock absorbing to reduce noise and protect substrate
- Slip resistant surface for secure footing
- No strong odors or off-gassing
- Resistant to mold and mildew
- Made with 92% recycled premium rubber
Precision Fit and Installation
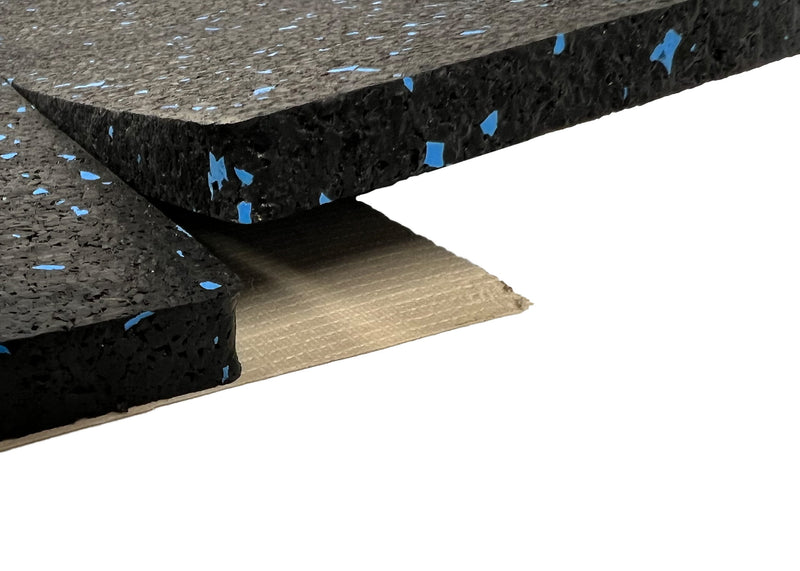
Each roll is waterjet cut for clean edges and tight seams, creating a nearly invisible connection between rolls.
Rolls may arrive slightly longer than ordered so installers can square the flooring during installation. This typically results in 10 to 12 extra inches that can be trimmed if precise length is required.
No tape or glue is required for most installations. Installation guides are available for high traffic or commercial spaces.
How Pricing and Ordering Works
Initial prices displayed are per square foot.
- Use the calculator to enter your space dimensions.
- The calculator provides two layout options for length and width.
- Quantity and order total automatically adjust based on total square feet and rolls required.
- Select your preferred layout by clicking it.
- Click “Add to Cart.”
The quantity and price in your cart reflect total square feet, dimensions, and number of rolls required to cover your space.
If you think you found a better deal, email info@living.fit with the details and we will review it.
If your interested in an order of more than 5,000 square feet contact info@living.fit. If you need a specific thickness and color combo not currently displayed and it is more than 1,100 square feet, contact us at info@living.fit and we can create a quote for you.
Where These Rolls Perform
Ideal for:
- Home gyms with heavy deadlifting
- Commercial weight rooms
- Garage gyms
- Basements
- Kennels
- Workshops with machinery
Can be installed over concrete, garage floors, existing flooring, and even carpet.
Thickness and Weight
Rolls are always 4 feet wide and cut to your selected length.
- 6mm (1/4 inch): 1.6 lbs per sqft
- 8mm (5/16 inch): 1.9 lbs per sqft
- 9mm (3/8 inch): 2.2 lbs per sqft
- 12mm (1/2 inch): 3 lbs per sqft
- 18mm (3/4 inch): 4 lbs per sqft
Shipping, Payment, and Guarantees
We offer a Lowest Shipping Cost Guarantee. Shipping is calculated at checkout based on your location and order weight, and we show you exactly what carriers charge. If you find a comparable product at a better price, email info@living.fit.
Quick Ship colors typically leave within 3 to 5 business days. Standard colors ship in 10 to 14 business days. Freight orders include lift gate delivery. Inside delivery is available upon request.
Choose installment payment options at checkout to pay over time.
Backed by a 5 Year Warranty and a 30 Day Money Back Guarantee so you can order with confidence.
Need a smaller size or easier installation? Consider our Rubber Mats available in 3, 6, 8, or 10 foot lengths. You can also read more about selecting the right flooring in our Gym Flooring Blog.
Q: How thick should rubber flooring be for a home gym?
A: The ideal thickness depends on the type of training and equipment you plan to use in your space. Different thicknesses provide different levels of durability and impact protection.
- 6mm: General purpose flooring for home fitness spaces. Good for light weights, stretching, and bodyweight workouts.
- 8mm: Home gyms and light commercial use. Suitable for functional trainers, squat racks, treadmills, and general strength training.
- 9mm: Common in commercial gyms and CrossFit spaces. Provides better shock absorption for heavier drops.
- 12mm: Heavy duty flooring ideal for Olympic lifting zones and areas with frequent barbell drops.
- 18mm: Industrial strength flooring used for powerlifting areas, extreme weight drops, and even applications like horse stalls.
Choosing the right thickness helps protect your subfloor, reduce noise, and extend the lifespan of your gym flooring.
Q. What is the difference between Confetti, Regrind and other types of rubber flooring?
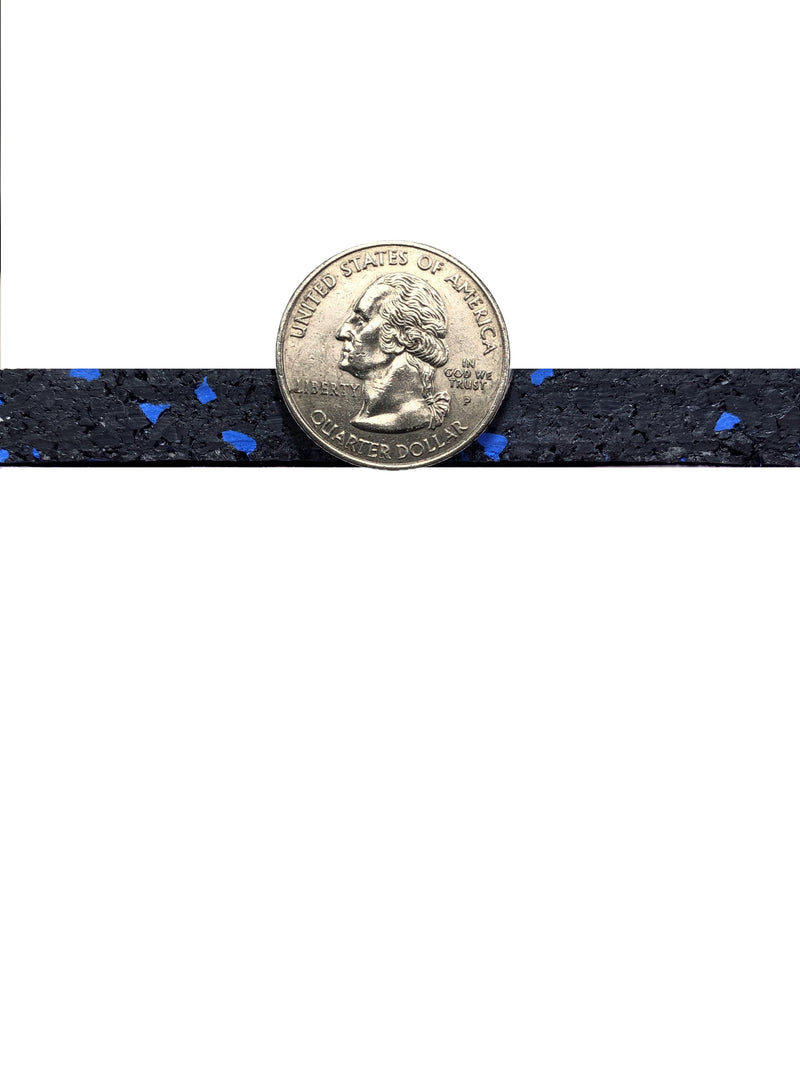
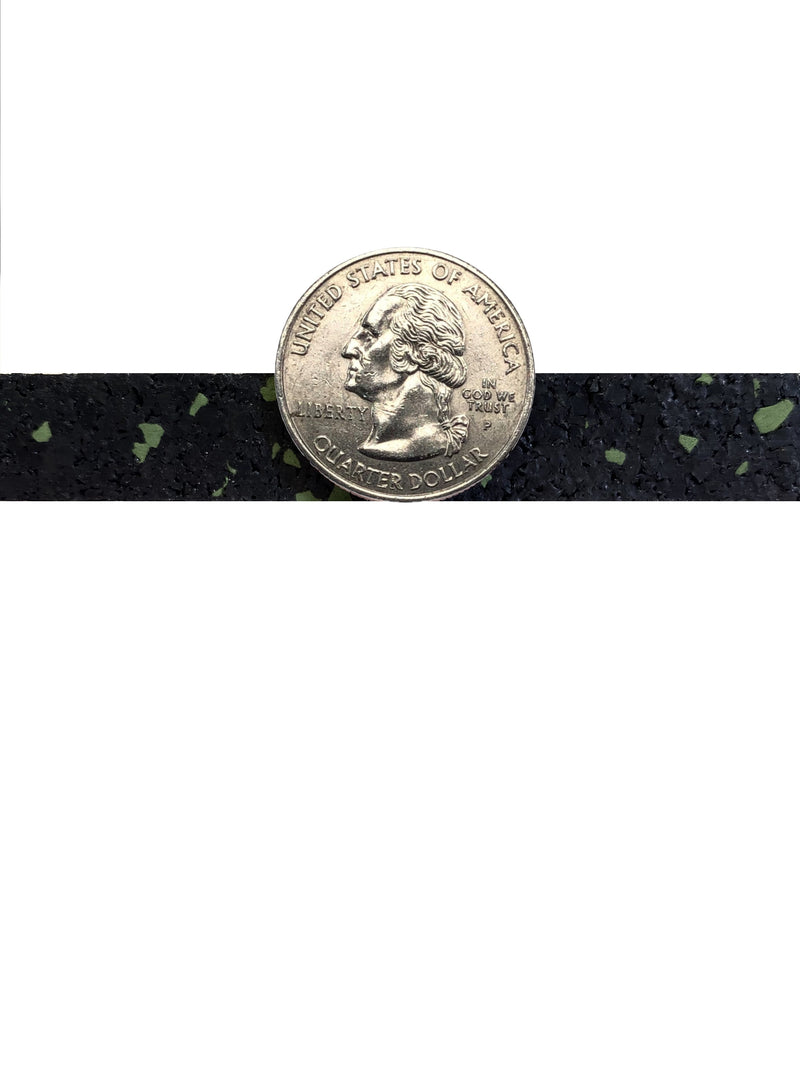
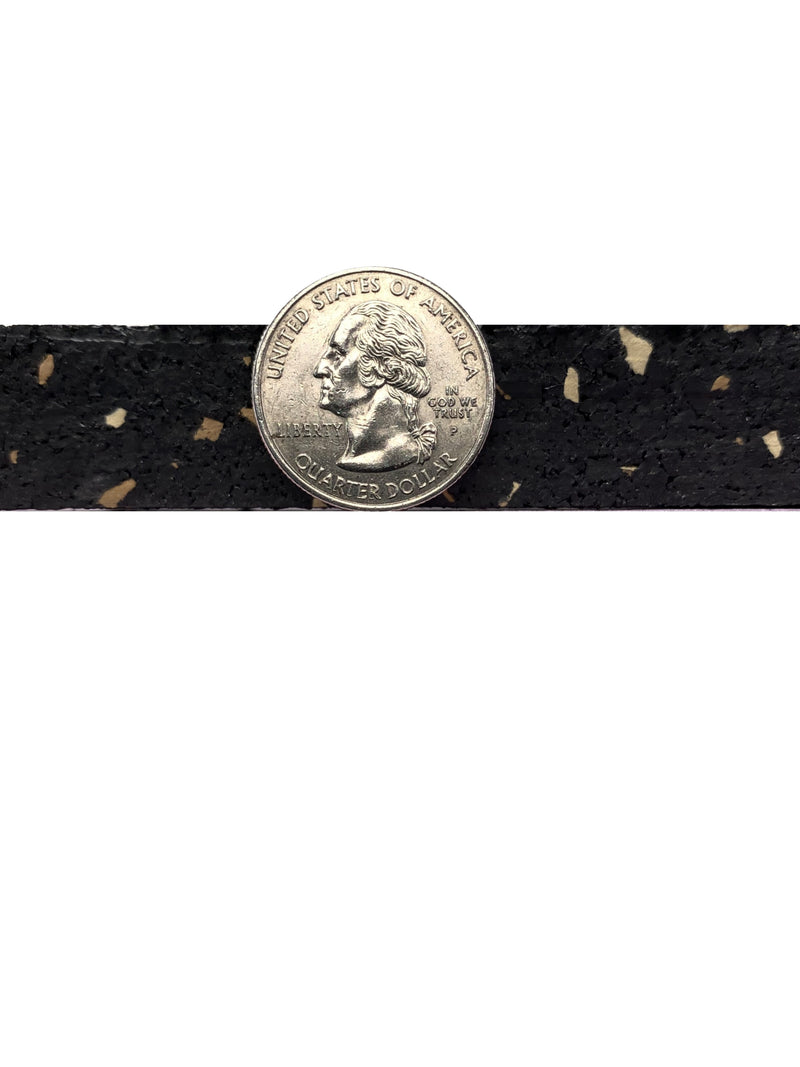
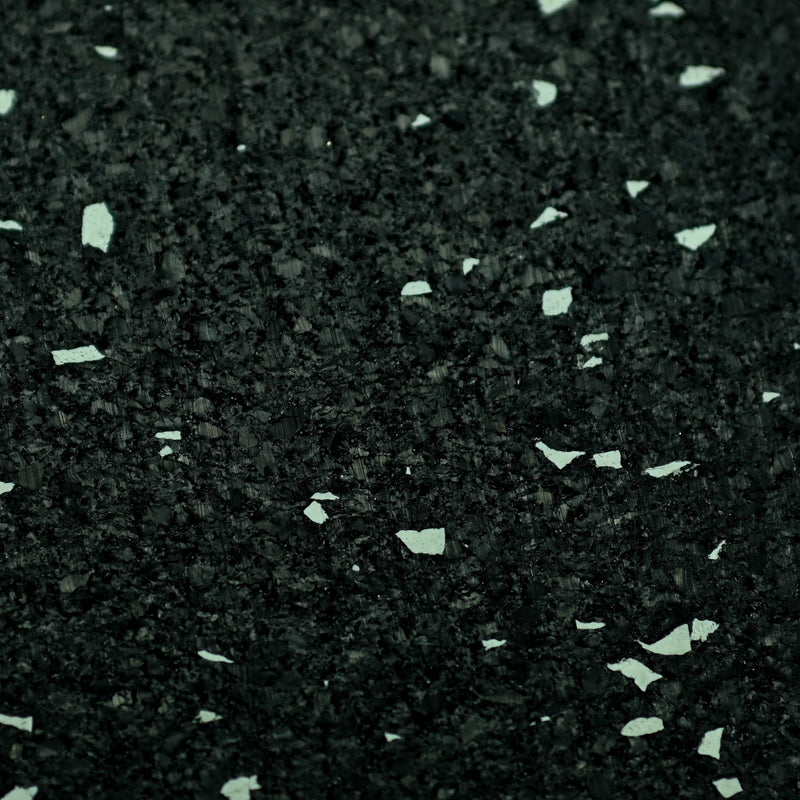
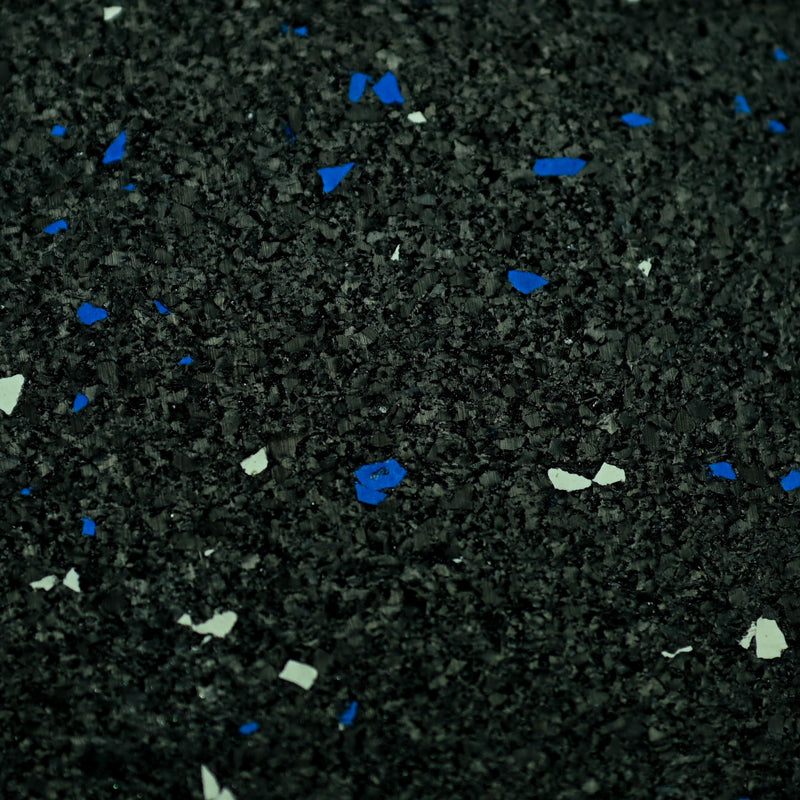
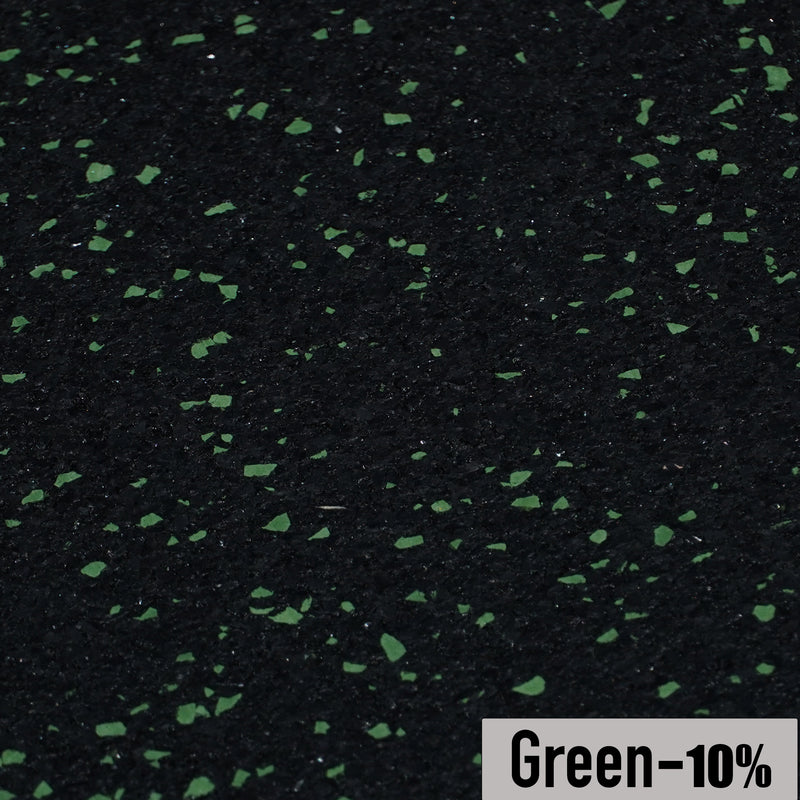
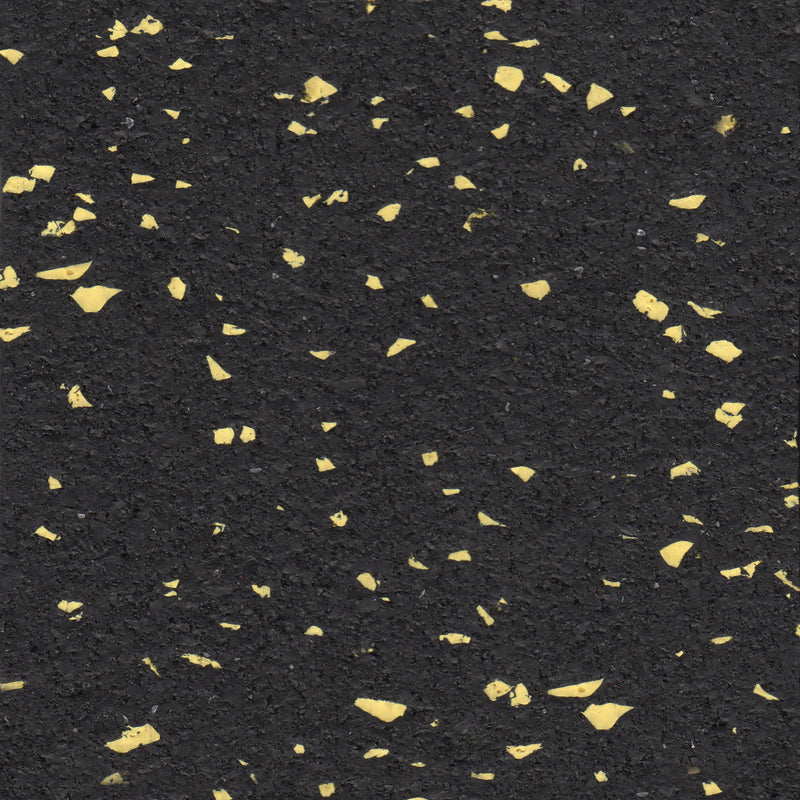
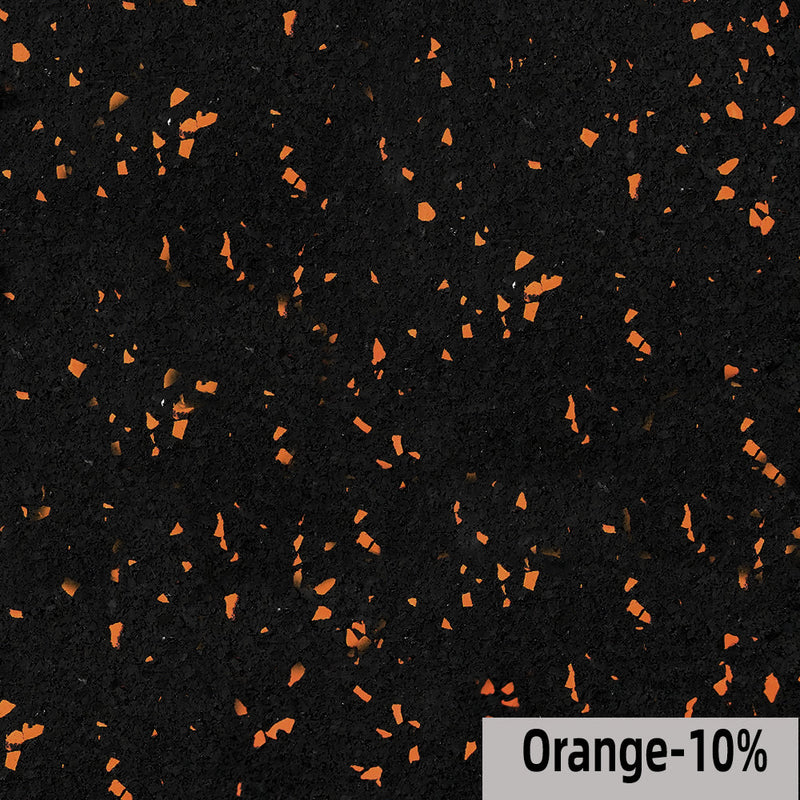
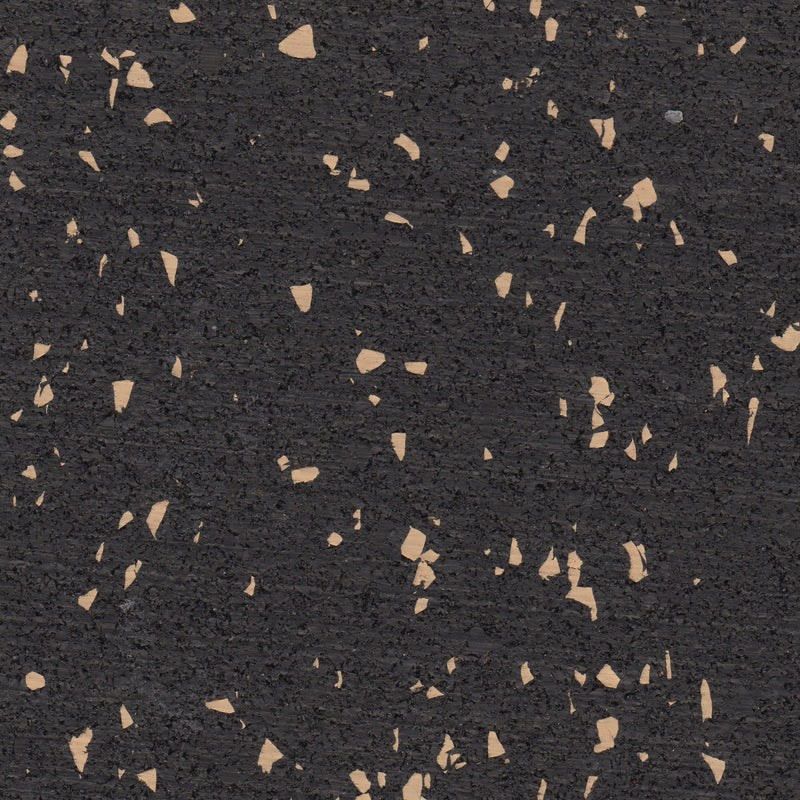
A. Confetti Rubber Flooring is made from reground recycled rubber scraps that include mixed colored pieces from previous flooring production. This creates a speckled, multi-color appearance, and slight variations in density and color are normal from roll to roll.
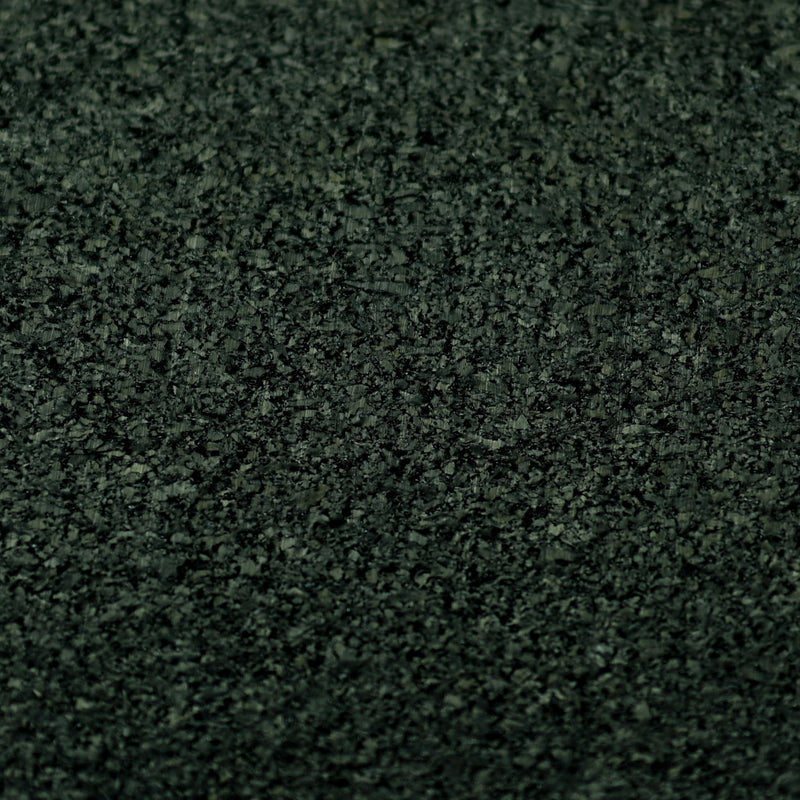
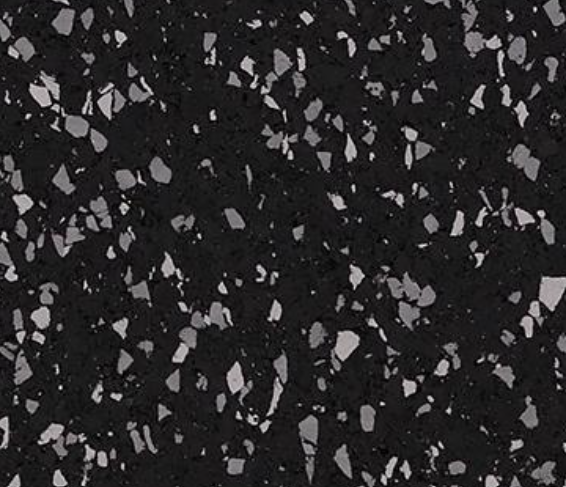
Natural Regrind Rubber Flooring is also made from reground recycled rubber, but it uses more neutral or black-based scraps, resulting in a more muted gray/black recycled look rather than colorful flecks. It can also have slight variation in density and appearance due to the recycled material.
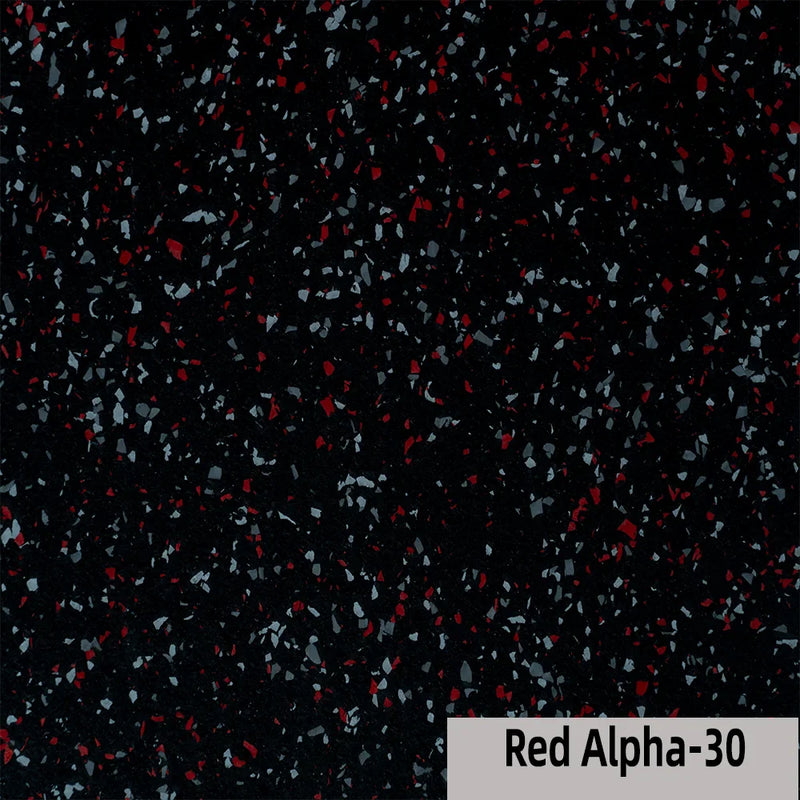
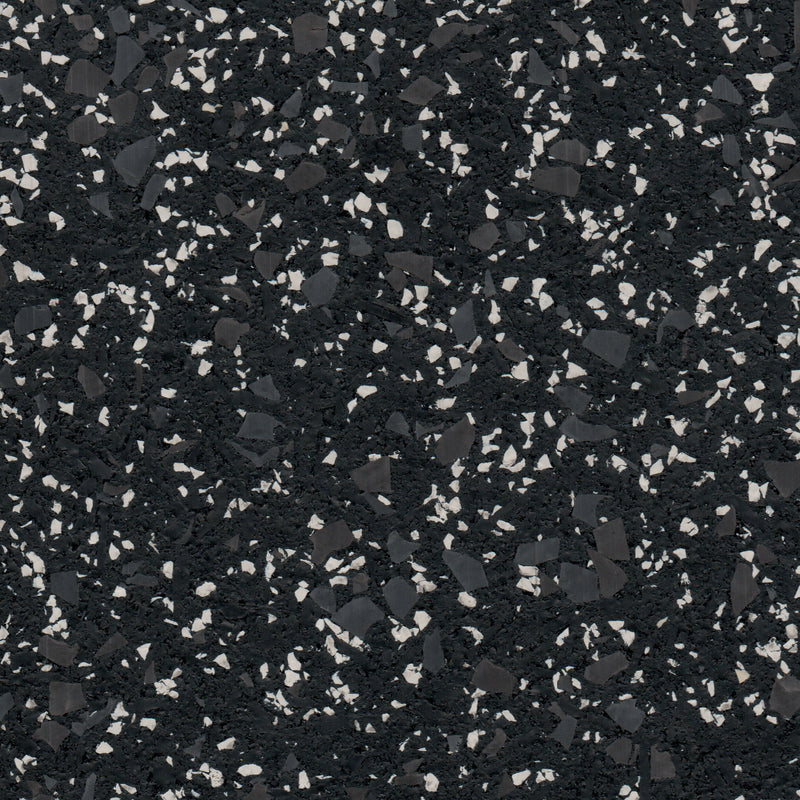
Standard Rubber Flooring is made from more controlled manufacturing processes using consistent base materials and measured color fleck percentages or solid black formulations. This results in a more uniform appearance and consistent density across rolls and production batches.
Q. Can I order custom color/thickness combinations that are not currently available?
A. Yes. If your interested in an order of more than 5,000 square feet contact info@living.fit. If you need a specific thickness and color combo not currently displayed and it is more than 1,100 square feet, contact us at info@living.fit and we can create a quote for you.
Q: Do rubber flooring rolls need to be glued down?
A: In many home gyms, rubber flooring rolls can be loose laid without adhesive because the dense rubber material is heavy enough to stay in place. However, depending on your space and usage, there are several installation options.
Many installers secure the perimeter or seams using double sided tape, which helps prevent the flooring from shifting or “walking” over time due to movement and heavy equipment. Tape is one of the most common solutions used in home gyms because it is effective while still allowing flooring to be removed later if needed.
For larger installations or high traffic commercial environments, adhesive glue can also be used to permanently secure the flooring to the subfloor. Both tape and adhesive help ensure a clean installation and long term stability.
Q: Will rubber flooring rolls smell like rubber?
A: Some rubber flooring may have a mild odor when first unpacked, especially when made from recycled rubber. This is normal and usually fades after airing out and cleaning the flooring with mild soap and water. High quality rubber flooring typically has a much lower odor compared to lower grade materials.
Q: Can rubber flooring rolls be installed over concrete or existing floors?
A: Yes. Rubber flooring rolls are commonly installed over concrete, wood, or other hard surfaces. These surfaces provide the most stable base for gym flooring. Hard surfaces are generally recommended for the best stability and performance.
Q: Will rubber flooring protect my floors from dropped weights?
A: Yes. Rubber flooring rolls are designed to absorb impact and help protect subfloors from heavy equipment and dropped weights. They also help reduce vibration and noise, which is why they are commonly used in both home gyms and commercial training facilities.
Q: How do you cut rubber flooring rolls during installation?
A: Rubber flooring rolls can be cut using a sharp utility knife and a straight edge. Many installers score the rubber first and then make multiple passes with the blade to achieve a clean cut. Measuring carefully and leaving a small amount of extra material helps ensure a precise fit.
Q: How do you clean and maintain rubber gym flooring?
A: Rubber flooring is easy to maintain. Regular cleaning usually involves sweeping or vacuuming debris and occasionally mopping with mild soap and water. Avoid harsh chemicals or abrasive cleaners, as these may damage the rubber surface over time.
Q: Are rubber flooring rolls better than rubber tiles?
A: Both options use similar rubber materials but serve different installation needs. Rolls create fewer seams and are often preferred for larger spaces, while tiles are easier to install in smaller areas or irregular shaped rooms. Many commercial gyms prefer rolls for a more seamless surface.
Q: Will rubber flooring reduce noise and vibration?
A: Yes. Rubber flooring helps absorb shock and reduce vibration caused by dropped weights or equipment movement. This can significantly reduce noise and make workouts more comfortable, especially in garages, basements, or shared living spaces.
Q: How long does rubber gym flooring last?
A: High quality rubber flooring can last for many years with normal use. The lifespan depends on the thickness of the flooring and the intensity of use, but rubber gym flooring is designed to withstand heavy equipment, foot traffic, and repeated impact.
Q: Why are rubber flooring rolls sometimes slightly longer than ordered?
A: Rubber flooring rolls may arrive slightly longer than the requested length. This is intentional so installers have enough material to square the flooring during installation. The small amount of extra material helps ensure a clean and precise final fit.
Q: What makes Living.Fit rubber flooring different from other options online?
A: Living.Fit focuses on quality first fitness equipment from trusted brands. Every product is carefully selected based on durability, performance, and customer feedback. Instead of overwhelming shoppers with endless low quality options, Living.Fit curates products that serious home gym owners and trainers rely on.
Q: Is Living.Fit rubber flooring made in the USA?
A: Many rubber flooring products available through Living.Fit are manufactured in the USA using high quality recycled rubber materials. These products are produced to meet strict quality and durability standards used in both residential and commercial gyms.
Q: How do I know how much flooring to order?
A: Measure the length and width of the area you want to cover, then multiply those numbers to determine the total square footage. Many installers recommend ordering slightly more material than needed so you can trim the edges and achieve a precise fit. You can use the calculator on this page.
Q: Can Living.Fit help me choose the right flooring for my gym?
A: Yes. If you are unsure which flooring thickness or product type is best for your gym, the Living.Fit team can help guide you. Contact info@living.fit or our chat and someone can help you choose the right flooring based on your space and training style.
Q: Do rubber gym floors damage concrete?
A: No. Rubber gym flooring is commonly installed directly over concrete and actually helps protect it. The rubber surface absorbs impact from dropped weights and equipment, which reduces stress on the concrete and helps prevent cracks, chips, and surface damage.
Q: How much rubber flooring do I need for my gym?
A: Measure the length and width of the space and multiply those numbers to determine the total square footage. Because rubber flooring rolls are typically 4 feet wide, installations often involve laying multiple rolls side by side. Ordering a small amount of extra material allows trimming for a precise installation.
Q: Are rubber flooring rolls waterproof?
A: Yes. Rubber flooring is naturally water resistant and highly durable, which makes it suitable for garages, basements, and other environments where moisture may be present.
Q: Can gym equipment be placed directly on rubber flooring rolls?
A: Yes. Rubber flooring rolls are designed to support heavy gym equipment such as squat racks, treadmills, weight benches, and functional trainers.
Q: Does rubber gym flooring stain or damage garage floors?
A: Rubber gym flooring typically protects garage floors rather than damaging them. However, in rare cases rubber can react with certain sealers or freshly coated concrete surfaces. Using a vapor barrier or allowing sealed floors to fully cure before installation can help prevent this.
Q: Can rubber flooring rolls be installed in basements?
A: Yes. Rubber flooring is commonly used in basement gyms because it is durable, water resistant, and helps reduce noise and vibration.
Q: Do rubber gym floors require underlayment?
A: In most cases rubber gym flooring does not require an underlayment. The dense rubber itself provides cushioning and impact absorption.
Q: Can rubber flooring rolls be used outdoors?
A: Rubber flooring is primarily designed for indoor use. While it can handle some exposure to the elements, long term outdoor installation may lead to faster wear due to sunlight and weather exposure.
Q: What are the advantages of rubber flooring rolls compared to foam mats?
A: Rubber flooring is significantly more durable than foam mats and can handle heavy weights and equipment. Foam mats are typically designed for light exercise areas, while rubber flooring is built for serious training environments.
Q: Why do many commercial gyms choose rubber flooring rolls?
A: Commercial gyms often choose rubber rolls because they create fewer seams, provide excellent durability, and offer superior impact absorption compared to many other flooring materials.
Tape or glue is NOT required for simpler home gym set ups. For high-traffic areas or spaces without climate control, glue is ideal to ensure a long-lasting, secure installation with tightly sealed seams that withstand temperature changes. For DIY projects or temporary setups—especially in leased spaces—double-sided tape offers a reliable, non-permanent solution that keeps tiles in place without the need for adhesive.
A. Double-Sided Tape Installation
- Make sure the subfloor is clean, dry, and free of debris.
- Lay the rubber rolls loosely in the room to create your layout. Allow them to relax for 24–48 hours.
- Rubber rolls may be directional. Make sure the color matches across all rolls. If not, try flipping or rotating the rolls 180 degrees.
- Cut the rolls to fit using a straight edge and a sharp utility knife. Leave a small gap around the edges (roughly the thickness of the roll) to allow for expansion.
- Roll back one end of each roll and apply double-sided tape along the perimeter of the subfloor.
- Apply the tape directly to the subfloor—typically one line of tape on each seam and at the perimeter—to hold the flooring securely in place.
- Once the tape is applied, carefully press the rubber flooring onto it, smoothing out any bubbles and ensuring the edges align tightly. This method is ideal for DIY projects, leased spaces, or areas where permanent adhesives aren't suitable.
- Press the rubber back into place on top of the tape.
- VIEW TAPE HERE
B: Full Adhesive (Glue-Down) Method
- Confirm that the subfloor is clean, dry, and free from any residue or moisture.
- Place the rubber rolls loosely on the floor to determine layout and allow them to relax for 24–48 hours before permanent installation.
- Tip: As with the tape method, check that all rolls align in both color and pattern. Rotate or flip rolls if there are noticeable differences.
- Use a straight edge and a sharp utility knife to cut the rolls to the required dimensions, leaving a perimeter gap for expansion.
- Roll up one end of a section and spread a thin layer of polyurethane-based adhesive over a 10-foot stretch of subfloor.
- Gradually unroll the flooring onto the adhesive in 10-foot sections, continuing until the entire length is in place.
- Once the rolls are fully adhered, go over the surface with a 100-pound roller to ensure strong bonding. If a roller isn’t available, walking over the surface using short, firm steps can also help.
- View glue here or as an add on item. on this page
Initial Cleaning Procedure
- Remove all surface soil, debris, sand, and grit by sweeping, dust
mopping or vacuuming. - Scrub floor with recommended Rubber Floor
Cleaner with a rectangular microfiber mop. A soft nylon brush may be
used in more heavily soiled areas. - DO NOT flood the floor with water as the Interlocking design will allow
water to pass through
Regular Cleaning Procedure
- Sweep, dust mop, or vacuum floor to remove surface soil, debris,
sand, and grit. - Damp mop with a microfiber mop using Rubber Floor Cleaner
Restorative Cleaning Procedure
- Sweep or vacuum to remove loose soil.
- Heavy scrub using a rotary scrubber or automatic scrubber with Brown or Black Stripper pad and solution of Rubber Floor Cleaner.
- Pick up solution with wet vac
- Rinse with clean water. Do not flood the floor.
- Allow the floor to thoroughly dry.
All purchases accumulate points which be can used to redeem for discounts on all items in our rewards collection. Enroll or view your current rewards balance here.
- Earn 40 points for every $1 spent equaling 5% cash back
Applies to the following products:
- Interlocking tiles
- Rolls
We offer a 30-Day Money Back Guarantee to all our customers in the United States. This guarantee is designed to ensure your complete satisfaction, allowing you to return your product for any reason within 30 days of delivery. We’ve made the process simple and straightforward for you. Here’s what you need to know:
How to Qualify for a Refund:
- The product must be returned in the same condition as it was when you received it.
- Your refund request must be submitted within 30 days of the original delivery date.
- You can request a refund by contacting us toll-free at 844-524-0677, through CHAT, or via email at info@living.fit. Our friendly customer support team is ready to assist you and explain your options.
- Please note that the product cannot be returned if it has been installed, removed, and then sent back. Your order must be in its original packaging and in “as new” and resellable condition, just as it was when it first arrived at your location.
- To proceed with a return, contact us to obtain an RMA (Return Merchandise Authorization) number and the return address. You will also need to schedule pick-up and shipping with the carrier of your choice, as you are responsible for all return shipping costs.
- Make sure to include the assigned RMA number on the return shipping labels.
- Once we receive your returned product, we will conduct a quality inspection. Refunds are typically issued within 3-7 business days after the product is received at our warehouse in good, resalable condition. This guarantee applies to all products in the Living.Fit family.
Please note: This policy does not cover custom-made, made-to-order, or special-order products, including clearance items, overstock, discontinued items, kits, underlayment, and all sundries (such as flooring adhesives, moisture control products, TWP, decking fasteners, trims, and moldings) unless the product is defective. Due to the natural characteristics of flooring, slight variations in color and thickness may occur. We cannot accept returns for color and thickness variations unless the thickness is off by more than 1 mm or if the colors are substantially different. Some manufacturers have a minimum quantity requirement for returns and/or may not waive restocking fees. Please contact us to confirm if your product/order qualifies for our 30-Day Money Back Guarantee.
At Living.Fit, your satisfaction is our top priority. Please don’t hesitate to contact us through CHAT or via email at info@living.fit to speak with our customer support team, who will be happy to assist you.
Cancellation & Exchange Options Our goal at Living.Fit is to provide you with the easiest shopping experience and the fastest lead times in the industry. We will do our best to accommodate any changes to your order. Please note that many of our floor products ship the same or next business day, so if your order is already in production, has started the shipping process, or has shipped, we may not be able to make the desired change without additional fees.
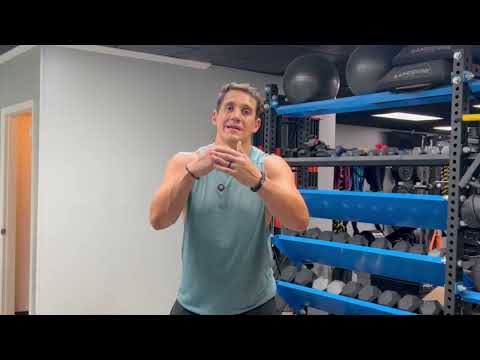
Installation
Installing Flooring Rolls
This video shows you what to know before installing rubber flooring in your home or gym. You’ll learn how to measure your space, choose the right flooring type, and prepare the surface for a smooth fit. It also explains simple tips for laying and securing the tiles or rolls so they stay in place and look great. Perfect for anyone setting up a home gym or upgrading their workout area.
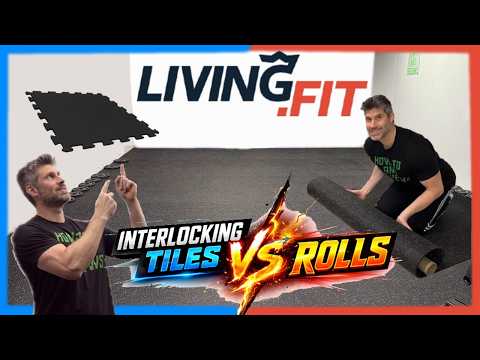
Installing Rubber Flooring Rolls
Installing Flooring Rolls
The video walks through how to select, install, and evaluate rubber roll gym flooring, using a real example from Living.Fit.
It demonstrates the full installation process step by step, including measuring, cutting, and properly laying the rolls for a clean finish along with applying tape.
The creator compares rubber rolls to interlocking tiles, highlighting differences in durability, appearance, and ease of installation.
Rolls are presented as a more seamless, professional-looking option, while tiles offer flexibility and easier setup for smaller or temporary spaces.
- Shop rubber tiles
How Much Double-Sided Tape You Need for Rubber Flooring
Tape and glue are not required for most home use. Use double-sided tape to help keep rubber flooring in place, especially on smooth surfaces or in high-traffic areas where slippage or movement is a concern.
-
Perimeter Only (light use):
- Tape the outer edges only.
- Use ~1 foot of tape per foot of room perimeter.
- Example: 10'x10' room = 40 ft of tape.
-
Perimeter + Cross Strips (medium use):
- Add tape strips across the floor every 3–4 ft.
- Example: 10'x10' room = ~70 ft of tape.
-
Grid Style (heavy use, gym equipment):
- Create a full grid every 2–3 ft in both directions.
- Example: 10'x10' room = 140+ ft of tape.
Quick Estimate by Room Size
- 100 sq ft: Light: 40 ft · Medium: 70 ft · Heavy: 140 ft
- 200 sq ft: Light: 60 ft · Medium: 100 ft · Heavy: 200 ft
- 400 sq ft: Light: 80 ft · Medium: 140 ft · Heavy: 280 ft
Pro Tips
- Tape comes in 25 ft, 50 ft, or 100 ft rolls — round up.
- Use tape made for rubber flooring and your subfloor type.
- Let flooring sit in the room for 24 hours before taping.
How Much Flooring Adhesive You Need for Rubber Flooring
Tape and glue are not required for most home use. If you're using flooring adhesive instead of tape, it's important to apply the correct amount based on the surface area and type of installation—full glue-down or perimeter-bond.
-
Perimeter-Bond Installation (light to medium use):
- Apply adhesive only around the edges of each tile or roll.
- Best for home gyms or spaces without heavy equipment.
- Requires less adhesive overall—roughly half the amount of a full glue-down.
-
Full Glue-Down Installation (heavy use or commercial):
- Adhesive is applied across the entire surface area.
- Ideal for high-traffic zones or rooms with heavy equipment.
- Provides the most secure bond but requires more product and prep time.
-
Adhesive Types:
- Use pressure-sensitive adhesive for easier repositioning.
- Use urethane adhesive for permanent, high-performance bonds.
- Follow manufacturer guidelines for trowel size and spread rate.
Quick Estimate by Coverage
- 1 gallon (128 oz): Covers ~150–200 sq ft (full coverage)
- Perimeter-bond: Covers ~250–300 sq ft per gallon
- Rolls & sheets: May require more adhesive depending on thickness
Pro Tips
- Always clean and dry the subfloor before applying adhesive.
- Use the correct trowel notch size for your adhesive type.
- Let adhesive cure fully before moving equipment onto the floor.